
Dealing with a squeaky subfloor can be a frustrating experience, especially when it disrupts the peace and quiet of your home. The noise often arises from loose floorboards or nails rubbing against the wood, and it may seem like an overwhelming issue to tackle. However, with some basic tools and a little patience, you can address the problem without having to remove the carpet.

This guide on how to fix squeaky subfloor under carpet will walk you through the steps to effectively silence those annoying squeaks, ensuring a quiet and comfortable living space.
Why Does a Subfloor Squeak?
A squeaky subfloor is typically the result of movement between different components of your floor structure. This movement often occurs when nails that hold the wood in place have become loose over time, allowing the subfloor to shift slightly when weight is applied. The friction from this movement, whether between the subfloor panels themselves or between the subfloor and the underlying joists, generates the characteristic squeaking noise.
Temperature fluctuations and humidity changes can exacerbate this issue, causing materials to expand and contract, further loosening connections. Additionally, improper installation or wear and tear over the years may lead to squeaks, particularly in high-traffic areas. Understanding these causes can help in pinpointing the source of the noise, making it easier to implement an effective solution.
Needed Materials
Before getting started, you will need the following materials:
- Hammer
- Drill
- Screws
- Screwdriver Bit Suitable for Screws Used
- Wood Putty
- Paint or Stain (optional)
- Carpeting Needle and Thread
- Protective Equipment (gloves, eye goggles)
8 Simple Step-by-step Guidelines on How to Fix Squeaky Subfloor Under Carpet
Step 1: Locate the Squeaky Areas
To begin the process of eliminating squeaks from your subfloor, you first need to accurately identify the problematic areas. Have someone walk slowly across the carpeted surface while you listen for creaking sounds.
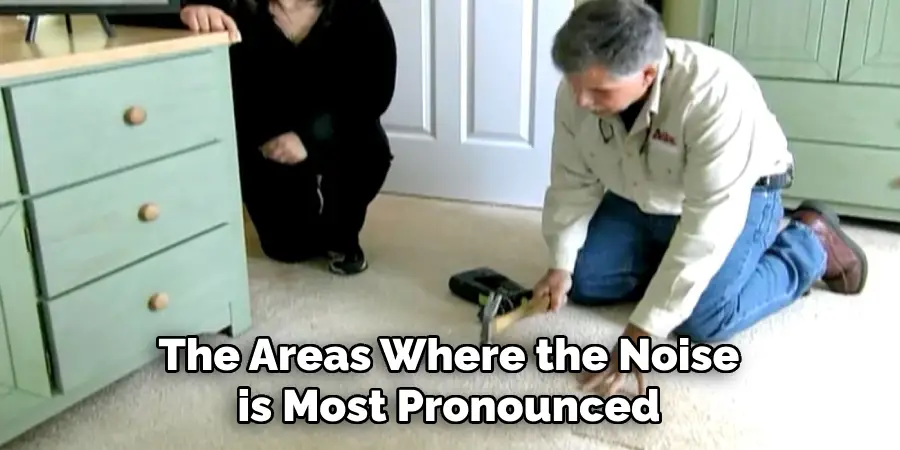
Pay close attention to the areas where the noise is most pronounced. Use a pencil or a small piece of tape to mark these spots on the carpet, as this will guide you when applying the fix. This preliminary step ensures that you target only the necessary regions, saving time and effort as you move towards a quieter home environment.
Step 2: Locate the Joists Beneath
Once you have identified the squeaky areas, the next step involves locating the joists beneath your floor. Joists are the horizontal structural members that support the subfloor and are crucial in providing stability. To find them, you can use a stud finder, which will detect the denser area of the joists beneath the carpet.
Alternatively, you can lightly tap the floor with a hammer and listen for a change in sound; the hollower tone typically signifies that you’re between joists, while a solid sound indicates their presence. Mark the joists on the carpet using tape or a pencil. Correctly identifying the joists will ensure you know where to secure the subfloor and prevent further squeaking.
Step 3: Tighten Loose Screws
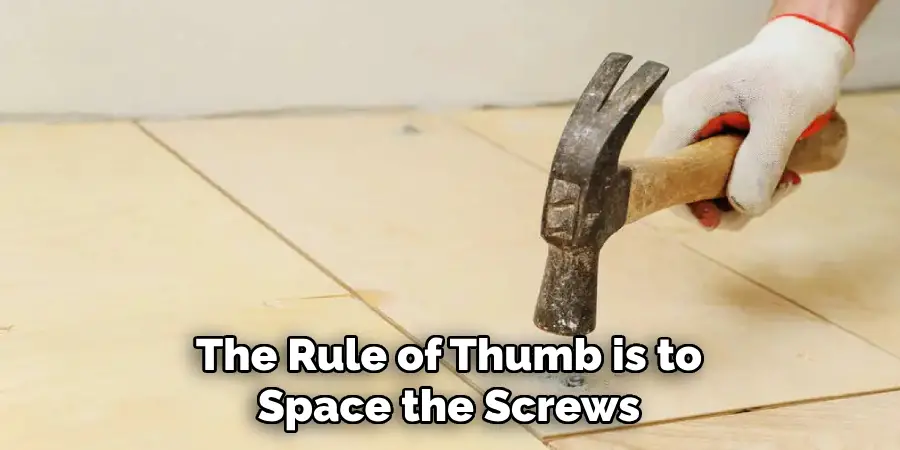
Using a drill and the appropriate screwdriver bit, tighten any loose screws or nails in the marked areas. You can also replace old or damaged fasteners with new ones for added security. Make sure to drive the screws deep enough so that they reach the joists beneath, but be careful not to damage the carpet or subfloor in the process.
The rule of thumb is to space the screws about 6-8 inches apart along the joists, but you can also add more for additional support. Once all the loose screws have been tightened or replaced, test the area by walking over it and listening for any remaining squeaks.
Step 4: Insert Shims Between Floorboards
If tightening screws does not eliminate the noise, there may be gaps between floorboards that are causing the movement. In this case, shimming may be necessary to fill those gaps and prevent future squeaking. To do this, use a hammer to gently tap thin wooden wedges (shims) into the spaces between the boards until they feel tight.
Be careful not to overdo it, as too many shims may cause the floorboards to become uneven and create new squeaks in other areas. Once the gaps have been filled, secure the shims by adding screws along the joists.
Step 5: Apply Wood Putty
After securing loose screws and inserting shims, there may still be some small spaces or cracks between boards that are causing noise. To fill these gaps and add extra support, apply a wood putty of matching color to blend in with your subfloor. Simply press the putty into any visible spaces and smooth it out with a flat tool or your finger.
Let it dry completely before sanding down any excess putty and refinishing if desired. This step not only helps to reduce squeaks but also improves the overall appearance of your floor.
Step 6: Add Lubricant
For areas where there is friction between the subfloor and joists, adding a lubricant may be necessary to reduce noise. Use a silicone-based spray or wax and apply it in between the joints, being careful not to oversaturate the area.
This will help to decrease any rubbing or creaking sounds caused by movement between materials. Be sure to use a lubricant that is safe for all types of flooring and won’t damage your carpet.
Step 7: Reinforce With Extra Screws
If you have tried all the above steps and still experience squeaks, adding extra screws along the joists may be necessary. This further secures the subfloor and reduces any remaining movement that could cause noise.

Simply drill additional screws into the subfloor at an angle, ensuring they reach the joists below. This will provide added support and stability to your floor structure.
Step 8: Reattach Carpet
Once you have addressed all the squeaky areas and are satisfied with the results, it’s time to reattach the carpet. If there are any tears or holes in the carpet from removing shims or applying putty, use a needle and thread to carefully stitch them back together.
Then, using a carpet needle, secure the edges of the carpet back in place along the baseboard or tack strip. Be sure to trim any excess carpet if necessary.
Following these simple steps and taking the time to properly fix squeaky subfloors will result in a much quieter and more comfortable living space. And with regular maintenance and attention, you can prevent future squeaks from occurring. So go ahead and enjoy your noise-free home!
Additional Tips for Maintaining a Squeak-free Subfloor
- Regularly vacuum and clean your carpeted floors to prevent debris and dirt from accumulating between gaps in floorboards.
- Consider using sound-dampening padding under your carpets to reduce friction and noise.
- Address any leaks or water damage immediately to prevent further weakening of subfloor materials.
- If you are unable to fix all squeaks on your own, consider hiring a professional contractor who specializes in subfloor repair.
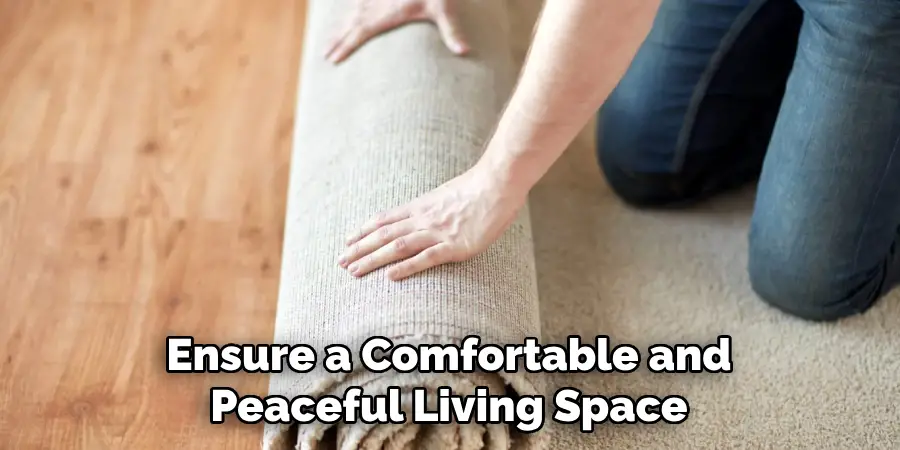
By following these steps on how to fix squeaky subfloor under carpet and taking proper care of your subfloor, you can ensure a comfortable and peaceful living space for years to come. Happy home improvement! So go ahead and enjoy your noise-free home!
Frequently Asked Questions
Q: Can I Fix the Squeaky Subfloor Under the Carpet Without Removing the Carpet?
A: Yes, it is possible to fix squeaks without completely removing the carpet. Follow steps 2-8 for repairing squeaky subfloors without having to pull up your carpet.
Q: How Often Should I Check and Maintain My Subfloor?
A: It is recommended to regularly check for any signs of damage or squeaks in your subfloor every 6-12 months. Regular maintenance can prevent larger issues from arising and ensure a long-lasting and stable floor.
Q: Can I Use Any Type of Lubricant on My Subfloor?
A: No, it’s important to use a lubricant that is safe for all types of flooring. Avoid using oils or petroleum-based products, as they can cause damage to certain materials.
Q: How Do I Know If the Squeak Is Coming From My Subfloor or Carpet?
A: To determine the source of the squeak, have someone walk on the area while you are underneath. If you hear a creaking or rubbing sound from the subfloor, it is likely that is where the noise is coming from. If there is no noise heard from under the floor, then it may be an issue with the carpet itself.
Q: Can Squeaky Subfloors Be Fixed Permanently?
A: While some methods may provide long-term solutions, it’s important to regularly check and maintain your subfloor to prevent future squeaks. Over time, natural settling and wear and tear can cause movement in floors and potentially create new noises. So regular maintenance and addressing any issues as soon as possible is the best way to ensure a squeak-free subfloor.
Conclusion
Addressing squeaky subfloors under the carpet is a vital step in maintaining the comfort and tranquility of your home. By systematically following the outlined steps on how to fix squeaky subfloor under carpet including securing loose components, filling gaps, and applying proper lubricants, you can effectively eliminate bothersome noises without the hassle of removing the carpet.
It’s important to incorporate regular maintenance practices and promptly tackle any signs of wear or damage to prolong the integrity of your flooring. With thoughtful care and attention, you can enjoy a serene, squeak-free environment for many years to come. Remember, a well-maintained floor not only enhances your living experience but also adds value to your home. Happy home improvement!
About
Angela is the chief editor of Indoorense. She began her career as an interior designer before applying her strategic and creative passion to lifestyle and home.
She has close to 15 years of experience in creative writing and online content strategy for housekeeping and cleaning,home decorations as well as other efforts.
She loves her job and has the privilege of working with an extraordinary team. She lives with her husband, two sons, and daughter in Petersburg. When she’s not busy working she spent time with her family.