

Are you having trouble with your mosquito net? Don’t worry, you can easily fix it. Here’s a step-by-step guide on how to fix mosquito net.
If you love crafting and taking on do-it-yourself projects, then you know how important it is to have a sturdy and reliable mosquito net for use during the summer months. Mosquito nets can be used indoors and outdoors to create beautiful living spaces or as covers or decorations on other items such as clothes or furniture. But what happens when your mosquito net needs repairing? Fear not!

This blog post will provide step-by-step instructions on how to easily fix your broken mosquito net using simple materials that can be purchased online or at local craft stores. With these tips, you’ll get your trusty old mosquito net in working order quickly!
What Will You Need?
To fix your mosquito net, you’ll need a few supplies:
- A needle and thread for sewing repairs.
- Scissors to cut out any tattered or damaged pieces of the netting.
- A ruler or measuring tape to measure the repair area’s size and ensure that all measurements are accurate when repairing.
- A hot glue gun to secure any patches or sections of netting that may be missing.
Once you have your supplies gathered, it’s time to get started!
10 Easy Steps on How to Fix Mosquito Net
Step 1. Use a Flat Surface :
When fixing your mosquito net, using a flat surface such as a table or countertop is important. This will help ensure that the repair job is even and symmetrical. If you don’t have a flat surface, you can lay a quilt or blanket over an uneven area to provide extra padding for sewing.
Step 2. Cut Out Damaged Areas:
Use scissors to cut out any tattered or damaged sections of the netting. Make sure to keep all pieces in case you decide to make patch repairs later on. Try to avoid cutting off too much of the netting, as this can weaken its structure and make it prone to further damage.
Step 3. Measure Repair Area:
Measure the size of the repair area with a ruler or measuring tape and ensure that all measurements are accurate when repairing. If you need to patch any holes, make sure the patches are the same size as the hole for an even and seamless repair job.
This can be particularly helpful if you need to patch a large hole or multiple holes in the mosquito net.
Step 4. Mark Repairs With Masking Tape:
Using masking tape, mark where you plan to sew repairs into place and also mark any areas that need to be patched. You can also use masking tape to secure patches in place while you sew them. Another option is to use a marking pen, which can be helpful if you are working with a darker fabric.

Step 5. Sew Repairs:
Using your needle and thread, start sewing repairs into place. Make sure to use even stitches and double check your measurements before you finish the repair job. Additionally, make sure to securely tie off the thread on each side of the repair area to ensure a strong and sturdy finish.
Step 6. Patch any Missing Areas:
If there are any missing sections of netting, patch them with a piece of new netting using a hot glue gun for extra security. Use the masking tape to hold the patch in place while you glue it on. Don’t forget to double check the measurements before securing the patch.
Step 7. Trim Away Unwanted Threads:
Once you’ve finished making your repairs, trim away any unwanted threads or pieces of excess fabric using scissors. It will be easier to trim away the excess threads if you use a sharp pair of scissors. Keep your scissors away from the repaired area in order to avoid any accidental snipping of the fabric. Moreover, you can use tweezers to pull out any stubborn threads that the scissors may have missed.
Step 8. Secure Patches & Repairs:
Secure all patches and repairs into place with a hot glue gun. Be careful not to use too much glue, as this can cause the fabric to become brittle. Additionally, make sure to evenly spread the glue over any patches or repairs to ensure a strong bond. As a final step, press the repaired area with your fingers to help the glue adhere.
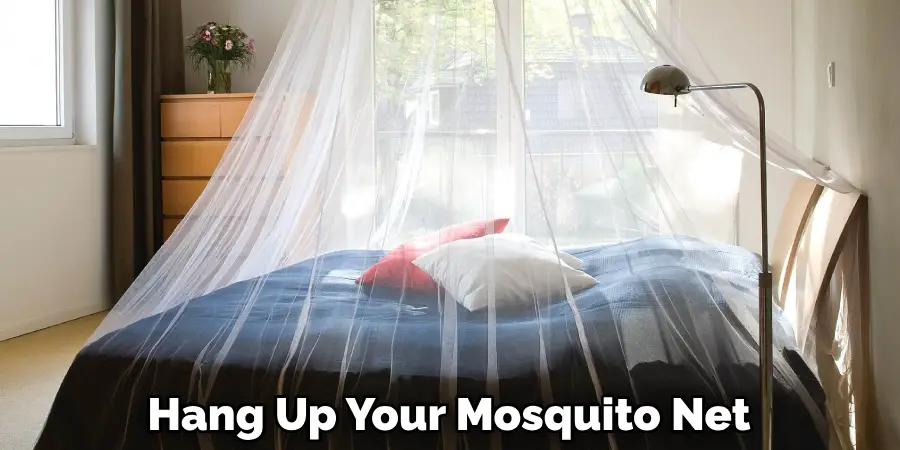
Step 9. Hang Mosquito Net:
Once your repairs are complete, hang up your mosquito net and enjoy a bug-free summer! Ensure that the net is securely hung in place and free from any tears or holes. Otherwise, the net may not be strong enough to withstand wind or rain.
Step 10. Enjoy Your Summer:
Now that you’ve fixed your mosquito net, it’s time to sit back and enjoy the summer season without worrying about pesky bugs! Remember, if the net ever needs repairs again, you can always refer back to these steps for guidance. Just make sure to gather all the materials needed before starting your repair job.
You can fix your mosquito net in no time by following these simple steps. From repairing small tears or holes to patching large sections of missing netting, these tips will help ensure that you have a reliable and sturdy mosquito net for all of your outdoor activities this summer.
5 Additional Tips and Tricks
1. Before you start repairing your mosquito net, make sure that it is clean. Check for any dirt, dust, or debris, and remove it with a damp cloth.
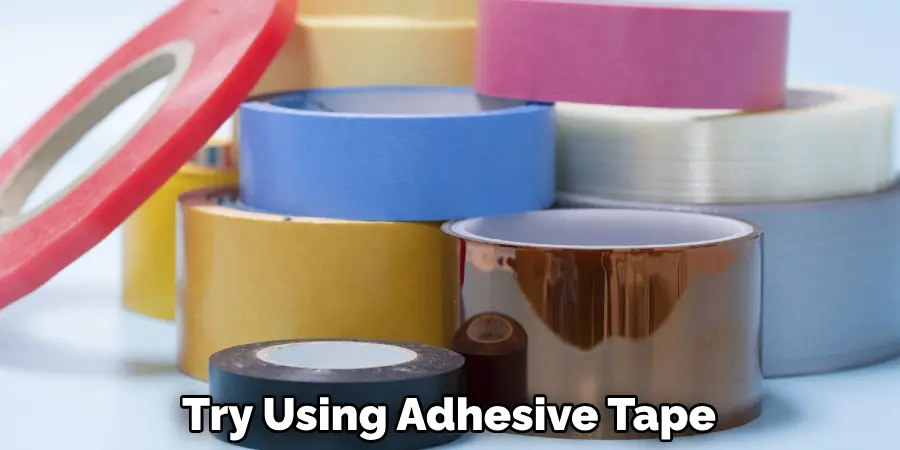
2. If you are dealing with a torn mosquito net, try using adhesive tape, such as duct tape, to repair the damage temporarily. However, this method should only be used if it is a minor tear and not for bigger holes or tears.
3. If your mosquito net has been damaged by fire, you can often repair the damage using patching material. This is available in many fabric stores and will help you to cover up any charred areas of your mosquito net.
4. For larger holes or other types of damage, consider sewing a patch into place on your mosquito net. Patches can easily be found at most fabric stores and come in all sorts of colors and designs to match your existing netting pattern.
5. Lastly, always remember to store your mosquito net in a cool, dry place when not in use. This will help prevent further damage from taking place and keep the integrity of your netting intact. Proper storage is essential for keeping your mosquito net looking as good as new!
Having these tips and tricks handy makes it easy to repair and maintain your mosquito net. With a little bit of patience and time, you can easily fix any issues that you may have with your netting and keep it looking new!
5 Things You Should Avoid
1. Avoid attempting to repair your mosquito net with any items other than those specifically designed for the purpose, such as patching material or adhesive tapes.
2. Avoid using household items such as scotch tape, super glue, or string to repair your mosquito net, as these are not designed to last and may create more damage over time.
3. Avoid using chemical-based cleaning products on your mosquito net, which could cause discoloration or further damage. Stick to a damp cloth for the best results.
4. Avoid attempting any repairs if you are not confident in doing so correctly or without causing further damage. If possible, it is always best to get professional help in situations like this.
5. Avoid storing your mosquito net in direct sunlight, high temperatures, or wet/damp areas, as this will only worsen existing damage and can even lead to new problems such as mold or mildew. It is always best to store your net in a cool, dry place for the best results.
Taking these steps will help you avoid any problems with your mosquito net and keep it looking as good as new! Following these tips can also save you time and money by preventing unnecessary damage to your netting. With proper care and maintenance, your mosquito net can last many years!

Conclusion
How to fix mosquito net doesn’t have to be intimidating, though certainly it can be a bit daunting; it’s just a matter of getting the right supplies, following instructions carefully, and taking your time. To summarize, ensure you get the right netting size for your needs, ensure your materials are in good condition before starting, pay attention while sewing and knotting strands together, and always hand-sew any knots.
Doing all this will ensure you have a secure and reliable net that will keep mosquitoes away from you and those around you. If you decide to create more mosquito nets as gifts or to sell as a part of your crafts business, don’t forget to source materials responsibly. Any surplus netting can also be donated through organizations dedicated to combating malaria worldwide.
With the right knowledge and tools in hand, you can create an incredible craft item that has the power to save lives!
You Can Check it Out to Stop Bugs From Coming Under the Door
Rick is a handyman who grew up helping his dad with his business. He learned a lot from him about how to fix things, and also about how to work hard and take care of business. These days, Rick is still into fixing things- only now, he’s doing it for a living.
Rick is always looking for new ways to help people grow and develop. That’s why he started contributing to this blog: to share all his experience and knowledge so that he can help people who are interested in DIY repair.