
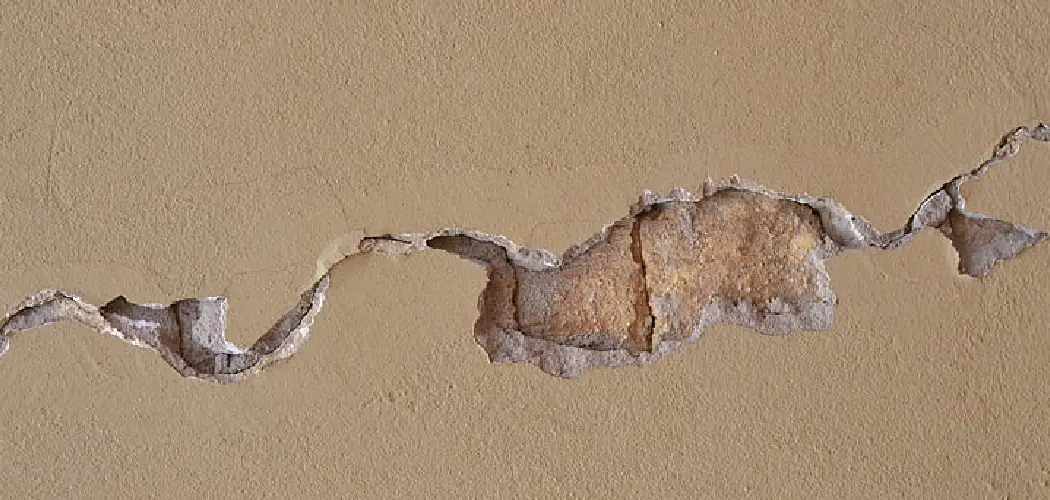
Cracking paint on the ceiling is a common issue in many homes, often caused by moisture, poor paint application, or the natural aging of the materials underneath. These cracks can detract from the appearance of a room and may indicate underlying problems such as water damage or humidity issues. In this guide, we’ll walk you through identifying the cause of cracking paint, preparing the area, and applying the necessary steps to repair and repaint the ceiling for a smooth, long-lasting finish.
By following these steps, you can restore your ceiling’s appearance and prevent further cracking in the future. Understanding how to fix cracking paint on ceiling surfaces enhances the aesthetic appeal of your home and helps maintain the structural integrity of your ceilings. Let’s delve into the solutions that will give your ceiling a revitalized look and durability.
Identify the Cause of the Cracking Paint
Identifying the underlying cause of cracking paint is crucial for addressing the issue effectively.
Step 1: Moisture Damage
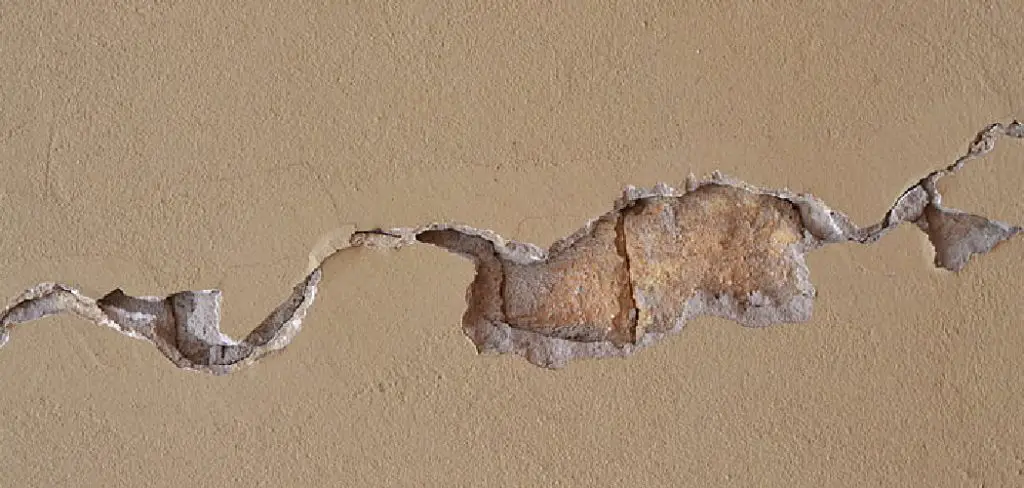
Cracking or peeling paint is often a sign of water damage resulting from roof leaks, plumbing issues, or excessive humidity. Inspect the ceiling for signs of water stains, discoloration, or damp spots. If water damage is identified as the culprit, it’s essential to fix the source of the moisture before tackling the paint repair. Failing to address moisture issues will likely result in the reappearance of cracks after restoration efforts.
Step 2: Poor Surface Preparation
Another significant cause of cracking paint is inadequate surface preparation. If the ceiling’s surface wasn’t properly cleaned, primed, or sanded before painting, the paint layer may not have adhered properly, leading to eventual cracking. Furthermore, painting over old or flaky paint without removing it first can cause new paint layers to crack as they settle onto an unstable surface. Proper preparation is key to ensuring lasting adherence.
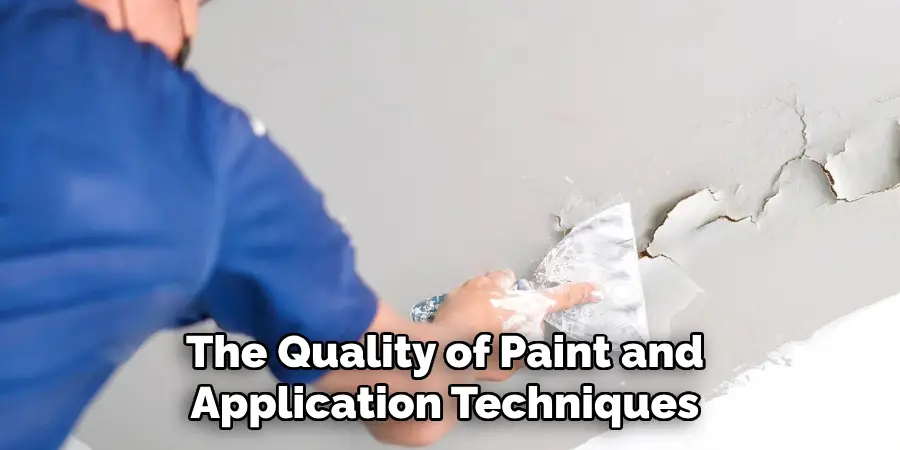
Step 3: Paint Quality
Lastly, the quality of paint and application techniques also play a crucial role. Using low-quality paint or employing improper application methods can lead to cracking. For instance, applying the wrong type of paint, such as unsuitable for high-humidity areas, can hasten paint failure. Cracks appearing in isolated spots might indicate poor application techniques or the use of incompatible paint types, such as oil-based paint over latex. Addressing these aspects is vital to prevent future issues.
Gather Materials and Tools
Before beginning the repair process, ensure you have all the necessary materials and tools at hand to make the job as efficient and successful as possible. Here’s a list of what you’ll need:
Materials Needed:
Sandpaper: Medium to fine grit, around 100-150 grit, is ideal for smoothing the ceiling’s surface and ensuring proper paint adhesion.
Paint Scraper or Putty Knife: Useful for removing loose or flaking paint to prepare the surface for repainting.
Joint Compound or Spackle: This is essential for filling in gaps or cracks and providing a smooth base for the new paint.
Painter’s Tape and Drop Cloths: Protect adjacent surfaces and flooring from paint splatters during the repair process.
Primer: If there are risks of underlying stains or persistent moisture issues, consider using a stain-blocking or moisture-resistant primer.
Ceiling Paint: Choose paint that matches your existing ceiling color or opt for a fresh look with a new color, ensuring it’s suitable for your environment (e.g., moisture-resistant for humid areas).
Tools Required:
- Paintbrush and Roller: For precise and even application of primer and paint.
- Paint Tray: This holds the paint and facilitates easy, mess-free application.
- Ladder or Step Stool: Necessary for reaching ceiling areas safely and comfortably.
- Damp Cloth or Sponge: This is used to clean surfaces before applying primer and paint.
- Putty Knife or Taping Knife: Useful for applying joint compound smoothly and evenly.
Optional Tools:
- Caulking Gun: Helpful for sealing any gaps that might let in moisture or air, further protecting your ceiling.
- Dehumidifier: Consider using this if you have ongoing moisture issues, as it can help maintain a dry environment and prevent future paint cracking.
How to Fix Cracking Paint on Ceiling: Prepping the Ceiling for Repair
Properly preparing the ceiling is crucial for achieving a successful and enduring paint repair. These steps ensure your ceiling is ready for the new paint application.
Step 1: Protect the Area
Begin by laying down drop cloths to shield your floors and furniture from falling debris and inevitable paint splatters. Use painter’s tape to meticulously mask off areas you don’t want to paint, such as moldings or light fixtures. Ensuring thorough protection simplifies the clean-up process and prevents accidental damage to non-target surfaces.
Step 2: Remove Loose or Flaking Paint
Gently eliminate any loose or flaking paint surrounding the affected area with a paint scraper or putty knife. Scrape cautiously until you reveal solid, undamaged paint and a smooth surface underneath. Exercise care to avoid gouging the ceiling, which is particularly important when dealing with materials like drywall or plaster that can be easily damaged.
Step 3: Sand the Edges
Once loose paint is removed, use medium-grit sandpaper to sand the edges of the remaining paint. This step smooths out the transition between the exposed surface and the old paint, facilitating better adhesion of new primer and paint layers and creating a uniform finish.
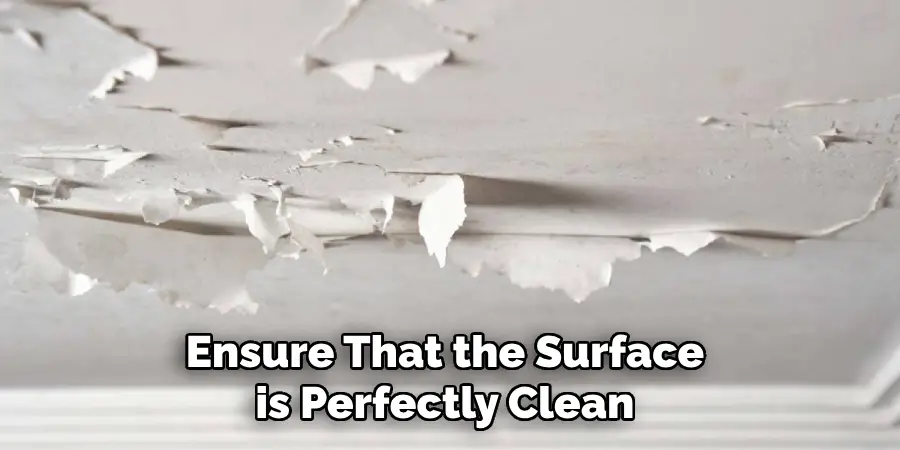
Step 4: Clean the Surface
Thoroughly wipe down the prepped area with a damp cloth to remove dust, dirt, and grease that may hinder paint adherence. Ensure that the surface is perfectly clean and allow it to dry completely before proceeding to the next step.
Step 5: Repair Cracks or Holes
Inspect for any cracks or indentations left behind by the cracked paint. With a putty knife, apply a thin layer of joint compound or spackle to these areas. Smooth the compound evenly over the cracks, feathering it at the edges to blend it seamlessly with the ceiling surface. Allow the compound to dry thoroughly, typically within 24 hours, before lightly sanding it with fine-grit sandpaper to prepare a smooth surface for painting.
By meticulously prepping the ceiling, you’ll set the foundation for a flawless paint repair, increasing the longevity and aesthetics of your ceiling’s new finish.
Priming the Ceiling
Proper priming is essential for a successful paint repair, as it ensures strong adherence and prevents future issues like cracking or staining. Here’s how to effectively prime your ceiling:
Step 1: Select the Right Primer
Depending on the cause of the cracking, you may need a specific type of primer. For moisture-related issues, use a moisture-resistant primer to prevent future problems. If the ceiling has water stains, use a stain-blocking primer to seal in the discoloration and prevent it from bleeding through the new paint. In general, choose a primer that complements your paint type, ensuring compatibility for the best results.

Step 2: Apply Primer to the Repaired Area
Using a paintbrush, apply a thin coat of primer over the patched areas and any exposed drywall or plaster. Focus on evenly coating the surface to create a uniform base for the new paint. If you’ve scraped and repaired a large section of the ceiling, consider priming the entire surface to ensure a consistent finish once you paint. Applying primer to the whole ceiling can help blend the new paint with any existing shade variations, resulting in a seamless look.
Step 3: Allow the Primer to Dry
Let the primer dry completely according to the manufacturer’s instructions, which typically takes 1 to 2 hours. This step is crucial for good paint adhesion and to prevent future cracking. Be patient and avoid rushing this process, as applying paint to a still-wet primer can lead to issues with consistency and longevity. Verify that the primer is fully dry before moving on to painting, checking for any areas that may need an additional coat if the primer appears uneven or insufficient.
By carefully following this priming process, you lay a robust foundation for a durable and visually appealing paint finish, safeguarding your ceiling against future paint failures.
Painting the Ceiling
Step 1: Choose the Right Paint
Selecting the appropriate paint is crucial for a long-lasting ceiling repair. Use a high-quality ceiling paint known for its durability. If your ceiling is located in an area with high humidity, such as a bathroom or kitchen, opt for paint that offers moisture and mildew resistance. For those looking to repaint the entire ceiling, ensure that the chosen paint color matches the existing one for consistency. Alternatively, picking a new color can provide a fresh and updated look to your space.
Step 2: Apply the First Coat of Paint
Begin by loading your roller with the chosen paint and applying an even coat to the ceiling. Work in small sections to manage the application process effectively. Use a “W” or “M” pattern while rolling to avoid streaks and ensure that the coverage is smooth and even. Areas around the edges, corners, and light fixtures that the roller cannot reach should be cut in with a paintbrush for meticulous detailing.
Step 3: Let the First Coat Dry
It is essential to allow the first layer of paint to dry completely before proceeding to the next step. This drying period typically takes between 4 to 6 hours, though it can vary based on the type of paint used and the room’s specific conditions. Ensuring the first coat is fully dry is vital for the success of the next steps in the painting process.
Step 4: Apply a Second Coat
To achieve optimal results, apply a second coat once the first has dried. This second layer is important for covering any imperfections and achieving a streamlined, smooth finish on your ceiling. Repeat the rolling technique utilized for the first coat, carefully covering the entire ceiling surface to ensure uniformity.
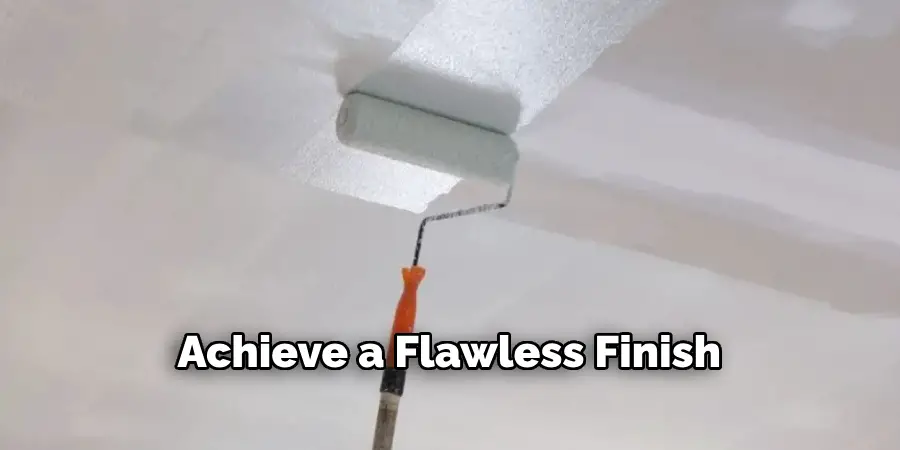
Step 5: Inspect for Touch-Ups
Once the second coat is fully dry, inspect the ceiling for any areas that may have been missed or require additional attention. Using a small brush, touch up spots as needed to achieve a flawless finish. Reviewing and touching up carefully ensures that the ceiling’s new appearance is both durable and aesthetically pleasing.
By following these steps, you can ensure that your ceiling painting process is comprehensive and that the finish you achieve is both visually appealing and long-lasting, enhancing the overall look and feel of your interior space.
Conclusion
Fixing cracking paint on a ceiling can seem daunting, but with the right approach, it’s a manageable DIY project. By identifying the cause, preparing the area properly, and using high-quality materials, you can restore your ceiling’s appearance and prevent future issues. Whether the cracks were caused by moisture, poor surface prep, or old paint, following these steps will ensure a long-lasting, smooth finish that will enhance the overall look of your home.
Monitor humidity levels, use the appropriate paint, and address any water-related issues to prevent cracking paint from recurring. With proper care and maintenance, your ceiling will remain flawless for years to come. Understanding “how to fix cracking paint on ceiling” is key to maintaining both the aesthetic and structural integrity of your home’s interiors, ensuring lasting beauty and protection.
About
Angela is the chief editor of Indoorense. She began her career as an interior designer before applying her strategic and creative passion to lifestyle and home.
She has close to 15 years of experience in creative writing and online content strategy for housekeeping and cleaning,home decorations as well as other efforts.
She loves her job and has the privilege of working with an extraordinary team. She lives with her husband, two sons, and daughter in Petersburg. When she’s not busy working she spent time with her family.