

Do you have a hard time knowing how to end baseboard at stairs? It can be difficult to know where to place your baseboard trim so that it looks finished and professional. Through this blog,we will show you different ways to end baseboard at stairs, so you can choose the one that works best for your home. Keep reading for more tips on how to achieve a flawless baseboard installation!
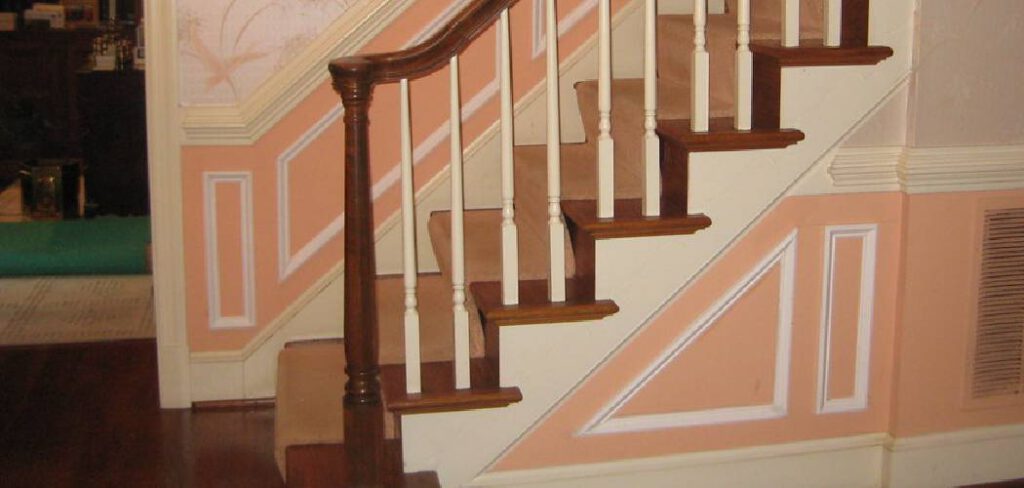
Baseboard installation at stairs can be a bit tricky, but with the right tools and techniques, it’s a job you can do yourself. In this blog post, we’ll show you how to install baseboards at stairs like a pro. We’ll also provide tips for avoiding common mistakes and making the process as smooth and seamless as possible. So whether you’re new to baseboard installation or just looking to brush up on your skills, keep reading for everything you need to know.
Why May You Want to End Baseboard at Stairs?
There are a few reasons why you may want to end your baseboard at the stairs rather than continuing it up and around the stairwell. Such as:
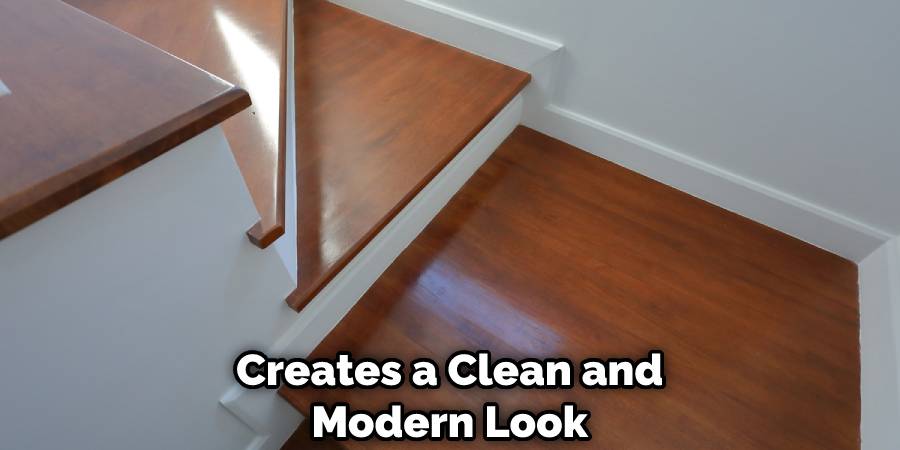
1. Minimalistic Look
Ending the baseboard at the stairs creates a clean and modern look. So if you want a minimalistic design in your space, this could be the way to go. In that case, this can be a reason to not continue the baseboard up the stairs.
2. Cost
Continuing the baseboard up and around the stairwell can also add to your renovation or installation cost. So if you want to save money, ending at the stairs may be a good option.Also, it will take less time to install, potentially saving you on labor costs.
3. Functionality
In some cases, the baseboard may get in the way or become a tripping hazard when going up and down the stairs. Ending it at the bottom or top of the stairs can solve this issue and make for a safer space. So, it is another reason to end the baseboard at the stairs rather than continuing it.
4. Avoid Damages
Continuing the baseboard up and around the stairs may also lead to potential damage due to the high traffic and use of the stairwell. Ending it at the bottom or top can avoid any potential damage to the baseboard in that area.
5. Easier Cleaning
Ending the baseboard at the stairs can also make for easier cleaning, as there are often nooks and crannies in stairwells that can be hard to reach when trying to clean baseboards. So if you want a cleaner and easier-to-maintain space, this could be a reason to end the baseboard at the stairs.
Things You Will Need to End Baseboard at Stairs
- Miter saw or hand miter box
- Baseboard cut to appropriate length and angle
- Nail gun or hammer
- Wood putty
- Sandpaper
How to End Baseboard at Stairs in 7 Easy Steps
Step 1: Measure the Last Full Length of the Baseboard
Before cutting, measure the last full length of the baseboard before it meets the stairs. It is essential to do because if you cut it too short, the baseboard will not be able to fit properly. So make sure to measure twice and cut once.
Step 2: Cut the Baseboard at a 45 Degree Angle
Using a miter saw, cut the baseboard at a 45-degree angle in accordance with the stairs’ angle. This will create a seamless transition from the wall to the stairs. You have to be extra careful when making the cut and make sure to wear protective gear.
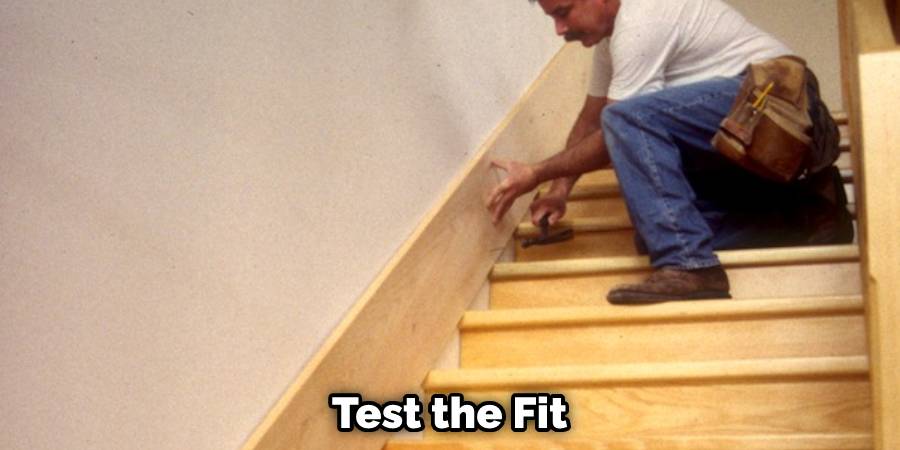
Step 3: Test the Fit
Before permanently attaching the baseboard, test if it fits appropriately with the stairs by placing it against them, if necessary, trim off more of the baseboard until it fits snugly. So make sure to measure twice and cut once.
Step 4: Use Construction Adhesive to Attach the Baseboard
Attach the baseboard by using construction adhesive along the back of it and press it firmly against the stairs. Hold in place for a few seconds before moving on to the next section. You have to be careful while doing this step to make sure the baseboard is straight and secure.
Step 5: Nail the Baseboard Into Place
Using a nail gun, nail the baseboard into place for added stability and security. Make sure to use nails that are short enough, so they do not protrude from the surface of the baseboard. If you do not do so, they may scratch or catch onto clothing or skin.
Step 6: Fill in Nail Holes and Imperfections with Wood Putty
Using wood putty, fill in any nail holes or imperfections to create a smooth surface. Let the putty dry before sanding down the area until it is flush with the baseboard. Make sure to wear a dust mask while sanding.
Step 7: Paint or Stain the Baseboard to Match the Rest of Your Home
To complete the look, paint or stain the baseboard to match the rest of your home’s baseboards. This will create a cohesive and polished look for your stairs and baseboard. You have to be choosy with the color and finish to make sure it matches perfectly with your home’s aesthetic.
Precautions You Must Take to End Baseboard at Stairs
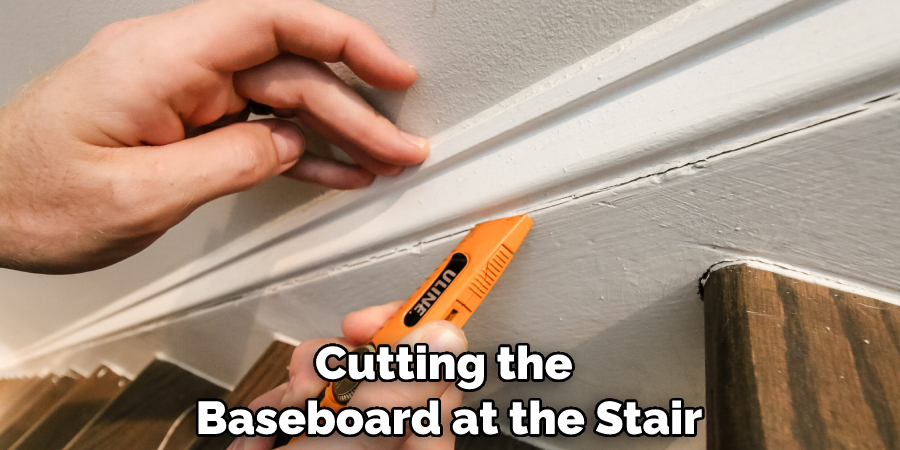
1. Use a Miter Saw
When cutting the baseboard at a stair, it is important to use a miter saw to ensure an accurate and clean cut. Otherwise, you may end up with uneven or jagged edges. So make sure to measure and mark the area before cutting with a miter saw.
2. Use a Jigsaw for Irregular Shapes
If the stair has an irregular shape, you may need to use a jigsaw for cutting. Again, it is important to measure and mark the area before beginning to cut with the jigsaw in order to get clean and accurate cuts.
3. Use Wood Filler for Gaps
After cutting the baseboard at the stair, there may be small gaps or imperfections. In order to fix these, you can use wood filler to fill in any holes or uneven areas. Simply apply the wood filler with a putty knife and smooth it out before letting it dry.
4. Consider the Angle
When cutting the baseboard at a stair, it is important to consider the angle and how it will fit against the stair. This may require some measuring and adjustment before cutting in order to ensure a proper fit against the stair.
Following these steps and precautions will ensure that your baseboard ends smoothly and nicely at the stair, adding to the overall appearance of your home.
Frequently Asked Question
How Should I Cut the Baseboard to Fit Around the Stairs?
There are a few different options for cutting the baseboard to fit around the stairs.
First, you can use a miter saw to cut angled cuts along the baseboard where it meets the stair treads. Alternatively, you can use a coping saw or jigsaw to cut out small sections of the baseboard and fit them around the stair treads.
Can I Install Baseboard on Stairs Without Nailing?
While it is possible to install a baseboard on stairs without nailing, it is not recommended as it may not be secure enough. It is best to use a construction adhesive and nail the baseboard into place for added stability.
Do I Need to Cut the Baseboard at Every Stair Tread?
It is not necessary to cut the baseboard at every stair tread, as long as it fits smoothly against the treads and there are no gaps or uneven areas. However, if there are any gaps or unevenness, then it may be necessary to cut the baseboard at each tread in order to achieve a smooth fit.
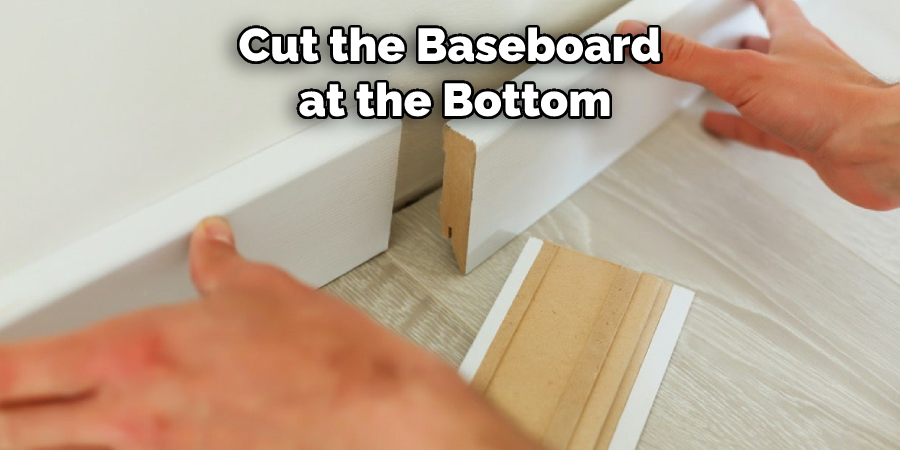
Do I Need to Cut the Baseboard at the Bottom or Top of the Stairs?
It is not necessary to cut the baseboard at the bottom or top of the stairs, as long as it fits smoothly and there are no gaps or unevenness. However, if there are any gaps or unevenness, then it may be necessary to cut the baseboard in order to achieve a smooth fit. Additionally, it may be necessary to cut the baseboard at the bottom of the stairs if there is a quarter-round molding added for aesthetic purposes.
Conclusion
Here are steps about how to end baseboard at stairs. It really depends on the style and looks of the room as to which method you should choose. But all of these methods are sure to give your room that clean, finished looking. So go ahead and try one of these methods the next time you need to end the baseboard at the stairs. We’re confident you’ll love the result!
Finishing a baseboard at stairs can be tricky, but with these tips in mind, you should be able to get the job done quickly and easily. Remember to take your time, measure twice and cut once, and use the proper tools for the job. With a little patience and attention to detail, you’ll be able to create a professional-looking finished product that you can be proud of.
You Can Check It Out to Tell if Wood is Dry Enough to Burn