

Draining the water out of a portable air conditioner is essential for optimal performance. This is because when the unit operates, it cools down the air by evaporating moisture from it. The resulting condensation then needs to be collected and removed from the device. It is recommended that you drain your Whynter portable air conditioner every few months to help ensure it runs efficiently and effectively.
The advantages of draining your Whynter portable air conditioner are numerous. Firstly, properly draining the unit will help extend its life expectancy and ensure that it operates efficiently for longer periods. It also prevents water from collecting in the pan, potentially causing mold, mildew, or other growths. Additionally, a window unit can help reduce condensation buildup in your room and prevent water damage to walls, windowsills, and other surfaces. In this blog post, You will learn in detail how to drain whynter portable air conditioner.
Step-by-Step Processes for How to Drain Whynter Portable Air Conditioner
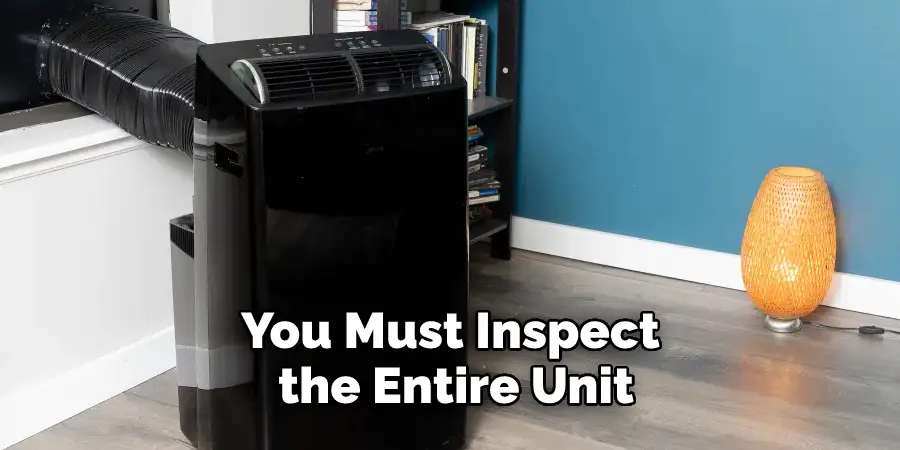
Step 1: Inspect the Air Conditioner
Before draining your Whynter portable air conditioner, you must inspect the entire unit for any visible signs of damage or wear. Inspect all hoses and connections for possible cracks or leaks. After inspecting the air conditioner, disconnect it from its power source by unplugging it from the wall.
Step 2: Remove Excess Water from the Drain Pan
Your Whynter portable air conditioner has a drain pan at the bottom of the unit. Before attempting to drain the entire unit, remove excess water from this pan. To do so, use a cup or container to collect and discard the water. Once all excess water has been removed, you are ready to begin the draining process.
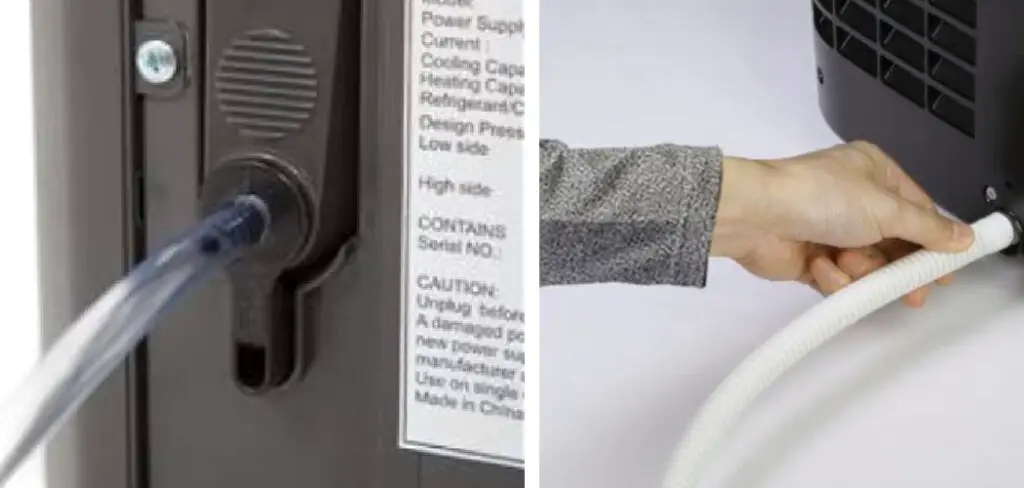
Step 3: Disconnect the Drain Hose
The drain hose on your Whynter portable air conditioner is located at the back of the unit and connects to a plastic cup or reservoir. To disconnect this hose, simply unscrew it from its connection and place it somewhere safe.
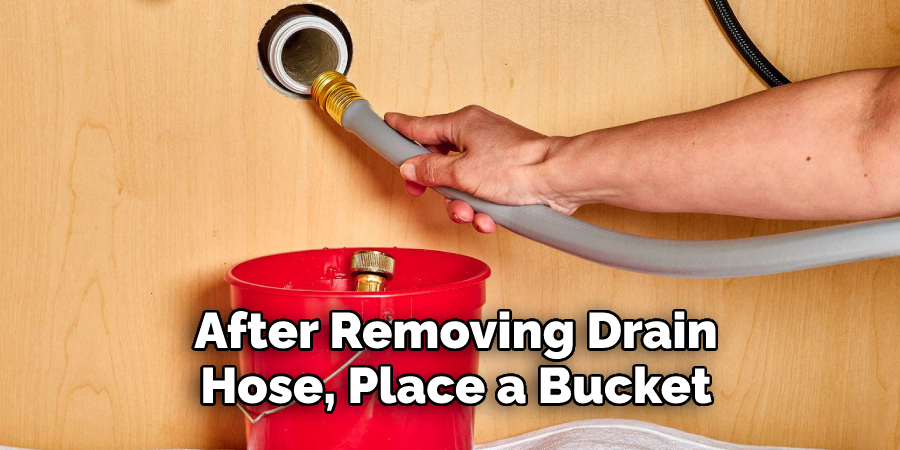
Step 4: Place a Bucket or Container Under the Unit
Once the drain hose has been removed, you should place a bucket or container beneath the unit to catch any water that may come out during draining. This will help to prevent any messes from occurring while draining your Whynter portable air conditioner.
Step 5: Begin Draining the Unit
Once everything is in place, you can begin to drain your Whynter portable air conditioner. To do so, locate a small knob or valve located near the bottom of the unit and turn it counterclockwise until it opens up and allows water to flow out of the unit.
Step 6: Ensure the Unit is Fully Drained
Allow your Whynter portable air conditioner to drain completely before ending the process. Once it appears to be finished draining, close the knob or valve by turning it clockwise and reconnect any hoses that were removed earlier. Finally, inspect the unit once more to ensure it is fully drained, and then plug the unit back into its power source.
Your Whynter portable air conditioner is now successfully drained and ready for use. Following these steps each time you need to drain your unit will help prolong its life and ensure that it continues to function properly.
Precautions for How to Drain Whynter Portable Air Conditioner
- Unplug the air conditioner before draining it.
- Have a bucket or other container on hand to collect the water that will be drained from your air conditioner.
- Make sure the hose you use is suitable for your Whynter portable air conditioner and has the correct diameter.
- Make sure the hose you are using is long enough to reach away from your windows or doorways where you are draining the water.
- Keep a towel handy in case of any unexpected spills when moving the bucket and hose.
- Place the container beneath the drain port at least three feet below the unit, as this is where the condensed water will come out.
- Make sure to shut off the drain valve when you are done draining the air conditioner so that no more water will be released from the unit.
- If possible, try to avoid spilling any of the condensations onto electrical components or other parts of the air conditioner.

Following these precautions will help ensure that you properly drain your Whynter portable air conditioner while avoiding any potential hazards.
How Do You Safely and Effectively Drain the Unit?
- Unplug your Whynter portable air conditioner from the power outlet, and move it to an area that won’t be damaged by any water that might spill out of the unit during draining.
- You will notice a small spout at the bottom rear side of your air conditioning machine, which serves as the drain for the unit.
- Place a bucket or container underneath the drain spout to catch any water that comes out while draining.
- Locate and remove the side panel of your air conditioning machine. This will expose the interior parts of your air conditioner, including the condensate pan, compressor, fan, and evaporator.
- Use a flathead screwdriver to loosen the three screws at the side of the condensate pan and remove the panel, being careful not to damage any components.
- Slip one end of a garden hose onto the drain spout on the bottom rear side of your air conditioning machine and attach it tightly with electrical tape.
- Place the other end of the garden hose into a nearby drain or bucket to allow for proper drainage, and make sure that it is securely attached with electrical tape.
- Turn on the power switch and fan control knob on your air conditioning machine and set it to “cool” and the desired temperature setting.
- Wait for the air conditioner to start draining. This will take a few minutes, and you should be able to see the water slowly dripping from the garden hose into the drain or bucket.
- When no more water is coming out, turn off your air conditioner and unplug it from the power outlet.
- Remove the garden hose from the drain spout and return the condensate pan to its original position, securing it with screws.
- Reattach the side panel of your air conditioning machine and plug it into a power outlet.
Following these steps will ensure that you can safely and effectively drain your Whynter portable air conditioner. Doing this regularly can help to keep your machine running smoothly and efficiently for years to come.
What Are Some Possible Risks Associated With Draining a Whynter Portable Air Conditioner?
- Electric Shock: If the unit is still plugged into an electrical outlet, draining the air conditioner may cause a shock hazard. Be sure to unplug the unit before attempting any draining procedures.
- Flooding: Draining your Whynter portable air conditioner improperly can lead to water flooding out of the unit. Always ensure that the hose connection is properly sealed and secure before draining.
- Leaks: If the hoses connected to your air conditioner are not secure, then you may experience leaks. Be sure to double-check all connections before beginning the process of draining your unit.
- Frost Damage: If cold air is allowed to escape, it can cause frost damage to the evaporator coils. Ensure that all connections are secure and sealed before draining your unit.
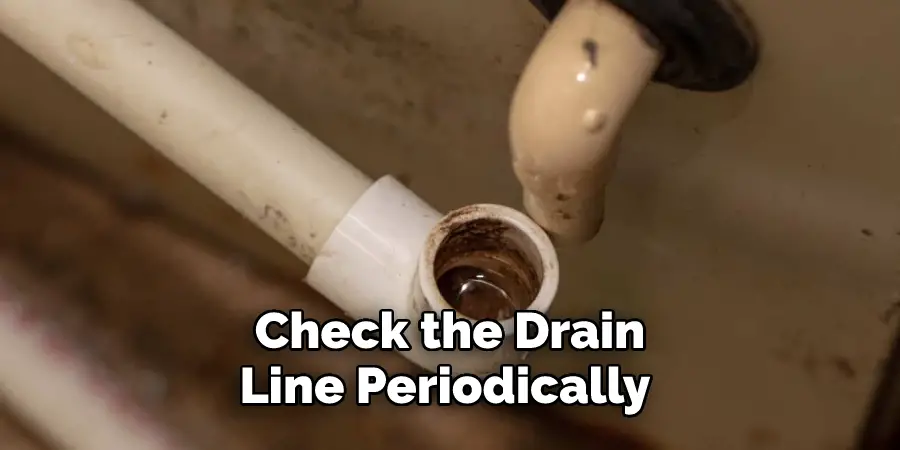
- Clogged Drain Line: If the drain line becomes clogged while draining your air conditioner, this could lead to water leaking out of the unit or other damage. Be sure to check the drain line periodically for blockages or debris during draining.
By following these precautions, you can help to ensure a safe and effective draining procedure for your Whynter portable air conditioner.
You Can Check It Out To How to Remove Lysol Toilet Bowl Cleaner Stains
How Do You Maintain the Unit to ensure it works properly and Efficiently?
- Drain Whynter Portable Air Conditioner: Regularly drain the water for your portable air conditioner unit. Depending on the model, you may have either a manual or an auto-drainage system installed.
- Manual Draining: If you have a manual system, locate the moisture tray and gently lift the unit up to remove it. Next, carefully open the tray cap and pour the collected water into a bucket or sink.
- Auto-Draining: If you have an auto-draining system installed, simply locate the drain hose near your unit’s back. Once located, attach a garden hose to the drain port and direct it to an area where the water can be safely discharged.
- Replace: After draining, reset the moisture tray or auto-drainage system, whichever is applicable to your model, and replace any parts that need to be replaced.
- Final Cleaning: It is also important to keep the air filters clean, as this will help the air conditioner to work more efficiently. To clean your filters, simply remove them and rinse them with warm soapy water. Once they are clean, allow them to dry before replacing them in the unit.
Keeping up with regular maintenance for your Whynter portable air conditioner is important for ensuring that it works efficiently and properly. Draining the unit, as described above, will help to keep your Whynter running smoothly.
You Can Check It Out To How to Use Liquid Fire Drain Cleaner
Conclusion
In conclusion, draining a Whynter portable air conditioner is important to its maintenance and care. To ensure that your Whynter AC runs efficiently, it should be drained regularly to help avoid damage from standing water and buildup. The process for draining a Whynter AC unit is simple but requires some basic tools, such as a bucket and garden hose.
To start, it is important to ensure the unit is unplugged and shut off. Next, disconnect the drainage hose from its port on the left side of the AC unit, then connect a garden hose or other suitable drain line and place it in a bucket or sink. I hope this article has been beneficial for learning how to drain whynter portable air conditioner. Make Sure the precautionary measures are followed chronologically.
You Can Check It Out To How to Clean the Carpet With Baking Soda
Rick is a handyman who grew up helping his dad with his business. He learned a lot from him about how to fix things, and also about how to work hard and take care of business. These days, Rick is still into fixing things- only now, he’s doing it for a living.
Rick is always looking for new ways to help people grow and develop. That’s why he started contributing to this blog: to share all his experience and knowledge so that he can help people who are interested in DIY repair.