

Are your floors covered in pet hair, dirt, dust, and whatever else your family tracks in with their shoes? Have you ever wished that vacuuming was as easy as controlling a device with just an app on your smartphone or voice commands from Amazon Alexa? You’re in luck! With the Shark Vacuum Cleaning System, you can now do just that.
Whether it is scheduling cleaning times each day to get rid of all the debris on your floors or getting personalized support when something goes wrong, connecting a Shark Vacuum to wifi will take care of all of those worries. In this post, we’ll discuss how to connect shark vacuum to wifi and how you can use it for smarter home organization.
Why Won’t My Shark Vacuum Connect to Wi-Fi?
Troubleshooting your Shark Vacuum’s Wi-Fi connection can be a tricky process. It is important to identify the cause of the issue before attempting to reconnect it to Wi-Fi. Common causes for this problem include incorrect credentials, outdated firmware, or distance from the router.
The first step in resolving the issue is to check the credentials being used. Make sure that your Wi-Fi name and password are correct. If you have forgotten or changed the password, reset it in your router settings to ensure a successful connection.
The next step is to check for any firmware updates for the Shark Vacuum. Outdated firmware can cause issues with Wi-Fi connections, so updating it may resolve this issue. To update the firmware, navigate to the product support page on Shark’s website and download the latest version of the software for your vacuum model.
Finally, make sure that your Shark Vacuum is within range of your Wi-Fi router. Poor signal strength can prevent a successful connection; if possible, move closer to the router or use an extender to increase the signal strength.
9 Methods How to Connect Shark Vacuum to Wifi
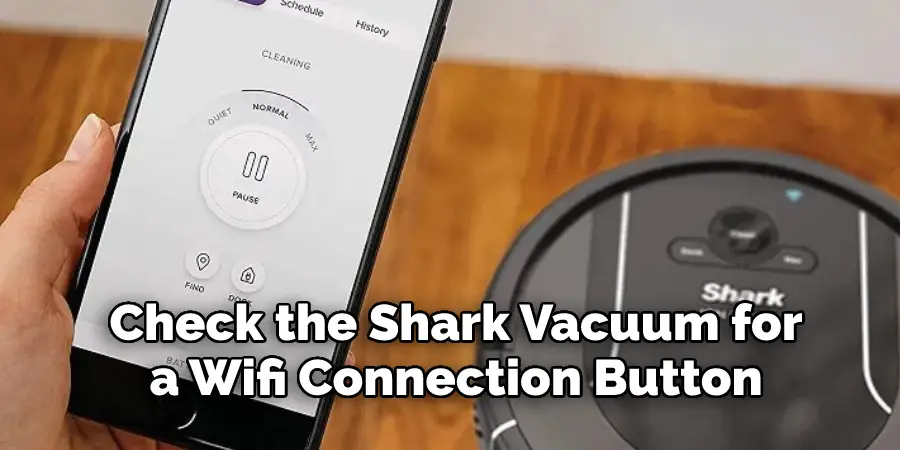
1. Check the Shark Vacuum for a Wifi Connection Button
The first thing you need to do is check the Shark vacuum for a wifi connection button. This button is usually located on the top or side of the vacuum, and it may be labeled with a wifi symbol.
If you cannot find this button, consult the manual that came with your vacuum. However, some models do not come with a wifi connection button, so you will need to locate the option for connecting your Shark vacuum to wifi in another way.
2. Download the Shark Vacuum App
Once you have located the wifi connection button, the next step is to download the Shark vacuum app. This app is available for both iOS and Android devices, and it will allow you to control your vacuum from your smartphone or tablet.
To get the app, simply search for “Shark Vacuum” in your device’s app store and download it. Once installed, open the app and follow the on-screen instructions to connect your vacuum to your wifi network. If you have any problems with this step, refer to the user manual for additional instructions.
3. Connect Your Device to the Shark Vacuum’s Wifi Network
Once you have downloaded the app, open it and follow the instructions to connect your device to the Shark vacuum’s wifi network. This process will vary depending on your specific device and operating system, but it should be relatively straightforward. Although it may take a few tries, you should eventually be able to successfully connect your device to the Shark vacuum’s wifi network.
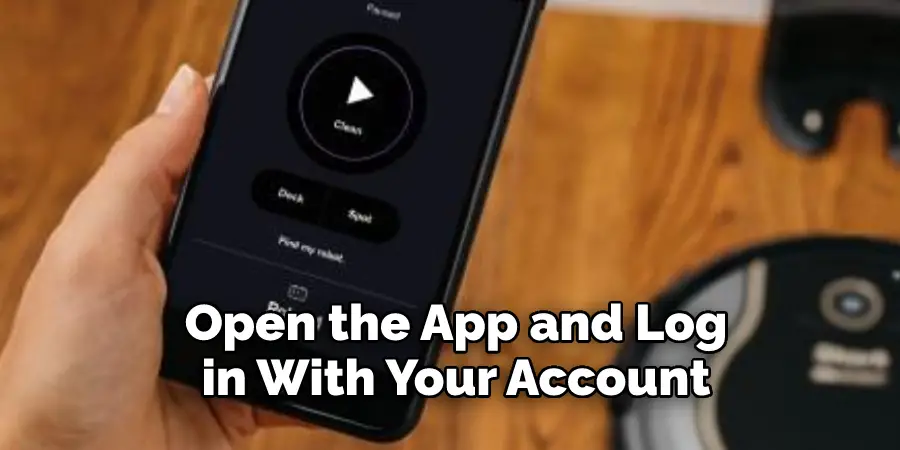
4. Open the Shark Vacuum App and Log in With Your Account
Once you are connected to the Shark vacuum’s wifi network, open the app and log in with your account. If you do not have an account, you will need to create one before you can continue. Once you have logged in, your Shark vacuum will appear in the app. Select it to connect the two devices and begin setting up cleaning schedules.
You can also adjust settings and troubleshoot any problems you may be having with the vacuum. With the app, you can also get advice on maintenance and cleaning tips. Additionally, you can use the app to track your vacuum’s battery level and view the cleaning history. Now that you have connected your Shark vacuum to wifi, you can easily control it from anywhere in your home. Enjoy the convenience and ease of cleaning with a connected device!
5. Add Your Shark Vacuum to Your Account
After you have logged in, you will need to add your Shark vacuum to your account. To do this, simply click on the “Add Vacuum” button and follow the instructions. Once your vacuum has been added, you will be able to control it from within the app.
Now, you can easily schedule cleaning cycles, monitor your vacuum’s performance, customize settings, and more! Additionally, you can use voice commands with devices like Amazon Alexa and Google Home to control your Shark vacuum from just about anywhere. You’ll be able to start and stop cleaning cycles, check battery levels, and more!
6. Connect Your Shark Vacuum to Amazon Alexa
If you have an Amazon Echo or other Alexa-enabled device, you can connect your Shark vacuum to it for even easier control. To do this, simply open the Amazon Alexa app and search for “Shark Clean.” Once you have found the skill, enable it and follow the instructions to link it to your account.
Once it’s connected, you can ask Alexa to start your vacuum cleaning or turn it off. You can also ask for status updates and other information about your vacuum. With this added integration, you can have a truly hands-free vacuuming experience.
7. Connect Your Shark Vacuum to Google Home
If you have a Google Home device, you can also connect your Shark vacuum to it for easy control. To do this, simply open the Google Home app and search for “Shark Clean.”
Once you have found the skill, enable it and follow the instructions to link it to your account. Once it is linked, you can use voice commands such as “Hey Google, turn on Shark Vacuum” to control your vacuum. This is a great way to make cleaning easier and more fun.
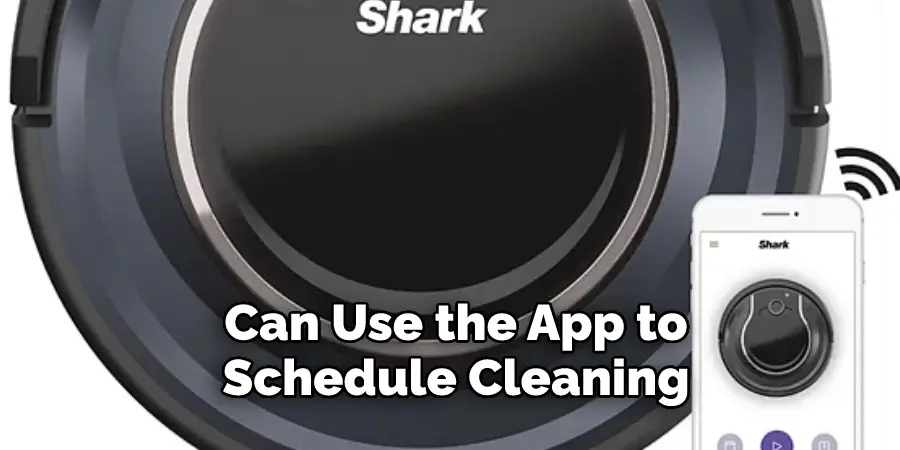
8. Schedule Cleanings With The App
Once your Shark vacuum is connected, you can use the app to schedule cleanings. Simply select when you want the cleaning to start and how often you want it to occur, and the app will take care of everything else. You can also use the app to start or stop cleanings at any time. With the app, it’s easy to keep your home clean and tidy without having to manually turn on your vacuum each time you need it. Plus, the app allows you to monitor the progress of your vacuum in real-time, so you can always be sure that it’s doing its job.
9. Troubleshooting
If you are having trouble connecting your Shark vacuum to wifi, there are a few things you can do. First, make sure that the wifi connection button is pressed and that both your device and the vacuum are on the same network. If this doesn’t work, try rebooting your router or moving closer to it. Finally, make sure that your Shark Vacuum is running the latest firmware, as older versions may have compatibility issues. If none of these steps work, contact Shark Vacuum customer support for further assistance.
By following these steps, you should be able to connect your Shark vacuum to wifi with ease. For more information, refer to the user manual or contact Shark support. With a connected shark vacuum, you can enjoy an effortless cleaning experience and worry less about the mess. Good luck!
Things to Consider When Connecting Shark Vacuum to Wifi
1. Check the Device Compatibility:
Make sure that your Shark vacuum is compatible with wifi connections before attempting to connect it to a network.
2. Review the Wifi Network Requirements:
Before attempting to connect the Shark vacuum, review the requirements of your wifi network. Some networks may require specific settings to enable a connection.
3. Make Sure the Shark Vacuum is in Range:
Make sure that the Shark vacuum is within range of your wifi network in order to establish and maintain a strong connection.
4. Set Up WiFi Direct on Your Device:
Most modern Shark vacuums come with built-in wifi, so you may need to set up your device’s wifi direct feature prior to connecting it.
5. Follow Instructions Carefully:
When attempting to connect your Shark vacuum, follow the instructions carefully and contact customer support if needed.
You Can Check it Out to Connect Eufy Vacuum to Wifi
Conclusion
Now that you know how to connect shark vacuum to wifi, you can easily take advantage of all the features and benefits that come with a connected device.
Whether it’s scheduling cleaning sessions or getting real-time updates on the status of your vacuum, being able to control your Shark from your smartphone is a huge convenience. So if you haven’t already done so, be sure to follow these simple steps and get your Shark vac connected today.
Rick is a handyman who grew up helping his dad with his business. He learned a lot from him about how to fix things, and also about how to work hard and take care of business. These days, Rick is still into fixing things- only now, he’s doing it for a living.
Rick is always looking for new ways to help people grow and develop. That’s why he started contributing to this blog: to share all his experience and knowledge so that he can help people who are interested in DIY repair.