
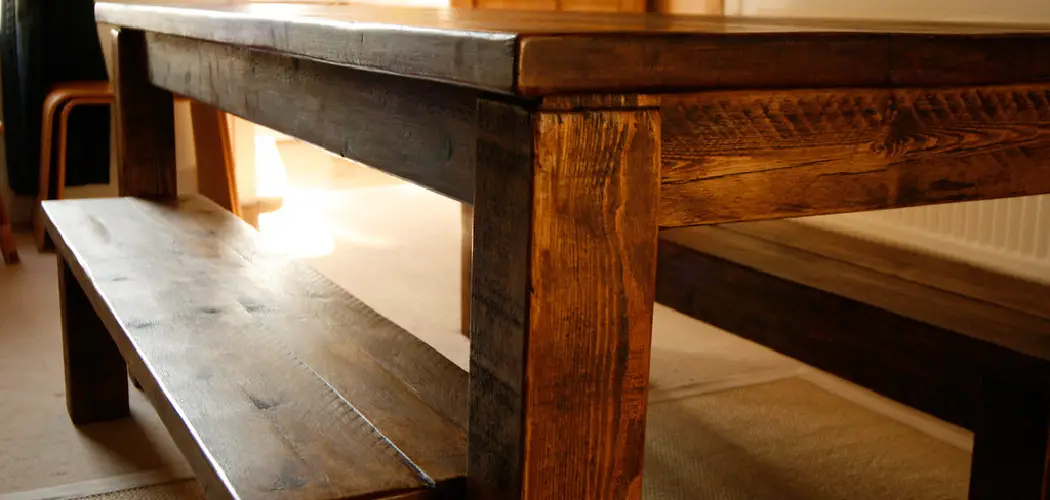
Building a built-in bench is an excellent project for homeowners looking to add both seating and storage space to their homes.
This versatile piece of furniture can enhance the functionality of various spaces—from breakfast nooks and entryways to reading alcoves and outdoor patios. The process may seem daunting initially, but with some basic woodworking skills and a clear plan, constructing a built-in bench can be rewarding and satisfying.

This guide will walk you through the essential steps on how to build a built in bench, from planning and measuring your space to selecting the right materials and executing the build. Whether aiming to create a cozy corner or maximize utility in a compact area, a built-in bench is a stylish and practical addition to any home.
What Will You Need?
Before starting the project, ensure you have all the necessary tools and materials. While the specific requirements may vary based on your design and space constraints, here are some essential items you’ll likely need:
- Measuring tape
- Level
- Square ruler
- Saw (hand saw or power saw, depending on your preference)
- Hammer
- Drill
- Screws or nails
- Wood glue
- Sandpaper or sander
- Paint or stain (optional)
You can choose from a variety of wood options, such as pine, oak, cedar, or plywood, in terms of materials.
10 Easy Steps on How to Build a Built in Bench
Step 1: Plan and Measure Your Space
The first step in building a built-in bench is careful planning and precise measurement. Begin by selecting the location where you want the bench to be installed. Consider available space, natural lighting, and proximity to other furniture. Once you’ve chosen the perfect spot, use your measuring tape to measure the area’s dimensions. Make sure to note the length, width, and height that the bench will occupy. These measurements will guide the entire construction process, ensuring the bench fits seamlessly into your chosen space. Consider how you will use the bench and adjust the measurements to include desired features like storage or cushions.

Step 2: Choose Your Materials and Design
After measuring your space, it’s time to decide on the materials and design for your built-in bench. Your choice of materials will influence the durability and aesthetics of the final product. Consider using sturdy woods like oak or cedar for outdoor benches, while lighter woods like pine or plywood can work well indoors. Think about the style you want—do you prefer a minimalist look or want your bench to have ornate details? Sketch out your design, including additional features such as a backrest or storage compartments.
Step 3: Cut the Wood Pieces
With your design finalized and materials selected, the next step is to cut your wood pieces according to your measurements. Use a saw—whether hand or power saw—to make precise cuts, ensuring that each piece fits your planned dimensions. Begin by cutting the main pieces for the bench seat, back, and side walls or storage compartments you’ve designed. For accuracy, double-check your measurements before cutting to avoid costly errors. Label each piece as you go to keep your project organized and simplify assembly. Smooth the edges with sandpaper or a sander to prevent splinters and prepare the pieces for assembly and finishing.
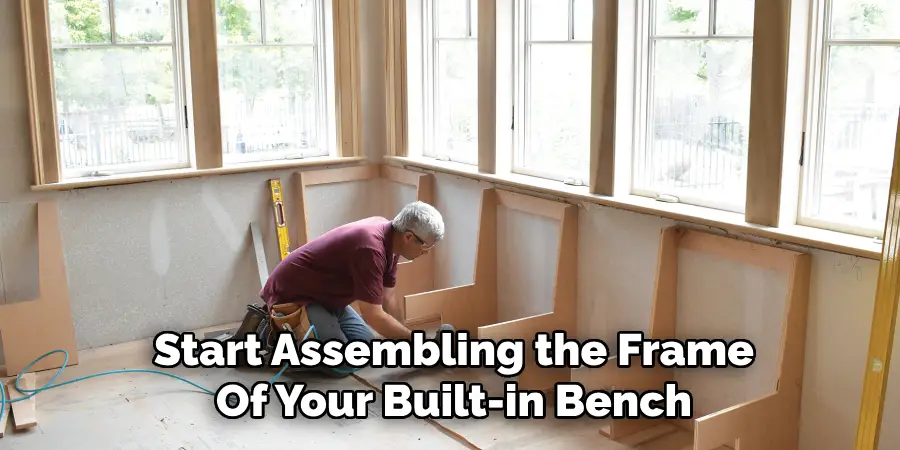
Step 4: Assemble the Frame
Once all your wood pieces are cut and prepped, it’s time to start assembling the frame of your built-in bench. Begin by constructing the outer frame, which is the bench’s foundation. Use wood glue along with screws or nails to secure the joints, ensuring the frame is stable and square. Utilize a level and square ruler to verify that the corners are at right angles and that the frame is even. If your bench includes storage compartments, assemble these sections as part of the frame at this stage. The sturdiness of the frame is crucial for the overall stability and longevity of your bench, so take your time to ensure it is well-built.
Step 5: Attach the Seat and Back Panels
With the frame securely in place, the next step is to attach the seat and back panels to your built-in bench. Begin by positioning the bench seat pieces on top of the frame, ensuring they are adequately aligned and evenly distributed. Secure these pieces using screws, guaranteeing a solid and stable seat that can support weight comfortably. If your design includes a back panel, follow the same method to attach it, ensuring it is fixed firmly to provide ample support. Use the level to double-check that the seat and the back panels are flush and level with the frame. This step is crucial in providing both functionality and comfort, setting the foundation for the final stages of your bench project.
Step 6: Add Storage and Decorative Elements
If your built-in bench includes storage options, now is the time to add those features. Install any doors, lids, or drawers that complement the storage compartments within the bench frame. Ensure that hinges are securely fastened and drawers slide smoothly without obstruction. You’ll want to double-check alignment for any moving parts so they function seamlessly. This is also the ideal stage to incorporate decorative elements to enhance the bench’s appeal, such as molding, trim, or carved details. These finishing touches contribute to the overall aesthetic and functionality, transforming your bench into a distinctive and personalized feature within your space.
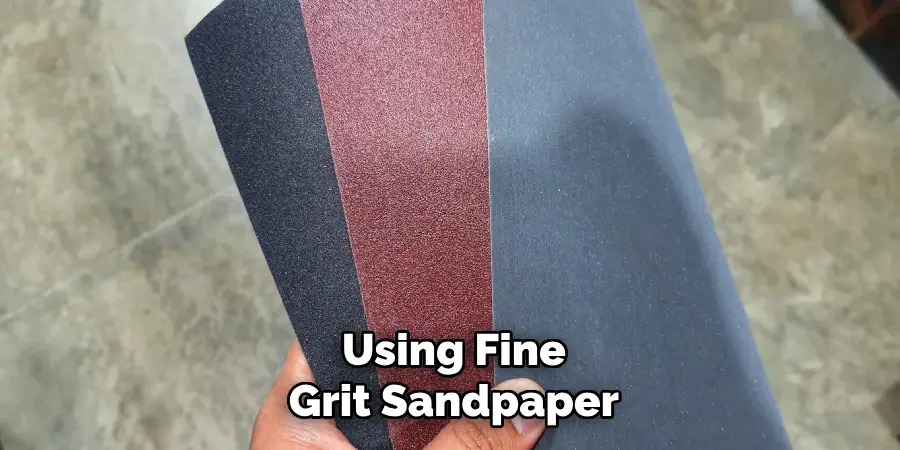
Step 7: Sand and Finish the Bench
Now that the main construction of your built-in bench is complete, it’s time to sand and finish the surface for a polished look. Start by thoroughly sanding all wooden surfaces using fine grit sandpaper or a power sander to remove rough edges or imperfections. Focus mainly on areas with joints and seams to ensure they are smooth. Once the sanding is complete, wipe the bench with a damp cloth to remove dust particles. Consider applying a finish such as paint, stain, or sealant, depending on your desired aesthetic and the bench’s function. A stain can highlight the natural wood grain, while paint can add a pop of color that complements your existing room decor.
Allow the finish to dry thoroughly, and apply additional coats as necessary for an even and durable surface. Finishing your bench enhances its look and provides protection against wear and tear, ensuring longevity.
Step 8: Install the Bench
With your built-in bench fully assembled and finished, it’s time for installation in its designated location. Carefully move the bench into place, aligning it with existing room elements per your initial measurements. If the bench is designed to be fixed to a wall or floor, use appropriate anchors or brackets to secure it firmly, ensuring stability and preventing movement. Double-check all alignments and balance to maintain symmetry within your space. Once installed, step back to assess the integration of the bench with its surroundings, making adjustments as needed. The final installation is the culmination of your careful planning and craftsmanship, adding function and charm to your interior or outdoor area.
Step 9: Add Cushions and Accessories
Consider adding cushions and other accessories to your built-in bench to maximize comfort and style. Choose cushions that complement your room’s color palette and provide the desired comfort level. Make sure the cushions are appropriately sized to fit the bench dimensions perfectly. Consider incorporating throw pillows for added coziness and visual interest. If applicable, add accessories such as blankets or decorative baskets for additional storage, enhancing your space’s aesthetic and functionality. Thoughtfully chosen accessories can transform your bench from a simple piece of furniture into an inviting centerpiece in your home.
Step 10: Maintain Your Built-in Bench
Consistent maintenance is essential to ensure the longevity and continued appeal of your built-in bench. Regularly inspect your bench for any signs of wear or damage, such as loose screws or chipped finishes, addressing them promptly to prevent further deterioration. Clean the bench periodically by dusting the surfaces and wiping them down with a damp cloth to remove dirt and stains. If your bench is exposed to outdoor elements, consider reapplying a protective sealant annually to guard against weathering.

Additionally, laundering or replacing cushions and accessories as needed will keep your bench looking fresh and inviting. Proper upkeep will help preserve the bench’s functionality and aesthetic, making it a lasting fixture in your space.
By following these steps, you can successfully build and incorporate a functional and stylish built-in bench into your home or outdoor area.
Conclusion
How to build a built in bench is a rewarding project that not only enhances the functionality of your living space but also adds a personal touch to your home décor.
By following the comprehensive steps outlined, from careful planning and material selection to final installation and maintenance, you can create a durable and stylish bench that meets your unique needs. This project allows for customization in terms of design and features, enabling you to incorporate storage elements, choose materials that complement your interior or exterior theme, and add decorative touches that reflect your style. Ultimately, a well-constructed built-in bench becomes more than just a seating solution; it becomes an inviting element that contributes to the warmth and character of your home.
With a commitment to careful construction and regular maintenance, your built-in bench will serve you and your family for years, offering comfort and charm.
About
Angela is the chief editor of Indoorense. She began her career as an interior designer before applying her strategic and creative passion to lifestyle and home.
She has close to 15 years of experience in creative writing and online content strategy for housekeeping and cleaning,home decorations as well as other efforts.
She loves her job and has the privilege of working with an extraordinary team. She lives with her husband, two sons, and daughter in Petersburg. When she’s not busy working she spent time with her family.