
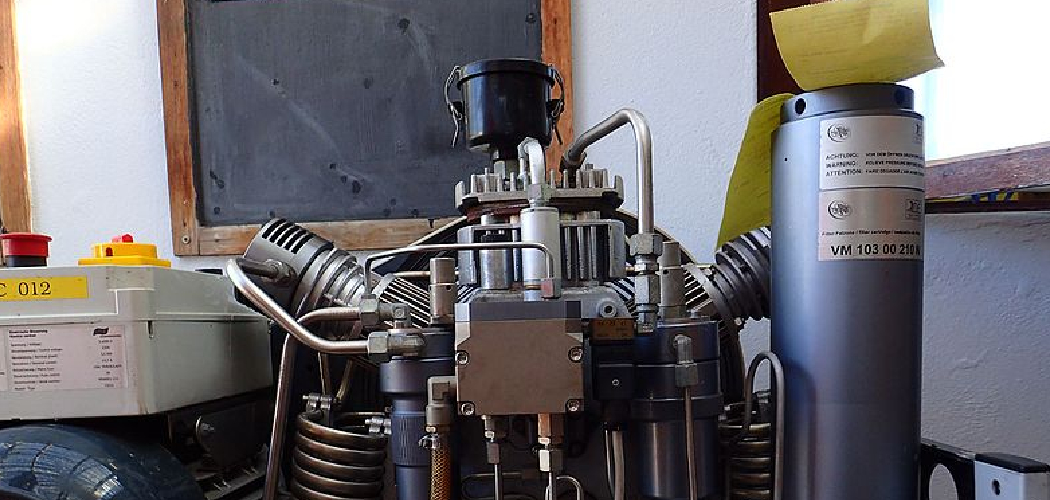
If you’re a firearms enthusiast and are looking to build your own custom air rifle, then building a 4500 psi compressor is the way to go. With this device, you can achieve the highest possible pressure for your air rifle so that it functions at peak performance with every shot. It is important to know how to build a 4500 psi compressor.
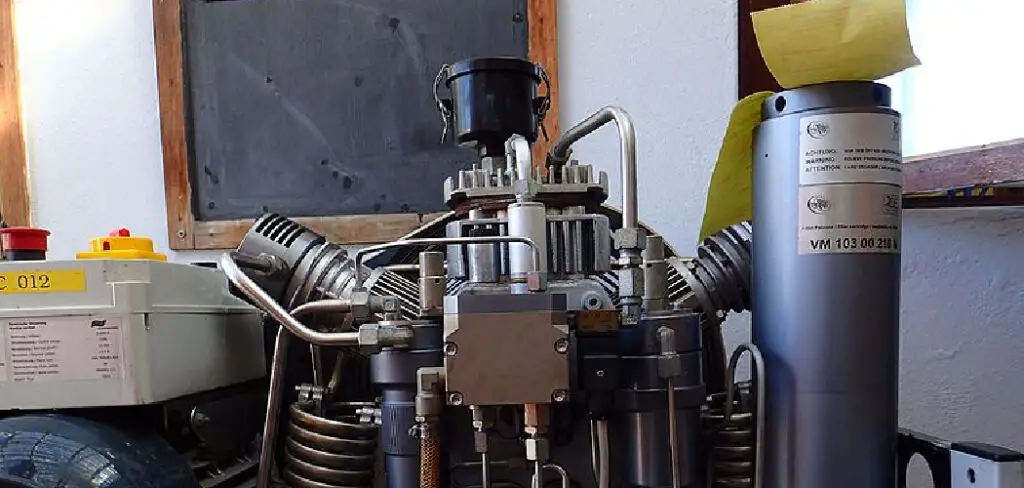
In this blog post, we will guide you through an easy-to-follow step-by-step process of putting together a reliable 4500 psi compressor. By walking through all the basics and exploring the different options available when sourcing parts and materials, you’ll be able to assemble a powerful machine. Which is designed specifically tailored for achieving maximum accuracy in firing range sessions!
Tools You Will Need
- Pressure gauge
- Cylinder head screws
- Air regulator
- O-rings
- Allen wrench
- Compressor tank
- Oil filter/strainer assembly
- Coupling/hose fitting assemblies (2)
- Pressure switch and relay assembly
7 Easy Instructions Guide on How to Build a 4500 PSI Compressor
1. Assemble the Cylinder Head Screws
Starting your project off right is important, so take care to begin by properly assembling the cylinder head screws to the compressor tank. This requires an Allen wrench to ensure each screw is properly tightened and affixed in place.
Double-check each screw before moving on, as this is a crucial step in the overall process that cannot be overlooked. Once you’ve finished with this part, you’ll be ready to proceed with confidence that your work is secure and ready for whatever comes next!
2. Attach the Air Regulator
Installing an air compressor is not a daunting task. The next step following the assembly of the cylinder, cylinder head, and safety valve to the tank is to attach the air regulator, oil filter/strainer assembly, and coupling/hose fitting assemblies to the compressor tank.
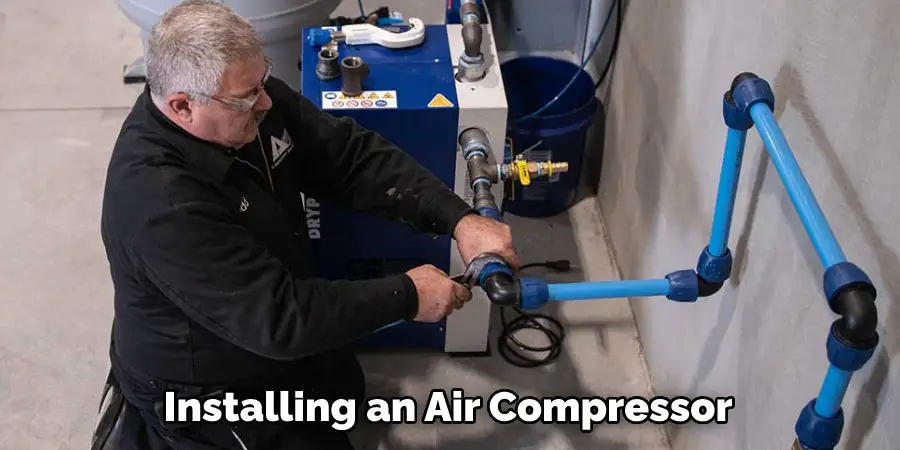
Make sure that all connections are firmly in place before moving on; double-checking for security will ensure that your setup is up-and-running safely and quickly. After the installation of these components is complete, you’ll be one step closer to having your very own air compressor!
3. Install the Pressure Switch
Installing the pressure switch and relay assembly according to the manufacturer’s instructions is essential for any compressor system. It is crucial for ensuring safe and adjustable pressure levels, providing an effective way to control your unit both reliably and efficiently.
Although it might seem like a complicated process, with the right tools and guidance your installation should be relatively straightforward. So take the time to make sure you are following all of the steps correctly for optimal results.
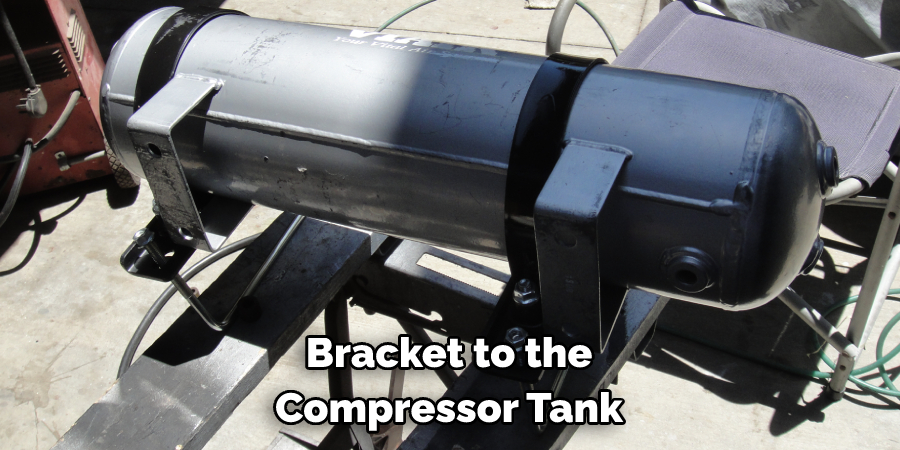
4. Attach the Motor Mount/bracket
Securing the motor mount/bracket to the compressor tank is a vital step in assembling the components; it anchors the motor in place and allows for the other components to be properly mounted. You’ll need to make sure you have the appropriate screws or bolts ready before proceeding with this task.
You should also ensure that all connections are as tight as possible to ensure a secure fit. By fastening the motor mount/bracket firmly, you can rest assured that your assembled components will remain stabilized during operation.
5. Secure the 2-stage Belt-driven Compressor
To ensure that the 2-stage belt-driven compressor head is properly installed, first secure it to the motor/pump assembly. Fasten all bolts firmly using a torque wrench and make sure they meet the recommended torque specifications.
Additionally, if the motor/pump assembly features locking collars or sheet metal screws, be sure to tighten those as well for added safety. Lastly, to double-check that everything is correctly installed and secured, spin the pulley by hand and check for noises or vibrations out of the ordinary.
This indicates that something may not have been done correctly or entirely tightened and needs further attention.
6. Attach the High-pressure Hose
Securing the high-pressure hose and fittings to the compressor tank is an essential step in utilizing these powerful machines. It requires attention to detail as you ensure a snug fit and make sure that each component is tightly sealed.
With the correct procedure, you can protect yourself from dangerous leaks or improper operation of the system. Before you finalize this step, be sure to don protective gear, check for any tears or leaks in your components, and read the manufacturer’s instructions for proper installation.
Once all those pieces are in place, you will be on your way to optimized performance!
7. Test the System
Before you begin using a pressure gauge to work on any of your firearms projects, it is critical to test the system first. This will help ensure that the compressor is working properly and that it is running at the required 4500 psi capacity.
A good way to test the system and pressure gauge is by evaluating its accuracy when dealing with various levels of air pressure. Additionally, it would be necessary to confirm that all connections are secure and stable before putting the gauge into action. By following these steps, you can make sure everything is for successful firearms projects in your workshop.
By following these steps, you can easily build a reliable 4500 psi compressor. Keep in mind that this should only be done by professionals or with proper guidance as it requires working with high-pressure components and systems.
7 Tips for Building a 4500 PSI Compressor
1. When choosing a location for your 4500 psi compressor, it is important to consider factors such as noise level, vibration, and temperature. You will also need to make sure that the area is large enough to accommodate the size of the compressor.
2. There are two main types of compressors that you can choose from – oil-lubricated and oil-free. Oil-lubricated compressors tend to be more durable and require less maintenance than oil-free compressors. However, they are also more expensive.
3. The size of your compressor will depend on several factors, including the intended use, desired output pressure, and available space. It is important to select a size that is appropriate for your needs to avoid overloading the compressor or wasting energy.
4. It is important to install an air filter on your 4500 psi compressor to protect the internal components from dust and other contaminants. This will help to prolong the life of the compressor and keep it running at peak efficiency.
5. To avoid vibration and noise, it is important to mount your 4500 psi compressor properly. The recommended method is to bolt it down to a solid surface using vibration-damping mounts.
6. When connecting your 4500 psi compressor to an air tank or other system, it is important to use quality piping that is rated for high pressures. This will help to prevent leaks and ensure that the system operates safely and efficiently.
7. It is important to regularly maintain your 4500 psi compressor to keep it running at peak efficiency. This includes checking the oil level, inspecting the air filter, and replacing worn parts as needed.
Frequently Asked Questions
How to Mount the Compressor Properly?
One of the most important steps in setting up your compressor is mounting it properly. Depending on your compressor system, you may need to mount the tank onto a flat surface like a wall, or onto a floor if space allows.
You’ll need to make sure that the mounting surface is strong and secure enough to handle the weight, pressure, and vibration from the compressor. Once the spot is decided and secured properly, you can install brackets and gaskets necessary for safely fastening your compressor system in place.
Always refer to manufacturer instructions to ensure proper mounting so that you can maximize its performance. With careful attention and by following step-by-step instructions, your compressor will be mounted correctly and ready for use!
How to Regularly Maintenance Your 4500 PSI Compressor?
Regularly maintaining your 4500 psi compressor is essential for ensuring your device lasts years and maintains its peak performance. Start by taking a look at the air filters, replacing them when needed, and making sure they are always clean to avoid the possibility of clogged filters.
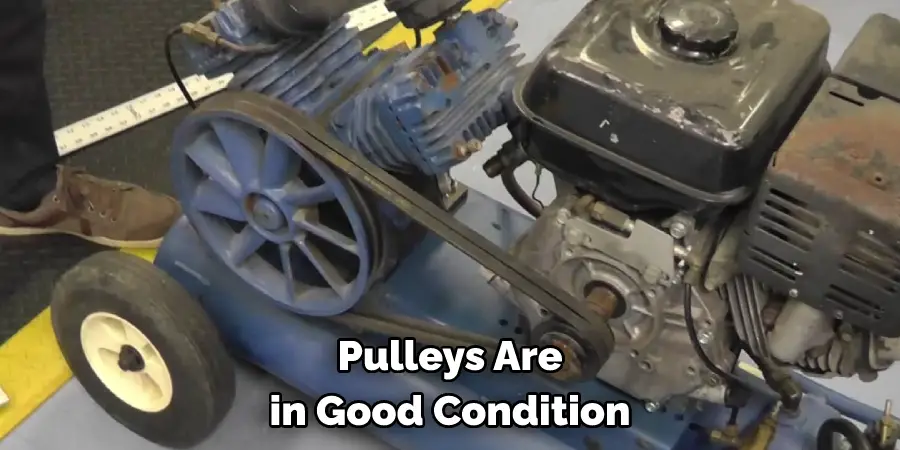
Make sure the belts and pulleys are in good condition and properly tightened—if any show signs of wear, replace them right away. Finally, pay close attention to oil levels, topping off as necessary; this will help keep your compressor operating safely, efficiently, and with minimal vibration.
If you’re concerned that something isn’t working correctly or ever hear rubbing or grinding noises while it’s running, take it to a qualified professional immediately. Taking these simple steps will ensure that you get the most out of your 4500 psi compressor!
Conclusion
Now that you understand the basics of how to build a 4500 psi compressor, it’s time to get started on your project. With a little time and effort, you can have a high-quality compressor that will serve you well for years to come.
If you need any help along the way, be sure to consult an expert. And once you’re finished, be sure to share your results with us! We love seeing our readers’ handiwork.
Rick is a handyman who grew up helping his dad with his business. He learned a lot from him about how to fix things, and also about how to work hard and take care of business. These days, Rick is still into fixing things- only now, he’s doing it for a living.
Rick is always looking for new ways to help people grow and develop. That’s why he started contributing to this blog: to share all his experience and knowledge so that he can help people who are interested in DIY repair.