

Bleaching dry flowers is a creative process that can transform ordinary blooms into stunning decorative pieces. This technique not only lightens the natural colors of the flowers but also gives them a fresh, modern look that can complement any interior design.
Whether you’re looking to preserve a bouquet with sentimental value or simply enhance the aesthetic of your living space, learning to bleach dry flowers can add a unique and personalized touch to your home décor.
Before starting, it’s important to gather all the necessary materials and understand the steps involved to ensure the best results while maintaining the delicate nature of the flowers. In this blogpost on how to bleach dry flowers, we’ll guide you through the process with detailed instructions and tips.
Materials You Will Need
Fresh Flowers (Roses, Daisies, Baby’s Breath, Etc.):
Select flowers that are in their prime and have not yet fully bloomed. For this technique, it’s best to work with smaller or medium-sized flowers.
Bleach:
Choose a color safe bleach that does not contain any extra additives such as perfumes or dyes. This will help preserve the natural color of the flowers.
Water:
You’ll need enough water to cover the stems of your flowers in a container.
Container:
Choose a glass or plastic container that is large enough to comfortably hold your flowers while submerged in bleach water. Avoid using metal containers as the bleach may react with the metal and damage the flowers.
Rubber Gloves:
To protect your hands from the harsh chemicals, it’s important to wear rubber gloves throughout the process.
Protective Eyewear:
As an extra precaution, wearing protective eyewear can prevent any accidental splashes of bleach into your eyes.
8 Steps on How to Bleach Dry Flowers
Step 1: Trim the Stems
Begin the process by carefully trimming the stems of your flowers to the desired length. Use sharp scissors or pruning shears to make a clean cut at an angle. This angled cut increases the surface area of the stem, allowing for better absorption of the bleach solution.

It’s crucial to ensure the stems are free of leaves or thorns, as these can interfere with the bleaching process. Properly trimming the stems not only aids in the even distribution of color but also contributes to the overall appearance of your decorative arrangement.
Step 2: Prepare the Bleach Solution
In a well-ventilated area, mix the bleach solution by combining one part bleach with three parts water in your chosen container. It’s important to ensure that the bleach is thoroughly diluted to prevent any damage to the flowers. Stir the mixture gently with a plastic or wooden stick to blend the bleach and water together.
Make sure to wear your rubber gloves and protective eyewear during this step to safeguard against any accidental splashes. Once the solution is prepared, you’re ready to move on to the next step in the bleaching process.
Step 3: Submerge the Flowers in the Bleach Solution
Gently place your trimmed flowers into the bleach solution, ensuring that all parts of the stem are fully submerged. Avoid overcrowding the container and make sure there is enough room for each flower to absorb the bleach evenly.
Note: If you’re working with different types of flowers, it’s best to bleach them separately as some may require longer exposure to achieve desired results.
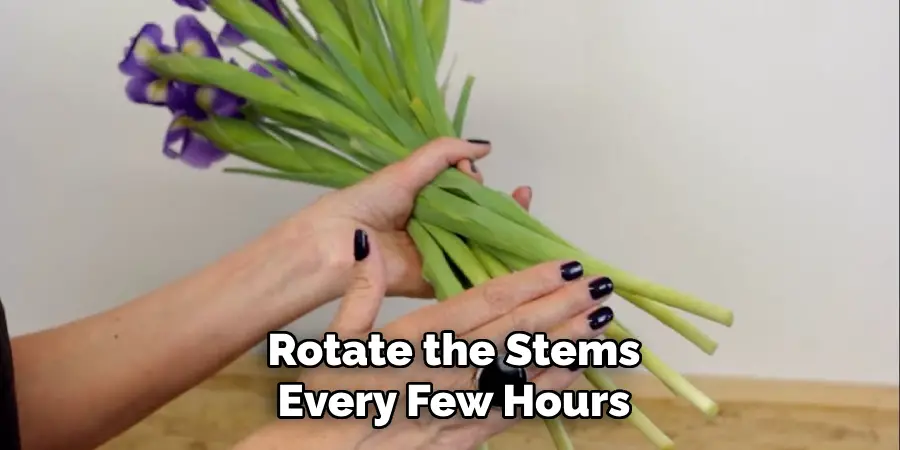
Step 4: Monitor and Rotate
Now that your flowers are submerged in the bleach solution, it’s important to monitor them closely to avoid over-bleaching. Depending on the type of flower and its natural color, a few minutes will suffice for lighter shades, while darker colors may require up to 24 hours.
To achieve a gradient effect, you can also rotate the stems every few hours to ensure even exposure on all sides. However, do not leave the flowers unattended for too long as over-bleaching can cause them to become brittle and break.
Step 5: Rinse the Flowers
Once the desired color is achieved, remove the flowers from the bleach solution and rinse them thoroughly under cool running water. This step is crucial as it stops the bleaching process and prevents any further damage to your flowers. Remove any remaining traces of bleach by gently shaking off excess water or lightly patting it dry with a paper towel.
The flowers may appear slightly paler when wet, so don’t worry if they are not the exact shade you were aiming for. Once dry, the color will deepen and become more vibrant.
Step 6: Air-Dry the Flowers
Place your flowers in a well-ventilated area to air-dry completely. Avoid using any heat source such as a hair dryer or placing them in direct sunlight as this can cause the petals to shrivel or fade prematurely.
Note: It’s important to let your bleached flowers dry completely before handling them further.
Step 7: Trim Again (Optional)
If desired, you can trim the stems of your dried flowers again for a cleaner appearance. This is especially useful if you plan on displaying them in a vase or creating an arrangement. The ends of the stems may also be slightly discolored, so trimming them can help remove any leftover traces of bleach.

You can also leave the stems as they are for a more natural look, especially if you plan on using them in a dried bouquet or wreath.
Step 8: Arrange and Display
Once your bleached flowers are completely dry and trimmed (if desired), it’s time to arrange and display them! You can create a beautiful centerpiece for your dining table, add them to a vase for an elegant touch to any room, or even use them in DIY home decor projects. The possibilities are endless!
Following these eight simple steps on how to bleach dry flowers will help you achieve perfectly bleached dry flowers that can add a unique and stylish touch to your home. Have fun experimenting with different types of flowers and colors, and enjoy the beauty of nature in a new way!
Tips and Tricks for Bleaching Flowers
Test First:
Before bleaching an entire batch of flowers, test with one or two to gauge how they react to the solution. Different flowers and colors may require adjustments in bleach concentration and exposure time.
Use Fresh Flowers:
Choose fresh flowers that are in the early stages of blooming. Older or fully matured flowers may not absorb the bleach as well, resulting in uneven bleaching or discoloration.
Bleach Carefully:
Be extra careful when handling the bleach solution as it can irritate skin and eyes. Avoid breathing in fumes by working in a well-ventilated area, and always wear protective gear.
Experiment with Colors:
You can achieve various shades by adding food coloring to the bleach solution or using different concentrations of bleach. Have fun experimenting with different colors to create unique and vibrant arrangements.
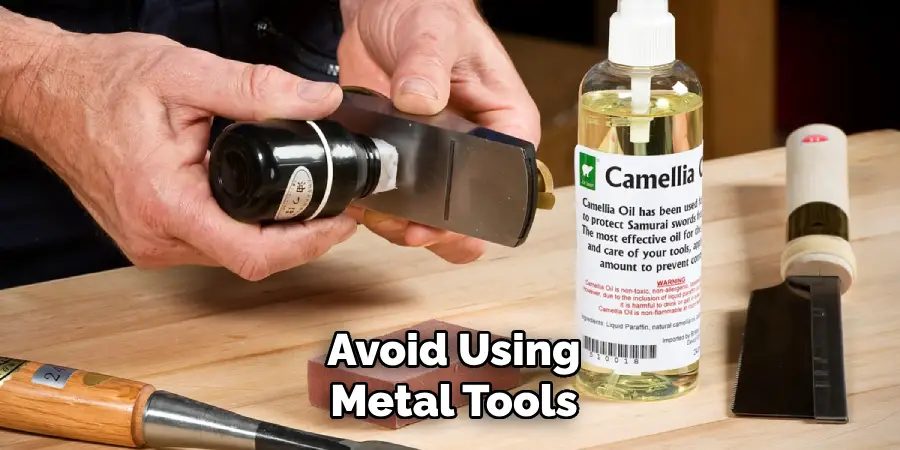
Avoid Staining:
To prevent staining, use a plastic or glass container when preparing the bleach solution and avoid using metal tools. After bleaching, clean all utensils and containers thoroughly to remove any residual bleach.
Consider Dried Flowers:
While fresh flowers are typically used for bleaching, you can also experiment with dried flowers for a more vintage look. Simply follow the same steps, but be mindful of their fragility and handle them gently.
Bleached flowers add a touch of elegance and uniqueness to any floral arrangement or home decor project. With these tips and tricks, you’ll be able to achieve beautifully bleached dry flowers every time!
Frequently Asked Questions
Q: Will the Bleaching Process Damage My Flowers?
A: When done correctly, bleaching should not damage your flowers. However, it’s important to monitor them closely and not leave them in the bleach solution for too long as this can cause over-bleaching and result in brittle or discolored petals. The flowers may also appear wilted immediately after bleaching, but they should regain their natural shape and texture once dry.
Q: Which Types of Flowers Work Best for Bleaching?
A: You can bleach a variety of flowers such as roses, carnations, daisies, hydrangeas, and mor. However, it’s best to avoid bleaching delicate or highly porous flowers such as tulips, peonies, and orchids as they may not react well to the bleach solution.
Q: Can I Bleach Different Types of Flowers Together?
A: It’s recommended that different types of flowers be bleached separately as each may require a different concentration of bleach and exposure time. Bleaching them together can result in uneven coloring or damage to some of the flowers.
Q: How Long Will My Bleached Flowers Last?
A: Bleached flowers can last for several weeks if properly cared for. Keep them away from direct sunlight and humidity, and handle them gently when arranging or moving them. You can also prolong their life by using a sealant spray specifically designed for dried flowers.
Conclusion
Bleaching flowers can be a creative and rewarding way to personalize your home decor and floral arrangements. By following the outlined steps on how to bleach dry flowers and utilizing the tips and tricks, you can ensure a successful bleaching process that highlights the unique beauty of each flower. Whether you’re aiming for a soft, muted look or a bold splash of color, bleached dry flowers offer endless possibilities for customization.
Remember to handle the flowers with care and experiment with different techniques to discover what works best for you. With patience and experimentation, you can enjoy the elegant touch that beautifully bleached flowers add to any setting.
About
Angela is the chief editor of Indoorense. She began her career as an interior designer before applying her strategic and creative passion to lifestyle and home.
She has close to 15 years of experience in creative writing and online content strategy for housekeeping and cleaning,home decorations as well as other efforts.
She loves her job and has the privilege of working with an extraordinary team. She lives with her husband, two sons, and daughter in Petersburg. When she’s not busy working she spent time with her family.