
Adding glass to a front door can enhance the aesthetic appeal, increase the natural light in your entryway, and add a touch of elegance to your home. Whether you prefer a modern, minimalist design or something more decorative and ornate, the addition of glass panels can transform the appearance of your doorway.

This guide on how to add glass to front door will walk you through the steps necessary to add glass to your existing front door, including choosing the right type of glass, preparing your door for installation, and ensuring a secure and professional finish. Before beginning, please ensure you have the necessary tools and materials, and always prioritize safety during the installation process.
Why Should You Add Glass to Your Front Door?
There are several benefits to adding glass panels to your front door:
Improved Natural Light:
By allowing more natural light into your entryway, you can create a brighter and more welcoming space in your home. This is especially beneficial for smaller or darker entryways.
Aesthetic Appeal:
Glass panels can add a touch of elegance and sophistication to your front door, making it stand out in your neighborhood and boosting the curb appeal of your home. You can choose from various designs and styles to suit your personal taste and the overall aesthetic of your home.
Energy Efficiency:
If you opt for energy-efficient glass, adding glass panels to your front door can help reduce heating and cooling costs by allowing more natural light into your home. This can also help create a more comfortable indoor environment.
Increased Security:
While some may be concerned about the security of having glass on their front door, it is actually possible to choose impact-resistant or tempered glass that is more difficult to break. Additionally, having glass on your front door can provide better visibility for anyone approaching your home.

Choosing the Right Type of Glass
When it comes to adding glass panels to your front door, there are various types of glass to choose from. Some popular options include:
Clear Glass:
This is a classic and versatile option that allows for maximum natural light.
Frosted or Textured Glass:
These types of glass offer more privacy while still allowing some natural light into your entryway.
Stained Glass:
For a more decorative and unique look, you can opt for stained glass in various colors and patterns.
Tempered or Impact-Resistant Glass:
As mentioned, these types of glass are more durable and secure, making them a popular choice for front doors.
8 Simple Step-by-step Guidelines on How to Add Glass to Front Door
Step 1: Gather Your Tools and Materials
To complete the installation, you will need several tools and materials, including:
- Glass Panel
- Measuring Tape
- Safety Equipment (Gloves, Goggles)
- Silicone Sealant or Caulk
- Glazing Points or Clips
- Putty Knife
- Screwdriver
Ensure that you have all the necessary items on hand before starting to avoid any delays during the process.
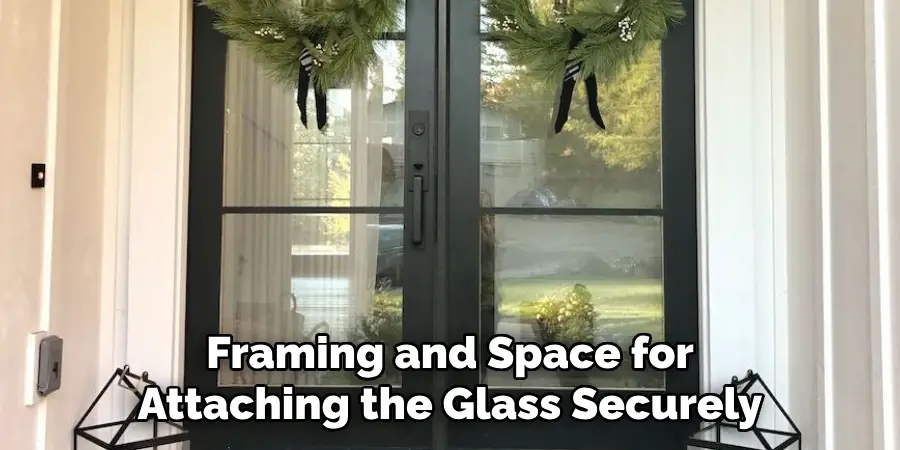
Step 2: Measure Your Door
Before beginning any cutting or installation, it’s crucial to accurately measure your door to determine the size of the glass panel you will need. Use a measuring tape to determine the width and height of the area where you intend to install the glass. It’s essential to measure both the inside and outside edges of the space to ensure a proper fit.
Keep in mind the framing and space for attaching the glass securely. Write down your measurements and double-check them to avoid any errors, as even slight inaccuracies can lead to ill-fitting glass panels.
Step 3: Choose Your Glass
Once you have determined the size of the glass panel needed, the next step is to choose the type of glass that best suits your needs and preferences. Consider the different styles available and how they will complement the design of your entryway. If you desire maximum natural light and a classic look, clear glass might be your top choice. For added privacy, consider frosted or textured glass that diffuses light but obscures visibility.
If you want to add character and charm, stained glass offers vibrant colors and intricate patterns. Finally, for enhanced security, opt for tempered or impact-resistant glass, which provides added durability and peace of mind. Ensure the glass you select fits the aesthetic of your home and meets any specific functional requirements.
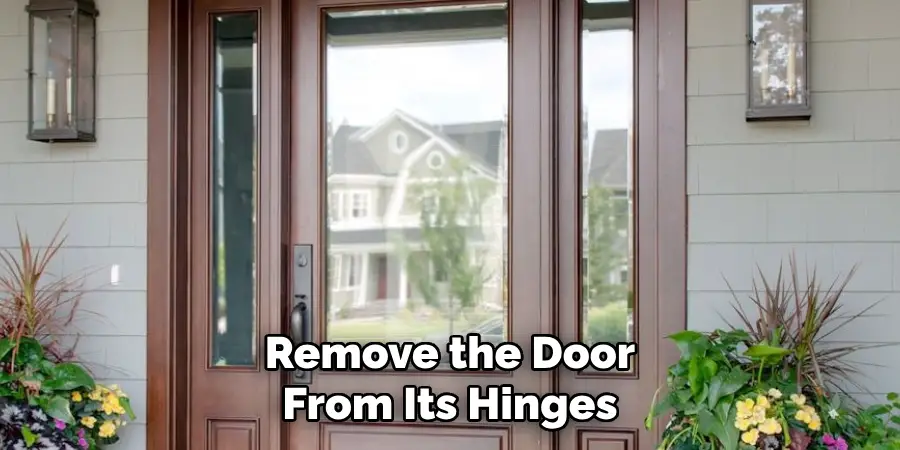
Step 4: Remove the Door From Its Hinges
To ensure a smooth installation of the glass panel, you will need to remove the door from its hinges. Start by opening the door to its fullest extent, which will allow for easier access to the hinge pins. Using a screwdriver or hammer, gently tap out the hinge pins from the hinges—be sure to have someone nearby to help support the door as you work.
Once the pins are removed, carefully lift the door off its hinges, maintaining a firm grip to prevent any damage. Place the door on a secure, flat surface, such as a sawhorse, so you can access both sides comfortably. Taking this step provides a stable working platform, giving you the flexibility to proceed with cutting and glass installation without any restrictions.
Step 5: Prepare the Door for Glass Installation
Now that you have your door detached from its hinges, the next step is to prepare it for glass installation. Start by removing any existing hardware, such as knobs and locks, to avoid damaging them during the process.
Ensure the surface of the door where you plan to install the glass is clean and free of any debris or obstructions. Use a putty knife to remove old caulk or sealant around the edges of where you will insert the glass panel.
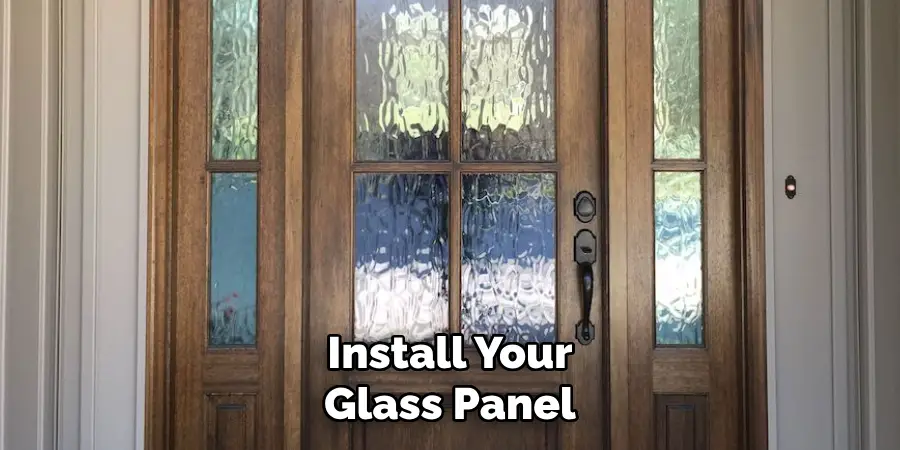
Step 6: Install Your Glass Panel
With your door now prepped, it’s time to carefully place your chosen glass panel into position. Using glazing points or clips, secure the glass in place on the door. These will help hold the glass securely and ensure it remains in place while you work on sealing it into position.
Take your time to align and center the glass panel correctly before securing it with glazing points or clips. Once they are in place, apply a bead of silicone sealant around the edges of the glass panel to create an airtight seal. Use a putty knife to smooth out any excess sealant and achieve a neat finish.
Step 7: Reattach Hardware
Once your glass panel is securely installed and the sealant has dried, it’s time to reattach any hardware you previously removed. Begin by replacing the door handle, lock, and any other fixtures that were taken off during the preparation phase. Ensure that each piece of hardware is properly aligned and securely fastened to avoid any functional issues.
Use a screwdriver to tighten all screws, checking for a snug fit to maintain the door’s integrity and security. After all hardware is reattached, make sure everything operates smoothly, including the lock and handle, to ensure the door remains fully functional. This step is crucial in restoring your door’s complete functionality and aesthetic appeal.
Step 8: Reattach the Door
Finally, it’s time to reattach your door to its hinges. With the help of a friend or family member, carefully lift the door back onto its hinges and align it with the frame. Insert the hinge pins back into place and use a hammer or screwdriver to tap them securely into position.
With that, your glass panel installation is complete! Now you can enjoy the added natural light, improved security, and enhanced curb appeal of your front entryway. Remember to regularly clean and maintain your glass panels to keep them looking their best for years to come.
Following these steps on how to add glass to front door and ensuring you have the necessary tools and materials will help make the installation process smooth and stress-free. With a little bit of effort, you can transform your entryway with beautiful glass panels that add both style and functionality to your home. :sparkles:
Additional Tips for Glass Panel Installation
- When selecting your glass panel, consider the climate in which you live. If you experience extreme weather conditions, opt for tempered or impact-resistant glass for added durability.
- Before applying silicone sealant, make sure the surface is clean and dry to ensure a proper bond.
- Use caution when handling glass panels to avoid any potential injuries. Consider wearing gloves and protective eyewear.
- Regularly maintain your door and glass panels by cleaning them with a non-abrasive cleaner and soft cloth to remove any dirt or grime buildup.
- If you are unsure about completing the installation process yourself, consider hiring a professional to ensure proper installation and avoid any potential mishaps. :briefcase:
By following these additional tips, you can ensure that your glass panel installation is successful and long-lasting.
Frequently Asked Questions
Q: Can I Add Glass to Any Type of Front Door?
A: In most cases, yes. However, it’s important to consider the structural integrity of your door and consult with a professional if you have any concerns. The door also needs to have enough space for the glass panel to fit securely.
Q: How Long Does It Take to Install a Glass Panel in a Front Door?
A: The installation process can vary depending on your skill level and the complexity of your front door. On average, it can take anywhere from 2-4 hours.
Q: Can I Install a Glass Panel By Myself?
A: While it is possible to install a glass panel by yourself, it’s recommended to have someone assist you due to the potential weight and fragility of the glass. If you are unsure about your ability to complete the task safely, consider hiring a professional.
Q: What Type of Glass Is Best for Front Door Panels?
A: The type of glass best suited for your front door depends on personal preference and the climate in which you live. Some popular options include clear, frosted, and decorative glass. Consult with a professional or do research to determine the best fit for your needs.
Conclusion
Adding a glass panel to your front door is an effective way to enhance both the appearance and functionality of your entryway. By carefully selecting the appropriate type of glass and following the detailed steps on how to add glass to front door provided, you can successfully transform your door into a welcoming feature that maximizes natural light, offers greater visibility, and compliments your home’s design.
Not only does this project improve aesthetics, but it also increases the value and security of your property. With regular maintenance and care, your new glass-paneled door will continue to provide beauty and practicality for years to come.
About
Angela is the chief editor of Indoorense. She began her career as an interior designer before applying her strategic and creative passion to lifestyle and home.
She has close to 15 years of experience in creative writing and online content strategy for housekeeping and cleaning,home decorations as well as other efforts.
She loves her job and has the privilege of working with an extraordinary team. She lives with her husband, two sons, and daughter in Petersburg. When she’s not busy working she spent time with her family.