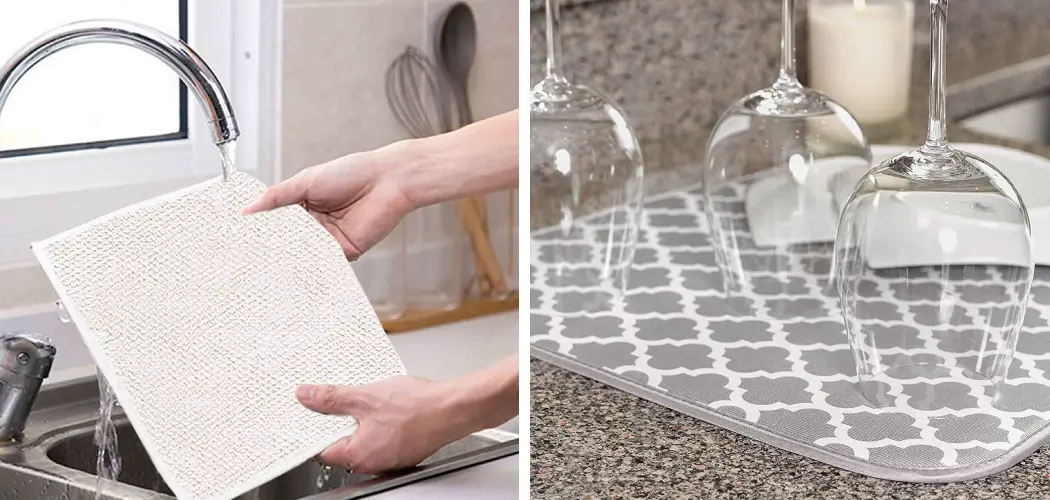
Do you frequently use your drying mat but aren’t sure how to clean and maintain it? Maintaining a quality drying mat is important for protecting the health of your kitchen; otherwise, residue from food and liquid can easily build up.
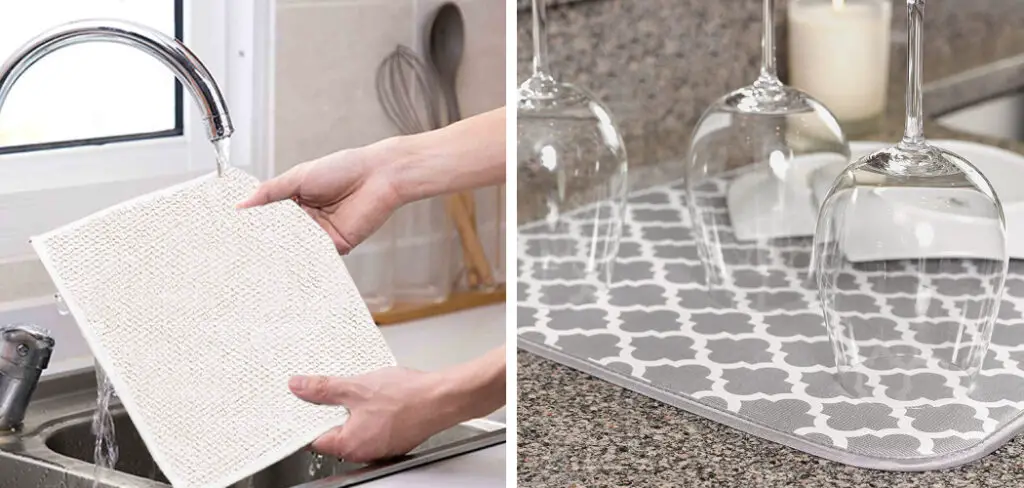
Cleaning your drying mat regularly should be an essential part of your kitchen maintenance routine so that you keep it in top condition. In this guide, we’ll break down exactly how to wash drying mat so that you get the most out of every use!
Are Dish Drying Mats Sanitary?
Dish drying mats are a popular kitchen accessory that helps keep countertops dry and organized while air-drying dishes. The short answer is yes, as long as you follow the proper washing instructions for your particular mat. All dish drying mats should be washed regularly with hot water and mild detergent.
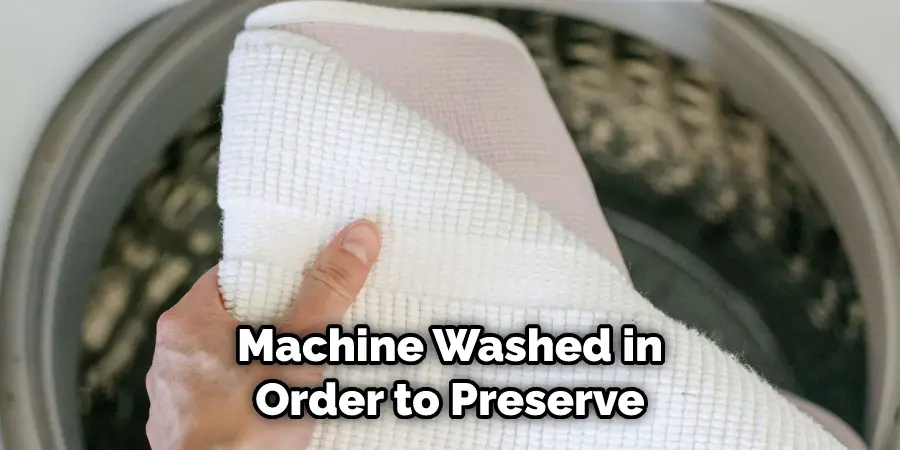
Many brands of dish drying mats also recommend that you throw them into the washing machine on a regular basis for extra cleanliness. Additionally, some materials, such as cotton or microfiber, may need to be hung up to air-dry after being machine washed in order to preserve their shape and quality over time.
It’s important to note that even if a dish drying mat is labeled as “anti-bacterial” or “mildew-resistant,” it will still need to be washed regularly to remain clean and hygienic. As with any kitchen item, proper cleaning is essential for maintaining its sanitary condition.
When it comes to keeping your dish drying mats clean and hygienic, it’s best to practice good preventive habits. First of all, always use a separate towel or sponge when washing dishes on the mat so that you don’t cross-contaminate surfaces. Additionally, make sure that your dish drying mat isn’t exposed to excessive moisture or heat; this can lead to mold growth and pose a health hazard.
7 Methods on How to Wash Drying Mat
1. Washing by Hand
Washing your drying mat by hand is the best way to preserve its lifespan and prevent damage. To do this, simply soak the mat in warm water with a mild detergent for 10-15 minutes. Then, use a soft brush or sponge to scrub away any dirt or residue.
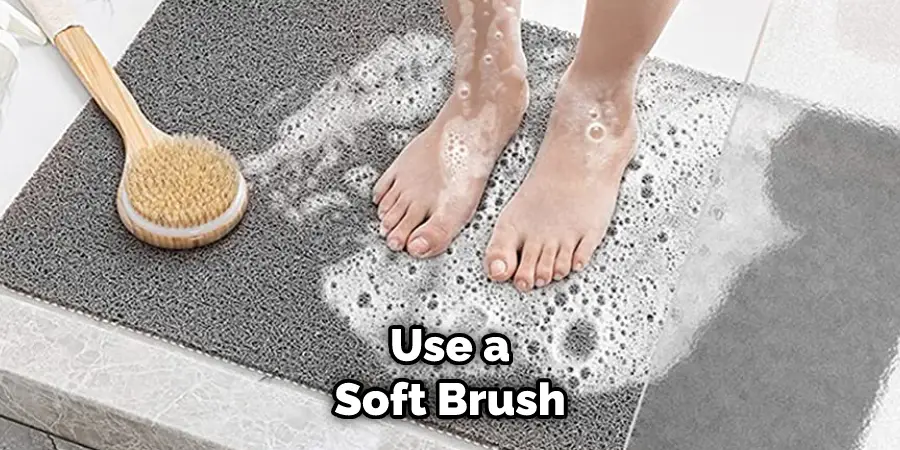
Afterward, squeeze out excess water and rinse the mat in fresh, clean water. Finally, lay your drying mat flat to air dry before folding it away for storage. If needed, touch up any stubborn residue with a little vinegar. Although it may take a little bit longer, washing your mats by hand is the safest way to ensure their longevity.
2. Washing in the Washing Machine
If you need to wash your drying mat in the washing machine, you should use the delicate cycle and a mild detergent. You may also want to put the mat in a mesh laundry bag to prevent it from getting tangled in the machine.
After the cycle is finished, hang it up or lay it flat to dry. If you are washing a mat made of bamboo or other natural fiber, you should also add a fabric softener to the load. This will help protect the material and make it last longer. Finally, never place your drying mat in the dryer, as it could cause damage to the material.
3. Using Vinegar
Vinegar is a natural disinfectant that can be used to clean your drying mat. To use this method, simply soak the meat in a solution of 1 part vinegar and two parts water for 10-15 minutes. Then, scrub away any dirt or residue with a soft brush or sponge.
Rinse off the mat with warm water and hang dry. This method is a great way to get rid of any bacteria or germs that may have built up. It can also help to reduce any odors that may have accumulated.
If you don’t have access to vinegar, you can also use lemon juice or white wine as an alternative. Just be sure to rinse off the mat well before letting it dry. While this method may not be as effective as using a traditional detergent, it can still help keep your mat clean and fresh.
4. Using Baking Soda
Baking soda is another natural cleaning agent that can be used to clean your drying mat. To use this method, simply sprinkle baking soda on the mat and then scrub it with a damp cloth. This should help remove any stubborn dirt and stains. Rinse the mat thoroughly with warm water and then dry it with a paper towel or cloth before putting it away.
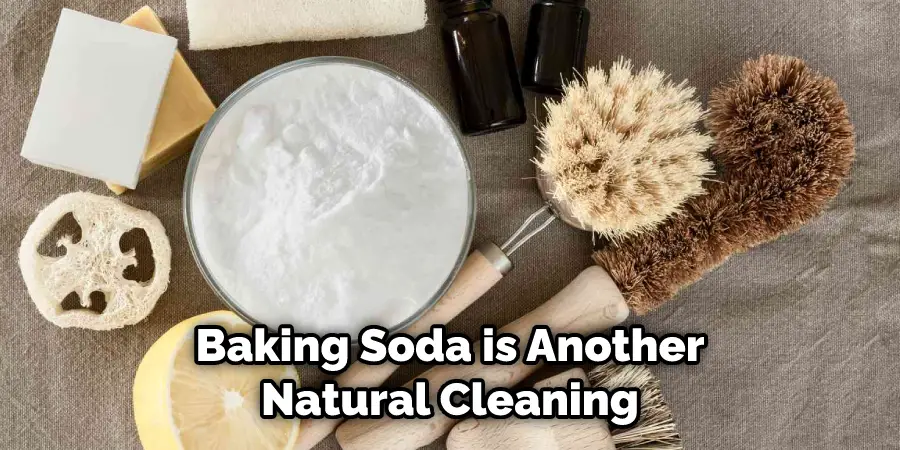
This will help prevent any lingering odors or bacteria from growing on the mat. Be sure to rinse off all of the baking soda before storing the mat. If you want to give your drying mat an extra deep clean, try repeating this process a few times. With proper care and cleaning, your drying mat should last you a long time!
5. Using Lemon Juice
Lemon juice is another natural cleaning agent that can be used to clean your drying mat. To use this method, simply soak the meat in a solution of 1 part lemon juice and two parts water for 10-15 minutes.
Afterward, rinse the mat with warm water to remove any remaining lemon juice residue. This method is particularly effective at removing odors and is a great option for those who are looking for an all-natural cleaning solution.
Additionally, it can be used on all types of drying mats, regardless of material type or color. Try to avoid using this method too often, however, as the citric acid in lemon juice can cause discoloration and damage to your mat over time.
6. Caring for Your Drying Mat
Caring for your drying mat is just as important as cleaning it. Make sure to store the mat in a dry place and keep it away from direct sunlight. Avoid folding the mat too often, as this can cause creases and damage.
If your drying mat has an anti-slip backing, make sure to clean that regularly too! This will help extend the life of your drying mat and ensure that it’s always ready for use. To protect the material, it’s best to keep your drying mat covered when not in use. That way, it won’t be exposed to dirt, dust or other debris that can cause damage.
If you have a delicate washing machine cycle for hand-washed items, use that for your drying matt too, for extra protection. Following these steps will help you keep your drying mat looking and performing like new for years to come.
7. Cleaning with Hydrogen Peroxide
Hydrogen peroxide is a powerful disinfectant that can be used to clean your drying mat. To use, mix 1 part hydrogen peroxide with three parts water and soak the mat for 10-15 minutes. Rinse the mat off thoroughly in the sink afterward to make sure all of the hydrogen peroxides is gone before drying.
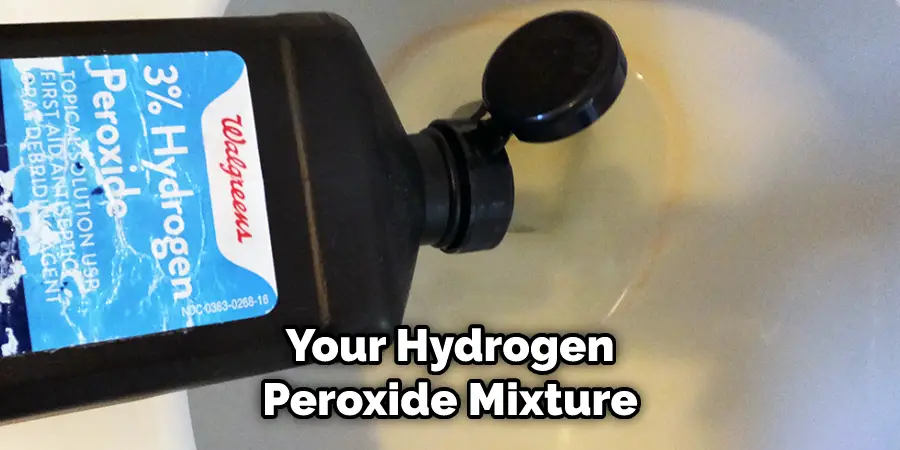
If you are cleaning a particularly soiled mat, you can add baking soda to your hydrogen peroxide mixture as well. This will help to break down any food or dirt that has stuck to the mat and make it easier to clean.
Be sure to rinse off the baking soda afterward as well. After cleaning with hydrogen peroxide, it is important to dry your mat before use so that no bacteria is left on the surface of the material.
Some Common Mistakes When Washing Dry Mat
- Not drying the mat completely. It is important to make sure that the mat is dried thoroughly after washing, as any remaining moisture can cause mold and mildew growth if left unexposed to air.
- Using too much detergent or fabric softener on a dry mat. These products are not necessary for cleaning and can damage the fabric and reduce its life expectancy.
- Not washing regularly. It is recommended to wash a drying mat every two weeks or so in order to prevent the buildup of dirt and oils that can cause discoloration or bad odors.
- Not rinsing thoroughly enough. Make sure to rinse away all traces of detergent before hanging up the mat, as any remaining residue will shorten its lifespan and make it harder to dry quickly.
- Machine-washing a dry mat on a high-temperature cycle with other items, such as towels or bed sheets, as this can cause snags and pulls in the fabric, which may not be repairable. Instead, stick to hand-washing only for delicate fabrics.
Conclusion
To sum up, proper care of a drying mat is essential for its longevity. Whether you’re trying to remove a few stains here and there or starting from scratch to get it clean, knowing the appropriate skills is what matters most.
Hand washing your drying mat is an easy enough task that doesn’t require a lot of time or resources compared to other methods. We hope this guide on how to wash drying mat was helpful. Please share it with your friends on social media if you find it useful. And be sure to check back here soon for more informative guides like this one.
About
Angela is the chief editor of Indoorense. She began her career as an interior designer before applying her strategic and creative passion to lifestyle and home.
She has close to 15 years of experience in creative writing and online content strategy for housekeeping and cleaning,home decorations as well as other efforts.
She loves her job and has the privilege of working with an extraordinary team. She lives with her husband, two sons, and daughter in Petersburg. When she’s not busy working she spent time with her family.

