

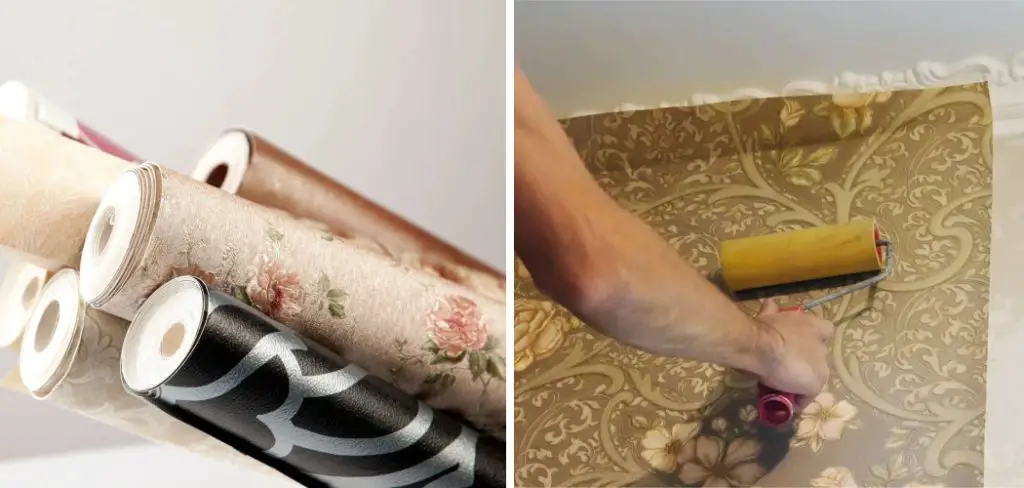
Applying a fresh layer of wallpaper over existing wallpaper may seem daunting, but it can be a convenient and time-saving option for refreshing a room’s look. Before starting, it’s crucial to assess the condition of the current wallpaper to ensure it can support another layer. This process requires careful preparation and the right materials to achieve a seamless finish.
In this guide on how to wallpaper over wallpaper, we will walk you through the essential steps and considerations to successfully wallpaper over an existing layer, from assessing the surface to selecting the right adhesive and wallpaper type. Whether you’re updating a single accent wall or an entire room, following these guidelines will help you achieve a professional-looking result.
Why Wallpaper Over Wallpaper
Wallpapering over existing wallpaper can be a practical solution for rooms with multiple layers of wallpaper or when removing the current layer is not an option. It also saves time and effort compared to stripping off old wallpaper and preparing the wall from scratch.
However, wallpapering over wallpaper has its limitations and may not work for all type of wallpapers. For example, vinyl or textured wallpaper may not provide a smooth base for the new layer, and heavily patterned wallpaper can show through the top layer.
Additionally, if the current wallpaper is damaged or peeling, it’s best to remove it before applying a new layer as it can affect the final result and cause bubbling or wrinkles in the new wallpaper.
Needed Materials
Wallpaper:
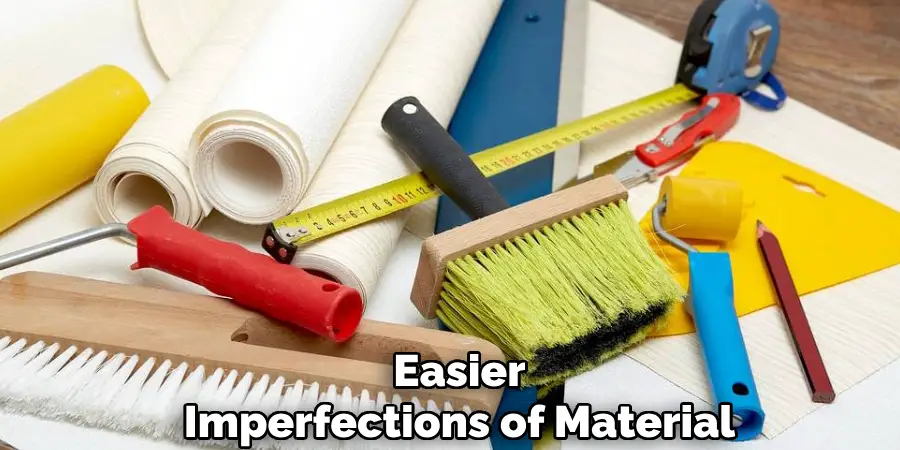
Choose a wallpaper that is suitable for covering existing wallpaper. Vinyl or non-woven wallpapers are recommended as they are thicker and more durable, making it easier to hide imperfections in the base layer.
Adhesive:
Select an adhesive that is specifically designed for wallpapering over existing wallpaper. This type of adhesive has a stronger bonding power to ensure the new layer adheres well to the old one. It’s also important to follow the manufacturer’s instructions and mix the adhesive correctly for best results.
Tools:
- Wallpaper Brush or Roller
- Smoothing Tool (Such as a Plastic Spatula or Squeegee)
- Sharp Utility Knife
- Measuring Tape
- Level
- Pencil
- Cutting Mat
- Large Sponge or Damp Cloth for Cleaning Excess Adhesive
8 Step-by-step Guidelines on How to Wallpaper Over Wallpaper
Step 1: Prepare the Surface
Before applying the new layer of wallpaper, it’s essential to ensure that the existing wallpaper is suitable for covering. Begin by inspecting the current wallpaper for any damages, such as peeling edges, bubbles, or tears. If any issues are found, repair them using wallpaper adhesive or by removing and patching the problematic sections.
Next, clean the surface thoroughly to remove dirt, dust, or grease that could interfere with the adhesive bond. Use a damp sponge to wipe the entire wall, and allow it to dry completely. Make sure any old adhesive residue is smoothed out to avoid bumps or irregularities in the new layer. If the wallpaper is textured, consider applying a lining paper as a base layer to provide a smoother surface for the new wallpaper.
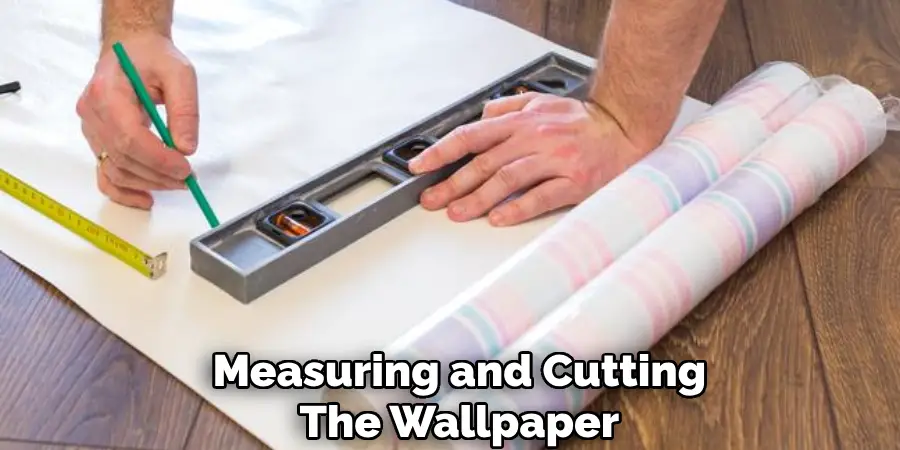
Step 2: Measure and Cut the Wallpaper
To achieve a professional finish, accurately measuring and cutting the wallpaper is crucial. Begin by measuring the height of the wall from floor to ceiling using a measuring tape. Record these measurements and add a few extra inches to the length for allowances, such as trimming around moldings and baseboards. Roll out the wallpaper on a flat surface and use the recorded measurements to mark where you need to cut.
Employ a level to ensure that your markings are straight and even. Once marked, use a sharp utility knife or scissors to carefully cut the wallpaper. Repeat this process for each strip, ensuring continuity in any patterns or designs so they align perfectly when applied. By carefully preparing each strip, you will avoid gaps or overlaps, achieving a seamless look.
Step 3: Apply the Adhesive
Once the wallpaper strips are prepared, it’s time to apply the adhesive. Begin by laying a strip of wallpaper face down on a clean, flat surface. Using a brush or roller, evenly apply a generous layer of adhesive to the back of the wallpaper, ensuring full coverage from edge to edge. Pay special attention to the corners and edges, as these areas are prone to lifting. If you are using a pre-pasted wallpaper, activate the paste by submerging the strip in water as per the manufacturer’s instructions.
Allow the adhesive to set for a few minutes, known as “booking,” which helps it absorb into the wallpaper for improved bonding. Be careful not to over-soak or let the adhesive dry out. Once booked, proceed promptly to position the strip on the wall, starting from the top and smoothing downwards, eliminating any air bubbles with a smoothing tool as you go.
Step 4: Apply the Wallpaper
Once the first strip of wallpaper is applied, repeat the process for the remaining strips, ensuring they are aligned and the edges are tightly butted together. Use a cloth or sponge to wipe off any excess adhesive that may have seeped out between seams. For corners or hard-to-reach areas, you may need to make slight cuts using a sharp utility knife and smooth overlapping sections with a spatula or squeegee.
The key to a seamless finish is to carefully match the pattern and continue this process until all strips are applied. When working with intricate or highly patterned wallpapers, it’s essential to be extra precise in lining up each strip for continuity.
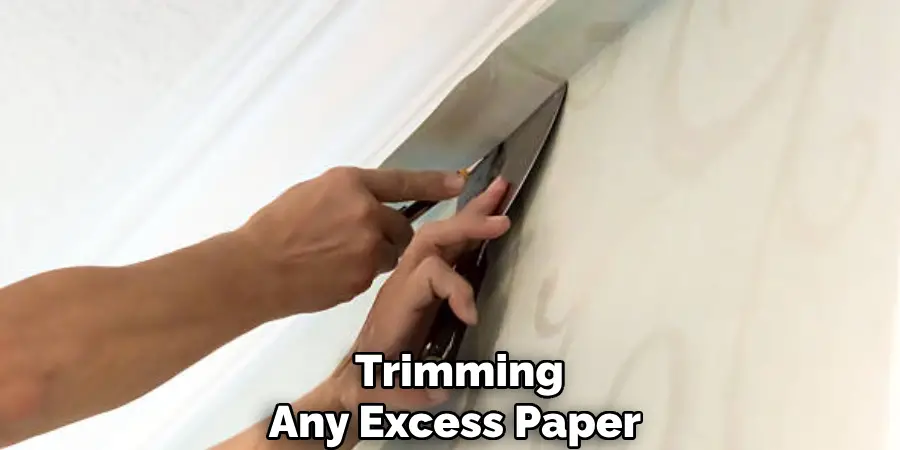
Step 5: Trim Excess Wallpaper
Once all strips are applied, leave the wallpaper to dry for at least 24 hours before trimming any excess paper along the ceiling, baseboards, and moldings. Use a sharp utility knife and a straight edge as a guide for precision.
The wallpaper will continue to shrink slightly as it dries, so avoid trimming too close to the edges to prevent gaps from appearing later.
Step 6: Smooth Out Any Bubbles or Wrinkles
Once the wallpaper has been applied and any excess trimmed, it’s important to address any bubbles or wrinkles that may have formed. Begin by using a smoothing tool or a plastic spatula to gently press out any air bubbles, starting from the center of the bubble and moving towards the edges. Work slowly to avoid tearing the wallpaper. For more stubborn bubbles, you can use a pin to puncture a small hole in the center of the bubble and then press down gently to release the trapped air.
For wrinkles, gently lift the affected section of wallpaper and reapply, smoothing it down carefully. If necessary, apply a little more adhesive to ensure a smooth and secure finish. Make sure to clean off any excess adhesive using a damp cloth during this process to prevent marks. The goal is to achieve a flawlessly smooth surface, enhancing the overall appearance of your newly wallpapered space.
Step 7: Allow the Wallpaper to Dry
After all wrinkles and bubbles have been addressed, allow the wallpaper to dry completely before moving the furniture back into place. This could take anywhere from 24 to 48 hours, depending on factors like temperature and humidity levels.
Avoid touching or putting pressure on the wallpaper during this drying period to avoid damaging it.
Step 8: Enjoy Your Newly Wallpapered Space!
Congratulations! You have successfully wallpapered over existing wallpaper. With proper preparation and careful application, you can achieve a professional-looking finish that will transform your space. Now it’s time to sit back, relax, and enjoy your newly decorated room!
Following these steps on how to wallpaper over wallpaper and using high-quality materials will ensure a successful wallpapering project. Remember to always clean and prepare the surface properly, accurately measure and cut the wallpaper, apply the adhesive evenly, and carefully smooth out any bubbles or wrinkles.
With patience and attention to detail, you can achieve a beautiful new look in your home. And if you ever decide to change up your decor again, you now have the knowledge and skills to remove and replace wallpaper with ease. Happy decorating!
Frequently Asked Questions
Q: Can I Wallpaper Over Existing Wallpaper?
A: Yes, you can wallpaper over existing wallpaper as long as the surface is clean and smooth. However, it’s essential to check for any damages or loose seams before proceeding. The final result will also depend on the quality of the existing wallpaper and how well it has adhered to the wall.
Q: Can I Apply New Wallpaper Over Multiple Layers of Old Wallpaper?
A: No, it is not recommended to apply new wallpaper over multiple layers of old wallpaper. The added weight and thickness can cause problems with adhesion and lead to an uneven or lumpy finish. It’s best to remove all layers of old wallpaper before applying a new one.
Q: What Type of Adhesive Should I Use for Wallpapering Over Existing Wallpaper?
A: It’s essential to use a high-quality, heavy-duty adhesive specifically designed for wallpaper installation. This type of adhesive will provide strong bonding and prevent the wallpaper from lifting or peeling over time. Be sure to follow the manufacturer’s instructions for proper mixing and application.
Conclusion
Wallpapering over existing wallpaper offers a practical and creative solution to refresh a room’s appearance without the hassle of removing old layers. By following the detailed steps on how to wallpaper over wallpaper outlined—from preparation to the finishing touches—you can ensure a clean, professional finish that enhances your home’s decor. With careful planning, precise measurements, and attention to detail, even the most intricate wallpaper patterns can be aligned perfectly.
Remember, the key to success is patience and precision at each stage of the process. With these skills, your new wallpaper can serve as a beautiful backdrop in your space for years to come. Enjoy the satisfaction of a job well done and the transformation of your living environment!
About
Angela is the chief editor of Indoorense. She began her career as an interior designer before applying her strategic and creative passion to lifestyle and home.
She has close to 15 years of experience in creative writing and online content strategy for housekeeping and cleaning,home decorations as well as other efforts.
She loves her job and has the privilege of working with an extraordinary team. She lives with her husband, two sons, and daughter in Petersburg. When she’s not busy working she spent time with her family.