
Do you constantly struggle to keep your kitchen smelling fresh and smoke-free? Does it feel like none of the range hoods on the market can be efficient enough for your needs? Do you wish there was an easier way to get rid of smoke and odors without having a bulky range hood in view? If so, venting your range hood through an interior wall is a great solution.

Not only does this method help keep hot air outside, but it also ensures that your kitchen looks neat and clean. In this blog post, we’ll give you all the tips and tricks needed on how to vent range hood through interior wall! Ready to learn how? Let’s get started!
The Importance of Proper Ventilation for Range Hoods in the Kitchen
Proper ventilation is essential for maintaining a safe and healthy kitchen. Range hoods are an important aspect of this, as they help to filter out smoke, grease, and other toxic compounds while also providing additional lighting in the kitchen. Without proper venting, these hazardous elements can accumulate and threaten the health of those who spend time in the kitchen.
Improperly vented range hoods can also lead to an increase in energy costs as the smoke and other particles are not properly expelled from the kitchen environment. By ensuring that your range hood is properly vented through an interior wall, you can save money on energy bills and maintain a safe kitchen for you and your family.
When venting a range hood through an interior wall, it is important to consider several factors. First, make sure the length of the exhaust duct is appropriate for your specific model of range hood so that there is enough room to adequately expel the air without creating a backdraft from outside air entering into the home. Additionally, ensure that no bends or elbows are installed in the exhaust duct as this will impede airflow and reduce efficiency.
Benefits of Venting a Range Hood through an Interior Wall
Venting a range hood through an interior wall offers many benefits. First, it helps to prevent moisture and grease buildup on kitchen walls and ceilings. By venting the range hood through an interior wall, the exhaust is directed away from the kitchen, helping reduce odors in the room and improving air quality.
Additionally, this type of installation allows for less noise pollution as sound is minimized while traveling through multiple layers of drywall before exiting the home. Finally, venting a range hood through an interior wall can help improve energy efficiency as heat loss from exhaust fans is much lower than when they are vented directly outside of the home. For all these reasons, venting a range hood through an interior wall is often recommended by industry professionals as the best option.
When properly installed, venting a range hood through an interior wall can provide a safe, quiet, and energy-efficient solution to kitchen ventilation needs. With all the benefits offered, it is easy to see why this type of installation has become so popular among homeowners. So if you are in the market for a new range hood or are looking to upgrade your existing one, consider venting it through an interior wall and take advantage of all the benefits that come with it!
10 Steps How to Vent Range Hood through Interior Wall
Step 1: Choose the Location
Start by selecting the optimal location for your range hood. Look for a space along an interior wall that allows for a straight and direct path to the exterior. Consider factors such as proximity to the cooktop, accessibility for ductwork, and aesthetic appeal. However, the primary consideration should always be a safe and efficient pathway.
Step 2: Determine the Venting Route
Once you have chosen the location, determine the venting route for the range hood. Measure the distance between the range hood and the exterior wall to determine the length of ductwork needed. Keep in mind that a shorter and more direct route will result in better ventilation efficiency.
Though it may be more difficult, try to avoid making any drastic turns with the ductwork as this can result in reduced efficiency. If possible, try to run the ductwork through an interior wall and out an exterior wall. This will provide better ventilation than a roof vent or floor vent.
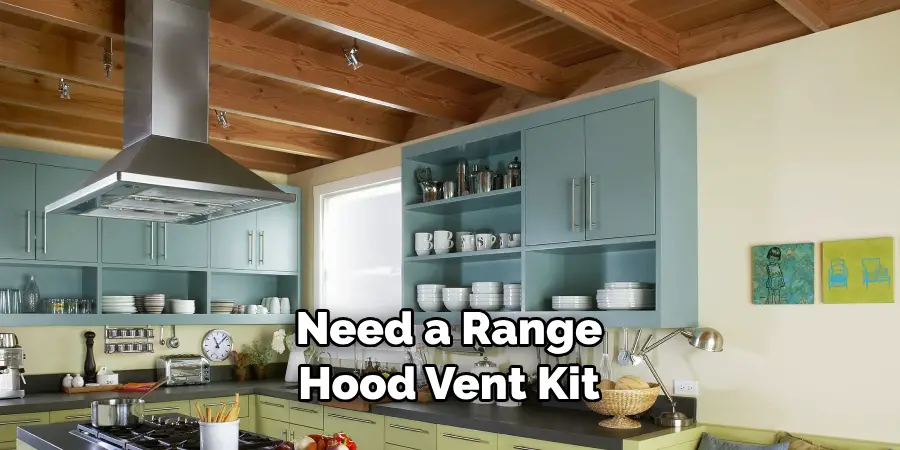
Step 3: Gather the Necessary Tools and Materials
Before you begin the installation process, gather all the necessary tools and materials. You will need a range hood vent kit, ductwork, screws, a drill, a jigsaw or reciprocating saw, a stud finder, a level, foil tape, and a screwdriver. Having everything ready will make the installation process smoother.
Step 4: Locate and Mark Studs
Using a stud finder, locate and mark the studs along the chosen venting route. This step is crucial for secure and stable installation. Ensure that the marked stud locations align with the desired path for the ductwork.
However, you may need to adjust the path of the ductwork in order to align with existing studs. Mark the route on the wall clearly using a pencil. Try to minimize the number of studs that you will need to cut through, as this could compromise the stability of the installation.
Step 5: Prepare the Wall Opening
Using a jigsaw or reciprocating saw, carefully cut an opening in the interior wall for the range hood vent. Follow the manufacturer’s instructions and guidelines for the appropriate size of the opening. Take care to avoid any electrical wiring or plumbing behind the wall. While cutting, make sure to wear safety glasses and a dust mask for added protection.

Step 6: Install the Vent Cap
Attach the vent cap to the exterior wall, aligning it with the wall opening. Secure the vent cap in place using screws or the method specified by the manufacturer. Ensure that the vent cap is tightly sealed to prevent any air leaks. Connect the vent duct to the vent cap and secure it with tape.
Turn on the fan to make sure air is flowing properly through the system. Check the vent cap for signs of air leakage. If any is found, seal it with caulk to prevent further drafts. Finally, turn off the fan and enjoy your newly installed range hood. Congratulations! You have just successfully vented your range hood through an interior wall.
Step 7: Install the Ductwork
Connect the ductwork to the range hood and extend it through the wall opening. Secure the ductwork using screws or clamps, ensuring a tight and secure fit. Use foil tape to seal any joints or connections to prevent air leakage.
Make sure the ductwork is properly sealed to the wall opening with caulk or expanding foam. However, do not use any materials that may be flammable. Finally, secure the backdraft damper to the ductwork. This will help prevent any cold air from entering the kitchen through the ductwork.
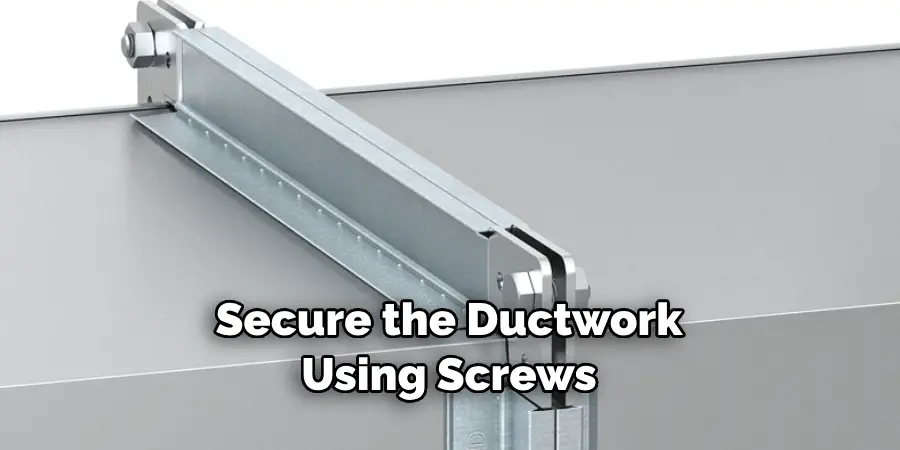
Step 8: Secure the Ductwork to Studs
Along the venting route, secure the ductwork to the marked studs using appropriate screws. This step provides additional stability and prevents the ductwork from shifting or sagging over time.
Use a level to ensure that the ductwork is straight and properly aligned. Although drywall can be used to cover the exterior of the duct, it is not necessary. Once you have secured all of the ductwork, recheck the connections and make sure they are properly sealed.
Step 9: Seal and Insulate
To maximize the efficiency of your range hood venting, seal any gaps or seams in the ductwork using foil tape. This step prevents air leakage and ensures that all the airflow is directed towards the exterior. Additionally, consider insulating the ductwork to minimize heat loss and condensation.
This can be done by wrapping the ductwork in insulation sleeves or foam board insulation. When insulating the vent, make sure to secure all connections with foil tape. Make sure to take extra care when securing the insulation around corners and bends in the ductwork. And finally, inspect the vents one last time to make sure all connections are secure and the insulation is properly in place.
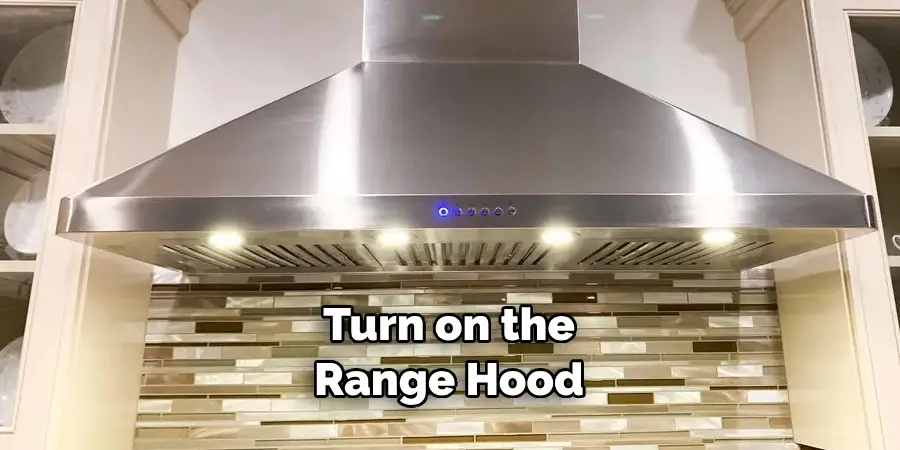
Step 10: Test and Adjust
Once the range hood vent is installed, test its functionality. Turn on the range hood and check if the airflow is strong and directed toward the exterior. If you notice any issues, such as weak airflow or unusual noise, make adjustments to the ductwork or seek professional assistance.
Make sure to inspect the interior walls for any gaps or holes leading outside, and seal them as needed. Once everything is installed and adjusted correctly, your range hood vent is ready for use.
Conclusion
Congratulations! You’ve now finished the process of installing your vent range hood through an interior wall. With this new addition to your kitchen, you should be getting better air circulation and smoke removal while also adding a bit of aesthetic appeal to the room.
The installation process does take some time and effort, but once it’s done, it’s incredibly satisfying knowing that you can get meals prepared more quickly and clean up more easily under improved ventilation.
So don’t wait any longer – give this project a try for yourself today and take your kitchen to the next level of convenience! Remember, when in doubt about how to Vent Range Hood through Interior Wall, always consult a certified professional who will be more than willing to help you out. Happy cooking!
About
Angela is the chief editor of Indoorense. She began her career as an interior designer before applying her strategic and creative passion to lifestyle and home.
She has close to 15 years of experience in creative writing and online content strategy for housekeeping and cleaning,home decorations as well as other efforts.
She loves her job and has the privilege of working with an extraordinary team. She lives with her husband, two sons, and daughter in Petersburg. When she’s not busy working she spent time with her family.