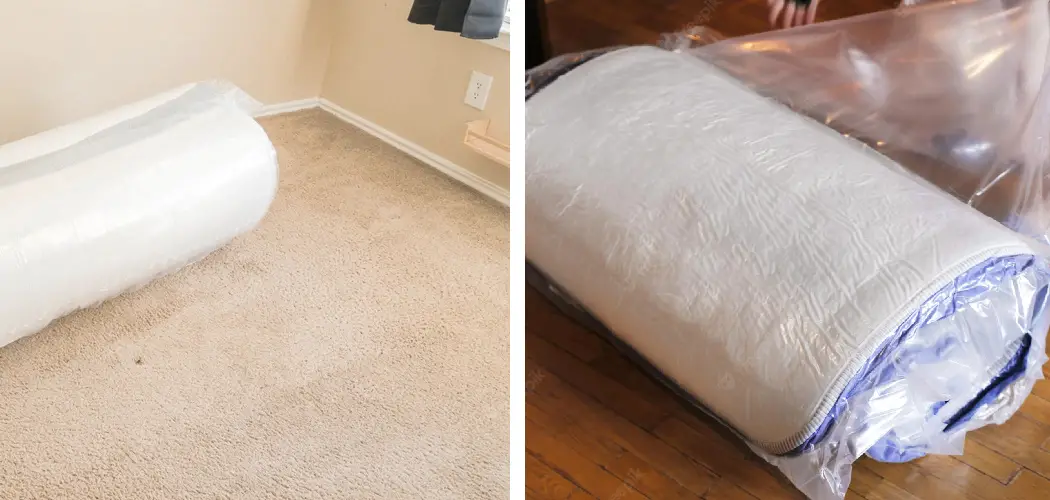
Are you looking for a way to preserve and protect your mattress? Vacuum sealing is an effective and efficient method of protecting furniture, including mattresses. Not only does it prevent dirt, dust, and allergens from entering the mattress fibers, but vacuum-sealed mattresses last longer and retain their shape better due to the lack of airflow that penetrates them. In this blog post, we’ll discuss the importance of vacuum sealing your mattress along with detailed steps on how to vacuum seal mattress so you can reap the many benefits without damaging your beloved bedding. So keep reading if you want to learn about how to easily vacuum seal your mattress like a pro!
Can You Vacuum a Mattress for Storage?
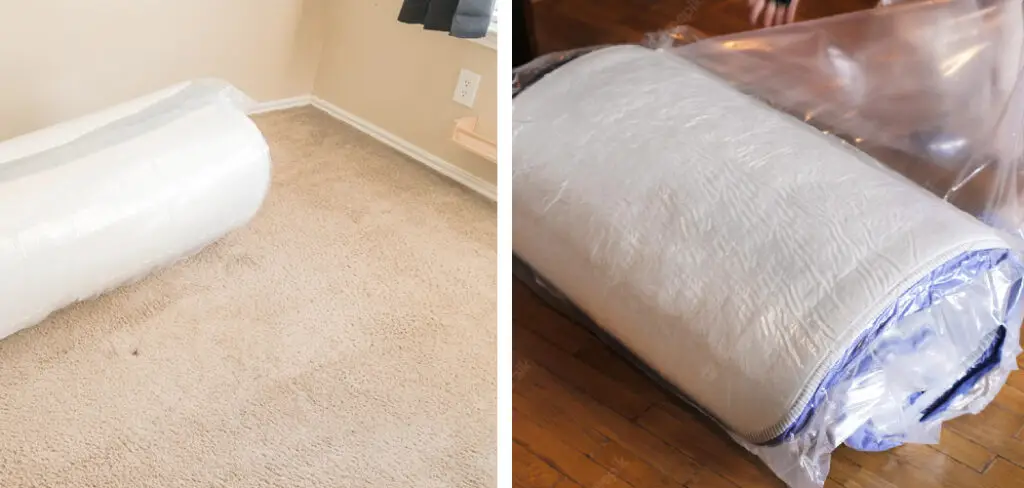
Yes, it is possible to vacuum seal a mattress for storage. Vacuum sealing can help protect your mattress from dirt, dust, and other allergens while in storage, as well as help, keep it dry and free from moisture. Vacuum sealing your mattress can also help to reduce its overall size, making it easier to move and store.
To vacuum seal, a mattress for storage, start by placing a large piece of plastic wrap or shrink wrap around the entire mattress. You may need to use several pieces of wrap if the mattress is larger than average. Once you have the plastic securely wrapped around your mattress, use a vacuum cleaner to suck out all of the air from inside the plastic wrapping. This will create an airtight seal that will help protect your mattress from dirt and dust while in storage. Make sure to double-check that all areas are correctly sealed before storing away your mattress.
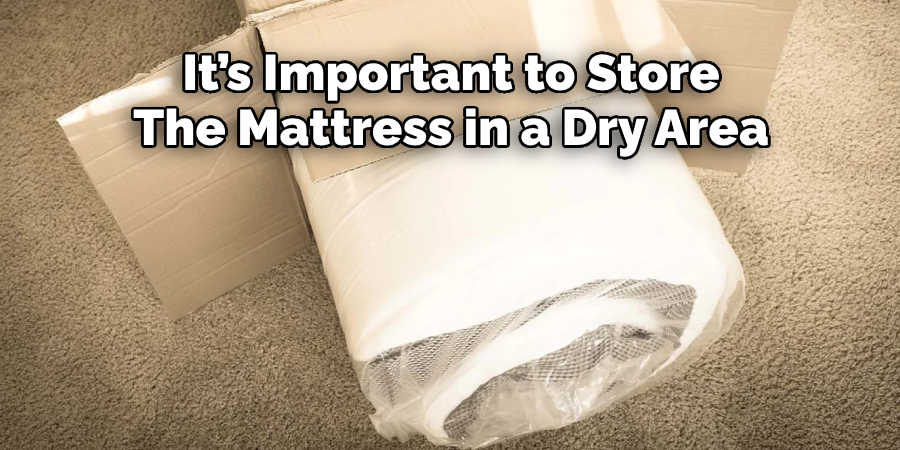
Once your mattress is vacuum sealed for storage, it’s important to store the mattress in a dry area away from direct sunlight. Sunlight can damage and fade fabrics, so make sure to keep your mattress out of any direct sunlight while in storage. Additionally, if you plan on storing your mattress for a long period of time, consider covering it with a mattress protector before placing it in storage. This will help to keep the vacuum-sealed wrap from getting damaged and help to protect the actual mattress.
10 Methods How to Vacuum Seal Mattress
1. Purchase a Quality Vacuum Sealer.
When it comes to choosing a vacuum sealer, you’ll want to make sure that you purchase a quality machine that will be able to seal your mattress correctly. There are a variety of vacuum sealers on the market, so be sure to do your research before making a purchase. If you’re looking for a more affordable option, you can also purchase an inexpensive handheld vacuum sealer.
2. Place the Mattress in the Sealing Chamber.
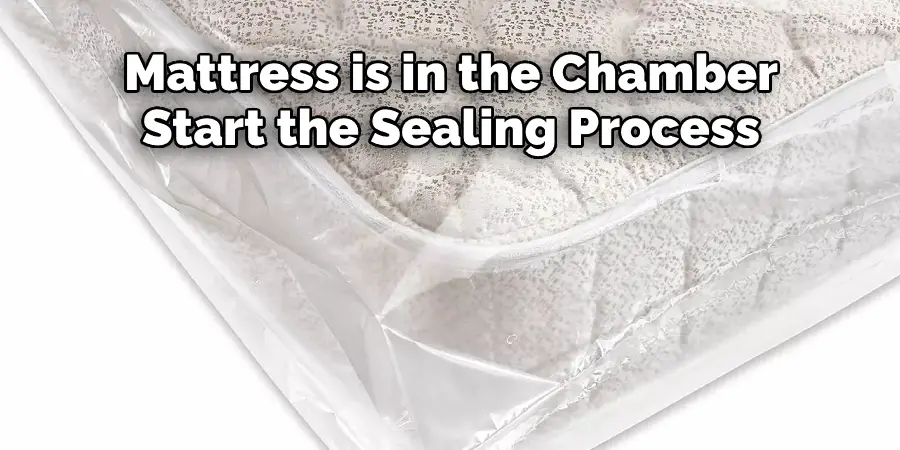
Once you have your vacuum sealer, you’ll need to place the mattress inside the sealing chamber. Make sure that the mattress is positioned correctly so that it will be properly sealed. Once the mattress is in the chamber, you can start the sealing process. If your sealer has an adjustable speed setting, make sure to select the appropriate one for your mattress. Although some sealers are designed to work with any type of mattress, it’s always better to be safe and choose the correct speed for the job.
3. Seal the Chamber.
After the mattress is in place, you’ll need to seal the chamber by closing the lid and turning on the machine. The vacuum sealer will work to remove all of the air from the chamber and create a tight seal around the mattress. Depending on the size of the mattress, this process may take several minutes. Once the machine has finished its cycle, you can open the lid to inspect the seal. If the mattress is sealed tightly all around, you can proceed to step four. If not, you may need to reseal the chamber and try again.
4. Remove the Mattress from the Chamber.
Once the sealing process is complete, you can remove the mattress from the chamber and take it to your desired location. Make sure to keep the mattress away from any moisture, heat, or direct sunlight, as this could damage it. Place it on a flat surface and ensure that it is completely dry before you begin using it. If you notice any wet spots, you may need to vacuum seal the mattress once again. With proper care and storage, your mattress will last for many years to come.
5. Place the Mattress in a Storage Bag.
To keep your mattress in good condition, you’ll want to place it in a storage bag before placing it in storage. This will help to protect it from dust, moisture, and other elements that could damage it.
Be sure to use a bag that is large enough to fit the mattress and has strong, airtight seals. Although plastic storage bags are the most common, you can also use fabric storage bags as well. Once your mattress is in the bag, seal it tightly using a vacuum sealer, making sure that all of the air is sucked out of the bag. This will help to ensure that your mattress stays protected and in good condition while in storage.
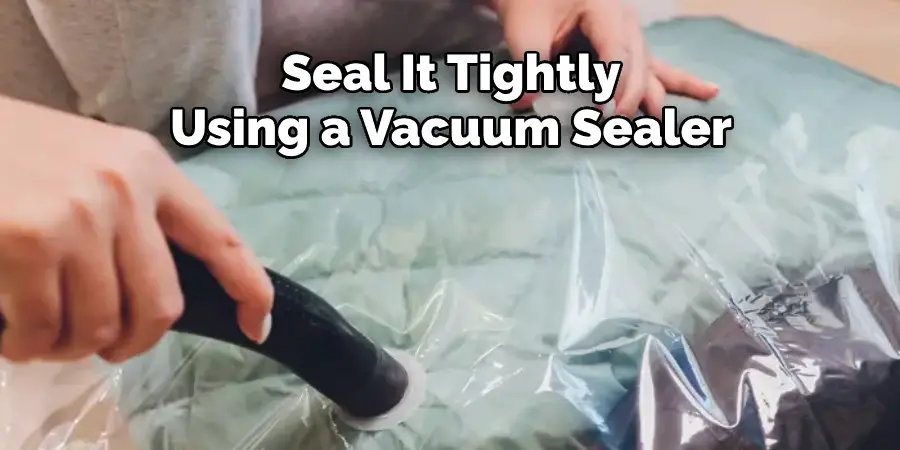
6. Seal the Storage Bag.
After placing the mattress in the storage bag, you’ll need to seal it using your vacuum sealer. Be sure to follow the instructions on your particular machine so that you get a good seal. You may need to make multiple passes along the length of the bag in order to ensure a tight seal. If you’re using a handheld model, you may need to use the accessory hose attachment to secure a tight seal on the bag. If the seal is not tight, the mattress may become exposed to moisture or other elements over time, potentially ruining it.
7. Store in a Cool, Dry Place:
To keep your mattress in optimal condition, you’ll want to store it in a cool, dry place away from direct sunlight or heat sources. An attic or basement would be an ideal location for storing your sealed mattress. If you have limited space, consider wrapping the mattress in a protective cover or bag until you’re ready to use it again. You’ll also want to make sure that your mattress is properly supported and not placed on a soft surface that could cause mold or mildew growth. Storing the mattress in this manner will help maintain its shape and longevity. With
8. Inspect the Mattress Regularly.
It’s important to inspect your vacuum-sealed mattress on a regular basis to make sure that it is still in good condition and has not been damaged during storage. If you notice any signs of damage, you’ll want to take the necessary steps to repair or replace the mattress as soon as possible. Be sure to look for any signs of mold, mildew, tears in the fabric, or other damage. Additionally, check for any signs of insect or rodent infestation in the mattress. Taking these steps will help to ensure that your mattress remains safe and functional for a long time.
9. Replace the Bag if Needed.
After inspecting your mattress, if you find that the seal is no longer tight or secure, then you’ll need to purchase a new storage bag and repeat the sealing process in order to keep your mattress protected while it’s in storage. Always use a high-quality bag and make sure it’s large enough to fit the mattress. Make sure to check the seal as you go along.
10. Monitor the Environment:
In addition to regularly inspecting your sealed mattress, you’ll also want to monitor the storage environment. Make sure that your mattress isn’t exposed to extreme temperatures or moisture, as this can cause damage and reduce the effectiveness of the seal. Also be sure to check for pests such as moths and other insects, which could also damage your sealed mattress. If you detect any signs of pests, take steps to remove them immediately. Finally, you should also monitor the area for any signs of mold or mildew, as these can damage your mattress and reduce the effectiveness of the seal.

By following these steps, you can ensure that your vacuum-sealed mattress is stored properly and stays in good condition for years to come. With proper care and maintenance, you can rest assured that your mattress will remain safe from dust, dirt, moisture, pests, and other elements while it’s in storage!
Conclusion
Now that you know how to vacuum seal mattress, you can enjoy the benefits of extended storage and protection against dust, dirt, moisture, pests, and other elements. If you are considering a new mattress, one of the best ways to prolong its lifespan and keep it clean is by vacuum sealing it. This process is simple and can be done with little effort. By taking these steps, you will help your mattress last longer and stay cleaner for years to come. Thanks for reading!
About
Angela is the chief editor of Indoorense. She began her career as an interior designer before applying her strategic and creative passion to lifestyle and home.
She has close to 15 years of experience in creative writing and online content strategy for housekeeping and cleaning,home decorations as well as other efforts.
She loves her job and has the privilege of working with an extraordinary team. She lives with her husband, two sons, and daughter in Petersburg. When she’s not busy working she spent time with her family.

