

Are you tired of wrinkled vinyl? Don’t worry—there are simple and effective ways to remove wrinkles from your vinyl items. Whether it’s a tablecloth, shower curtain, or piece of furniture, you can easily get rid of those unsightly wrinkles and make your vinyl look smooth and brand new again.
Vinyl is a versatile and durable material used in various applications, from flooring and furniture to records and crafting projects. However, one common issue that users encounter is wrinkling, which can detract from the material’s appearance and performance. Whether you’re dealing with wrinkled vinyl on a record, a piece of upholstery, or a craft project, restoring it to its original smooth state is often easier than you might think.
In this guide, we will explore how to unwrinkle vinyl, ensuring you can maintain its aesthetic appeal and functionality with minimal effort.
Why Does Vinyl Wrinkle?
Before we dive into the methods for removing vinyl wrinkles, let’s understand why vinyl wrinkles exist. Vinyl is a type of plastic that contains polyvinyl chloride (PVC) as its main component. This material is commonly used for various household items due to its durability and water resistance. However, vinyl is not as resistant to heat as other materials, which makes it prone to wrinkling when exposed to high temperatures.
Excessive heat can cause the molecules in vinyl to expand and lose their shape, resulting in wrinkles or creases. This can happen during storage or transportation of vinyl items or even from direct sunlight exposure. Additionally, if vinyl is folded or bent for a long period of time, wrinkles can also develop that are difficult to remove.
What Will You Need?
To successfully unwrinkle vinyl, you will need a few simple items that are readily available at home. These include:
- An iron
- A clean cloth or towel
- A hairdryer
- A flat surface such as a table or ironing board
Once you have gathered these materials, you’ll be ready to remove those stubborn wrinkles from your vinyl items.
10 Easy Steps on How to Unwrinkle Vinyl
Step 1. Prepare Your Iron
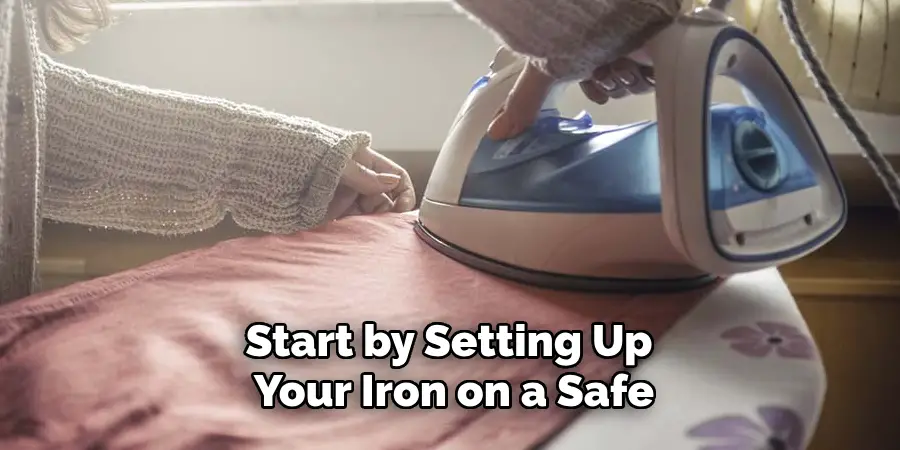
Start by setting up your iron on a safe, flat surface like an ironing board or table. Make sure to fill the iron with water if it has a steam function, as steam can help to relax and smooth out the vinyl fibers more effectively. Select the lowest heat setting on the iron to avoid damaging the vinyl, as high temperatures can cause it to melt or warp. It’s essential to test a small, inconspicuous area of your vinyl item first to ensure that the heat and steam will not cause any damage.
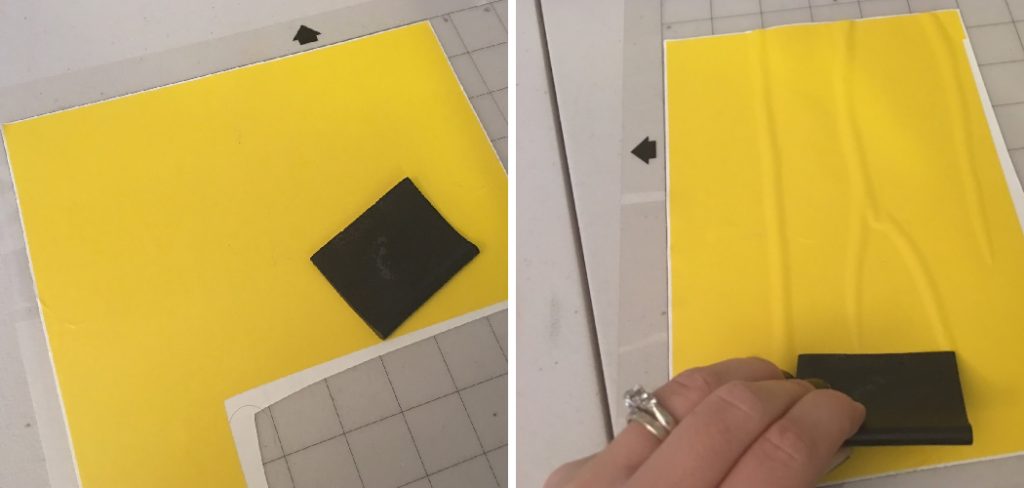
Step 2. Lay Out the Vinyl Item
Next, place the wrinkled vinyl item flat on the surface, ensuring there are no overlapping sections. If needed, use the edges of the table or ironing board to help stretch out any tight or stubborn areas. Smooth it out as much as possible with your hands to begin the process.
Step 3. Protect the Vinyl with a Cloth
Before applying heat to the vinyl, it is crucial to protect it by placing a clean cloth or towel over the wrinkled sections. This barrier ensures that the heat from the iron does not come into direct contact with the vinyl, which could cause melting, discoloration, or warping.
The cloth will act as a buffer, evenly distributing the heat and steam, helping to relax the material and remove wrinkles without causing damage. Gently spread the cloth or towel over the area, ensuring there are no folds or creases in the protective layer.
Step 4. Apply Heat and Steam
With the cloth in place, carefully begin to iron over the wrinkled areas using slow, steady motions. Make sure to keep the iron moving continuously to prevent any concentrated heat spots that may damage the vinyl beneath.
Apply gentle pressure, allowing the steam to penetrate the cloth and reach the vinyl, which helps to relax the material and eliminate the wrinkles. If the vinyl is particularly stubborn, you can use the steam function on your iron to generate additional moisture and heat, which enhances the smoothing process. Continue ironing until the wrinkles start to disappear.
Step 5. Allow the Vinyl to Cool
After treating the wrinkled areas with the iron, give the vinyl some time to cool down before handling it. This cooling period allows the material to set in its new, smooth shape. Quickly handling the vinyl while it is still warm may cause new wrinkles or distortions to form. Leave the vinyl undisturbed on a flat surface for several minutes to ensure it retains its smooth appearance.
Step 6. Use a Hairdryer for Finishing Touches
A hairdryer can be a useful tool for smaller or hard-to-reach areas that may still have some lingering wrinkles. Set the hairdryer to a warm (not hot) setting and hold it a few inches away from the vinyl. Slowly move the hairdryer over the wrinkled spots while smoothing the vinyl with your other hand or a cloth. The warm air will help to relax the vinyl, allowing you to stretch and smooth out any remaining creases gently.
Step 7. Inspect and Repeat if Necessary
Once the vinyl has cooled and settled, inspect it thoroughly to ensure all wrinkles have been removed. If you find any remaining creases, you can repeat the ironing and hairdryer steps as necessary. It may take a few passes to achieve a completely smooth surface, especially for heavily wrinkled items. Patience and gentle handling are key to preventing damage while effectively unwrinkling your vinyl.
Step 8. Store Properly to Prevent Future Wrinkles
Proper storage is essential to maintain the smooth appearance of your vinyl items. Store vinyl records in a cool, dry place, preferably upright, to avoid any unnecessary pressure. Keep larger vinyl items like upholstery or craft projects flat or rolled up loosely rather than folded.
Ensure they are not exposed to direct sunlight or high temperatures, as these conditions can lead to new wrinkles. Regularly checking on your vinyl items and adjusting their storage as needed can help prevent future wrinkles and keep them looking their best.
Step 9. Avoid Overheating
While attempting to remove wrinkles, be cautious about overheating the vinyl. Applying too much heat, particularly without a protective cloth barrier, can result in melting, warping, or discoloration of the material. Always start with the lowest heat setting on your iron or hairdryer and gradually increase the temperature if necessary.
Monitoring the heat levels and maintaining a safe distance between the heat source and the vinyl can prevent accidental damage. If you notice any signs of overheating, such as a change in color or texture, stop immediately and allow the vinyl to cool before proceeding further. Patience and careful handling will ensure that your vinyl remains in excellent condition.
Step 10. Use Books or Heavy Objects for Persistent Wrinkles
Using books or other heavy objects can be an effective alternative for especially stubborn wrinkles that do not respond well to the iron or hairdryer method.
First, lay the vinyl item flat on a clean, sturdy surface. Place a sheet of parchment paper or a clean towel over the wrinkled area to protect the vinyl from any potential damage. Next, carefully position heavy books or objects over the covered wrinkles, ensuring they are evenly distributed across the surface.
Allow these weights to sit for several hours, or preferably overnight, to help flatten out the vinyl. The consistent pressure will gradually smooth out the wrinkles, leaving your vinyl item looking refreshed and wrinkle-free.
By following these steps and using the appropriate tools and techniques, you can effectively remove wrinkles from your vinyl items without damaging them.
5 Things You Should Avoid
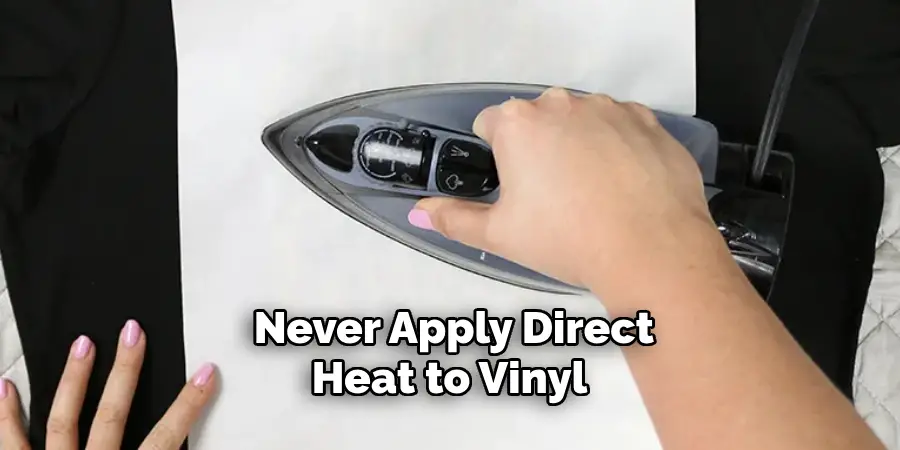
- Skipping the Protective Cloth: Never apply direct heat to vinyl without a protective cloth barrier. Skipping this step can cause the vinyl to melt, warp, or discolor. Always use a clean cloth or towel to distribute the heat evenly and protect the material.
- Avoid Direct Sunlight: Exposure to direct sunlight or high temperatures can cause vinyl to expand and contract, leading to wrinkles. Store your vinyl items in a cool, dry place away from direct sunlight.
- Don’t Overdo It: Be patient when removing wrinkles from your vinyl items. Overheating or overworking the material can cause damage. Take breaks as needed and allow the material to cool down before continuing.
- Do Not Fold Vinyl: Folding vinyl items can create permanent creases and wrinkles that are difficult to remove. Instead, roll or lay them flat for proper storage.
- Avoid Moisture: While steam can be helpful in removing wrinkles from vinyl, excessive moisture can damage the material. Use caution when using the steam function on your iron and always allow the vinyl to dry completely before handling it again.
By avoiding these common mistakes, you can effectively remove wrinkles from your vinyl items and keep them looking their best.
Conclusion
How to unwrinkle vinyl requires a combination of careful handling, the right tools, and a bit of patience. By utilizing a protective cloth, applying controlled heat through an iron or hairdryer, and allowing the material to cool properly, you can effectively smooth out vinyl surfaces.
Applying consistent, gentle pressure with heavy objects like books can be an additional method to achieve the desired result for persistent wrinkles. Avoiding common pitfalls, such as direct heat without protection, overexposure to sunlight, and improper storage, ensures your vinyl items’ longevity and pristine condition.
By following these comprehensive steps and tips, you can maintain a smooth, wrinkle-free appearance for your vinyl possessions, ensuring they remain in excellent condition for years to come.
About
Angela is the chief editor of Indoorense. She began her career as an interior designer before applying her strategic and creative passion to lifestyle and home.
She has close to 15 years of experience in creative writing and online content strategy for housekeeping and cleaning,home decorations as well as other efforts.
She loves her job and has the privilege of working with an extraordinary team. She lives with her husband, two sons, and daughter in Petersburg. When she’s not busy working she spent time with her family.