

In recent years, the trend of repurposing furniture has gained popularity as a creative and environmentally friendly option for home improvement. One such innovative project is learning how to turn a dresser into a book shelf. By transforming a dresser into a stylish bookshelf, individuals can maximize their space, add a unique character to their rooms, and embrace sustainability through furniture reuse.
This project saves money and minimizes waste by giving old furniture a new purpose. This article aims to provide a comprehensive, step-by-step guide on how to turn a dresser into a book shelf. With practical tips and detailed instructions, readers will be equipped to carry out this rewarding DIY project successfully. Whether looking to refresh a living area or explore a sustainable practice, converting a dresser into a bookshelf offers a creative solution that marries functionality with personal style.
Materials and Tools Needed
Materials
- Old Dresser: Choose size and style based on personal preference, ensuring it fits your intended space.
- Wood Filler or Putty: Used for fixing holes or imperfections to create a smooth surface.
- Sandpaper: Medium and fine grit for sanding and prepping the dresser’s surface.
- Paint or Wood Stain: Select based on the desired finish for the dresser’s new look.
- Clear Sealant: Optional, provides added protection and durability.
- Brackets: These are required if reinforcing or securing shelves to enhance stability.
Tools
- Screwdriver: Essential for removing drawers and any existing hardware from the dresser.
- Sander or Sanding Block: Helps in smoothing surfaces, crucial for proper finishing.
- Paintbrush or Roller: For even application of paint or stain across the dresser.
- Level: Ensures shelves are installed evenly for an aesthetically pleasing and functional result.
- Measuring Tape: Required for taking accurate measurements to ensure the best fit for shelves and other components.
Preparing the Dresser
Step 1: Empty and Disassemble
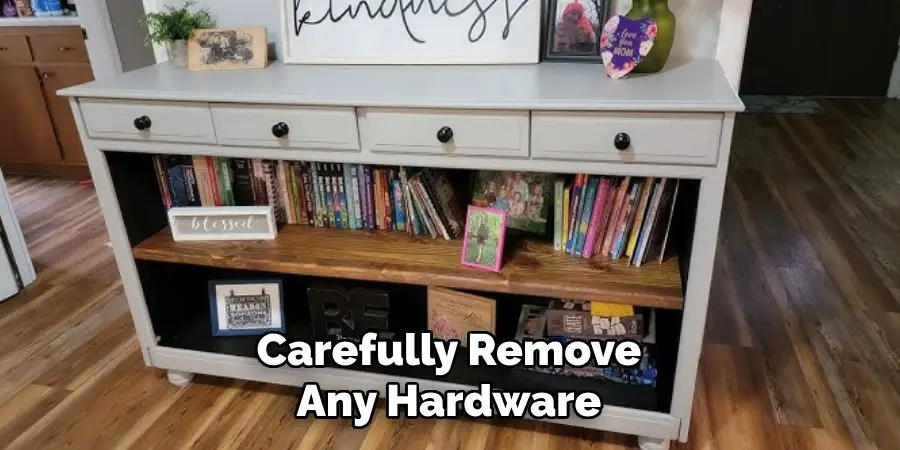
Begin by removing all drawers from the dresser and setting them aside. This allows complete access to the framework for easier handling, painting, or refinishing. Next, carefully remove any hardware, such as handles or knobs. This step is crucial for ensuring a smooth surface that is free of obstructions for the subsequent painting or refinishing process.
Step 2: Clean the Dresser
Thoroughly clean the dresser to eliminate any lingering dust, dirt, or grease that may interfere with the finish. Use a mild cleaner and a soft cloth to gently wipe down the entire surface. This ensures that the dresser is free from contaminants that could affect the adherence of paint or stain.
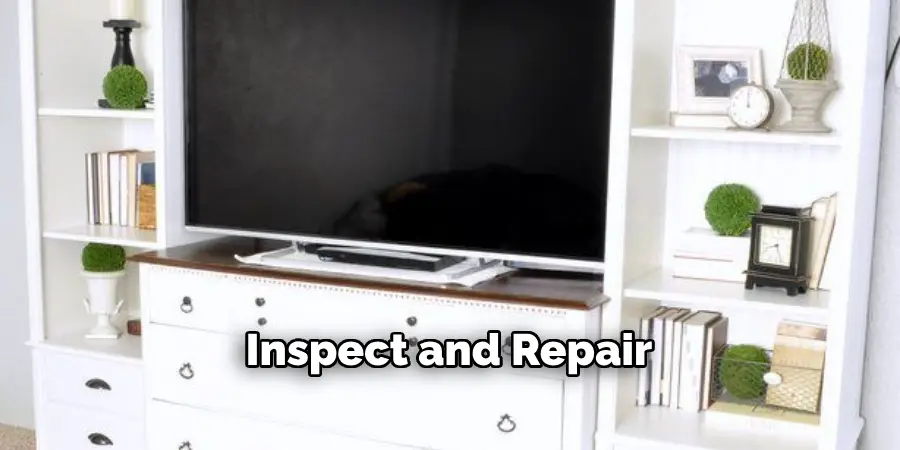
Step 3: Inspect and Repair
Examine the dresser closely for damage or imperfections. Pay attention to scratches, dents, or holes that need repair. Use wood filler to address these problem areas. Once the filler has fully dried, sand the sections smoothly to ensure a level surface, creating a flawless base for finishing.
Step 4: Sand the Dresser
Utilize medium-grit sandpaper to sand all the dresser surfaces, focusing on any rough spots or edges. This process helps smooth out old finishes and prepares the wood for new paint or stain. Follow up with fine-grit sandpaper to achieve a silky finish. This final sanding is especially important to ensure the paint or stain applies evenly for a polished and professional appearance.
How to Turn a Dresser Into a Book Shelf: Transforming the Dresser
Step 1: Decide on the Structure
When transforming a dresser into a bookshelf, deciding on the structure is a crucial step that will define your piece’s final look and functionality. Consider whether you want to remove the top of the dresser and use the bottom to create additional shelving. This can open up the space and provide a more contemporary look. Alternatively, you may choose to leave some drawers intact, offering a mix of open shelving for display and closed storage for items you’d prefer to keep out of sight. Choosing between open and closed spaces should be based on your storage needs and aesthetic preferences. Consider the size and number of books you plan to store and the other items you might display.
Step 2: Remove Drawers (Optional)
Suppose you’ve decided that open shelving best suits your design; you must remove the drawers. Start by carefully unscrewing and removing the drawer slides and fronts. This will ensure that no hardware interferes with your new shelving structure. Be patient during this process to avoid damaging the dresser’s interior framework. Maintain any hardware that you might repurpose, or that could be useful for future furniture projects. With the drawers removed, the dresser will become a potential bookshelf.

Step 3: Reinforce or Create Shelves
Once the drawers are out, it’s time to convert the interior to functional shelving. If the existing dresser structure allows, you can reinforce the shelves with brackets to enhance stability. Measure the interior width and depth for additional shelves, then cut wood to these dimensions. Consider the spacing between shelves depending on the types and sizes of books you plan to store. For a standard setup, an 11-12 inch spacing typically accommodates most books; however, adjust as necessary for larger volumes. Once the wood is cut, attach the shelves securely with wood screws and brackets to ensure they can support the intended weight.
Step 4: Painting or Staining
With your structure ready, the next step is to apply paint or stain to the dresser. Choose a color or finish that complements your room’s décor and personal style. To achieve an even and smooth finish, apply the paint or stain in thin, multiple coats, allowing each layer to dry completely before applying the next. Using a paintbrush or roller, work in even strokes to minimize streaking. Once satisfied with the color, consider sealing the dresser with a clear sealant. This will protect the surface from scratches and spills, prolonging its appearance and durability. The result will be a refined and polished piece that serves your space’s function and aesthetic appeal.
How to Turn a Dresser Into a Book Shelf: Final Assembly and Styling
Step 1: Reattach or Arrange Shelves
Once the paint or stain has fully dried, it’s time to finalize the shelving. If you retained any original shelves, reattach them securely, ensuring they are level and firmly in place to handle the weight of books and decorations. For any new shelves you’ve added, double-check their alignment and sturdiness. Use a level to confirm that each shelf is perfectly horizontal, and adjust as necessary. Proper installation prevents slippage and potential damage to your items. Once satisfied with the arrangement, gently test the shelves’ stability before placing items on them.
Step 2: Reinstall Hardware (if applicable)
If your dresser-turned-bookshelf still includes drawers, you’ll want to reinstall any necessary hardware like handles or knobs. To update the piece and give it a fresh look, consider replacing old hardware with modern alternatives in a finish that complements the rest of your décor. New hardware can subtly change the overall aesthetic, providing a custom touch. Ensure that all screws are tight and the hardware firmly attached to withstand regular use.

Step 3: Style the Bookshelf
Now comes the fun part: styling your new bookshelf. Start by arranging books, using a mix of vertical and horizontal placements to create visual interest. This variety can also stabilize taller stacks. Integrate decorative elements such as small plants, photos, or art pieces to add pops of color and personal flair. Decorative boxes can be used for hidden storage while contributing to the overall look. Consider balancing items to avoid overcrowding, resulting in an appealing and functional display that reflects your personal style.
Step 4: Secure to Wall (Optional)
For safety, particularly in households with children, it’s recommended that the dresser be secured to the wall to prevent tipping. Use sturdy wall anchors and brackets to attach the bookshelf safely. Ensure the hardware used can support the dresser’s weight, especially if it is laden with heavy books and decor. This precaution provides peace of mind and ensures that your innovative piece remains a safe and stable addition to your home.
Maintenance Tips for Your New Bookshelf
Cleaning Recommendations
To keep your new bookshelf looking pristine, regularly dust and clean it using a soft cloth to avoid scratching the finish. For a deeper clean, opt for a gentle cleaner free from harsh chemicals to maintain the paint’s integrity or stain. Apply the cleaner with a damp, not wet, cloth, and follow up with a dry cloth to prevent moisture damage.
Inspecting for Damage
Periodically inspect the bookshelf for any signs of wear, such as loose shelves or slightly damaged areas. Tighten screws and make minor repairs as needed to ensure stability and longevity. This proactive maintenance helps prevent small issues from escalating into larger problems.
Updating Decor
Refresh your bookshelf’s decor periodically to keep it feeling new and inviting. Consider incorporating seasonal decorations or themed displays that enhance its visual appeal and infuse the room with a dynamic and updated look.
Conclusion
Transforming a dresser into a bookshelf is a wonderful means of expressing creativity while enhancing both functionality and sustainability in your living spaces. This project repurposes old furniture and perfectly adapts to your specific aesthetic and organizational needs. By following these steps on how to turn a dresser into a book shelf, you can create a remarkable and personalized piece that adds charm and utility to any room. Embrace the process, making it uniquely yours, and relish the satisfaction of crafting a distinctive bookshelf that showcases both your style and resourcefulness.
About
Angela is the chief editor of Indoorense. She began her career as an interior designer before applying her strategic and creative passion to lifestyle and home.
She has close to 15 years of experience in creative writing and online content strategy for housekeeping and cleaning,home decorations as well as other efforts.
She loves her job and has the privilege of working with an extraordinary team. She lives with her husband, two sons, and daughter in Petersburg. When she’s not busy working she spent time with her family.