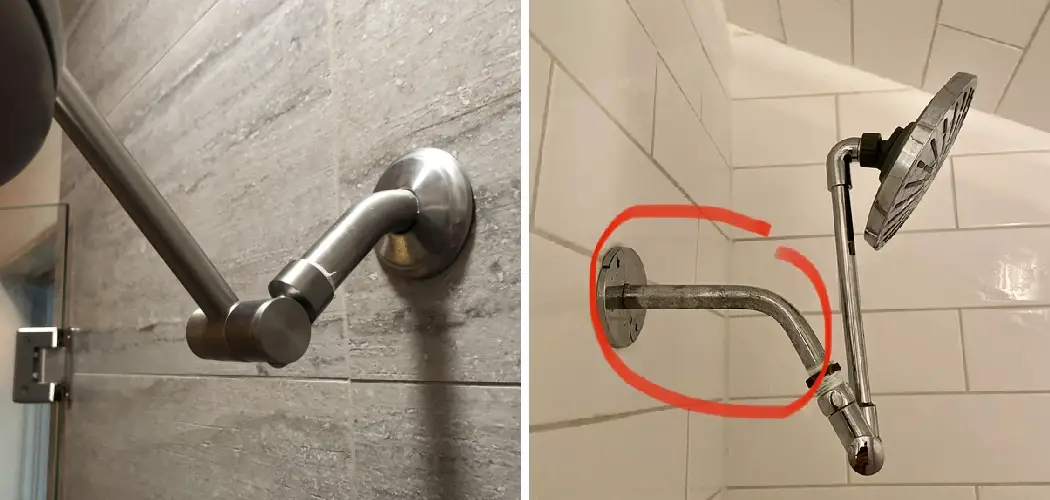
A loose shower arm can lead to leaks and reduced water pressure, transforming a simple daily routine into an ongoing annoyance. Fortunately, tightening a shower arm is a straightforward task that doesn’t require professional plumbing services. With the right tools and a bit of patience, you can quickly secure the shower arm and prevent potential water damage or inefficiencies. This guide will walk you through how to tighten a shower arm, saving you both time and money.
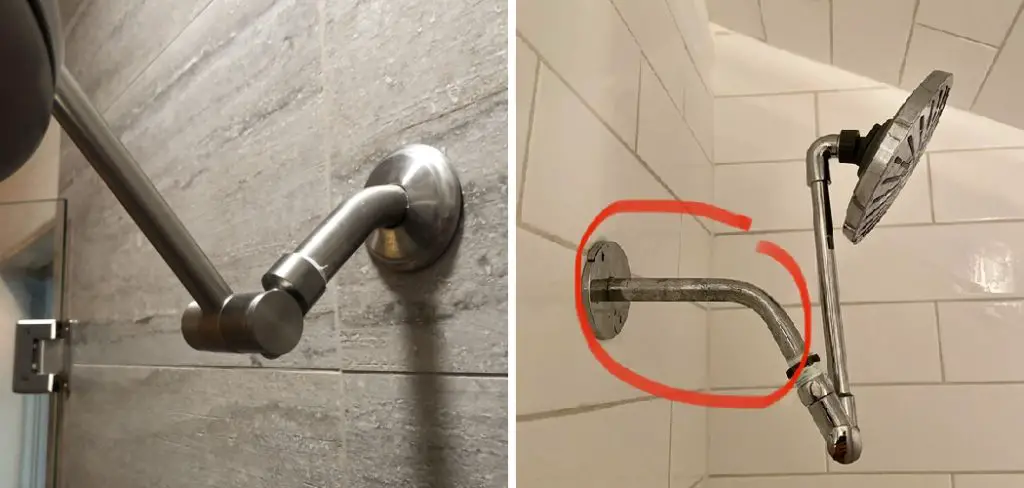
Common Problems Caused by a Loose Shower Arm
A loose shower arm can create several issues that go beyond simple inconvenience. First and foremost, it may lead to persistent leaks, which can increase your water bill and contribute to water wastage. Over time, constant dripping can also cause water damage to the surrounding walls or ceiling, promoting mold growth and structural deterioration. Additionally, a loose shower arm often results in decreased water pressure, making showers less enjoyable and less efficient.
If left unaddressed, the instability of the shower arm could eventually lead to further damage to the plumbing fixtures, potentially requiring more extensive and costly repairs. Addressing these problems early on helps maintain both the functionality and longevity of your shower system.
Tools and Materials Needed
Before you begin the process of tightening your shower arm, gather the necessary tools and materials to ensure a smooth and efficient repair. You will need a wrench or pliers to adjust and secure the shower arm. To prevent scratches on the fixture’s finish, consider using a cloth or rag to wrap around the shower arm when gripping it with the wrench. Additionally, having some plumber’s tape on hand is beneficial for creating a better seal where the shower arm connects to the plumbing.
If any old tape residue is present, a utility knife or a pair of scissors may be helpful to remove it. These tools and materials will equip you to tackle the task effectively and minimize any potential damage to the existing fixtures.
10 Methods How to Tighten a Shower Arm
1. Identify the Type of Shower Arm
Before attempting any tightening procedure, it’s important to identify the type of shower arm you have. Most shower arms are either threaded or attached via a coupling nut. A threaded arm typically screws directly into the wall, while a coupling nut may involve a set screw or a slip joint. Understanding the configuration of your shower arm will help you determine the appropriate tools and methods for tightening it. Inspect the connection points to see if there are any visible gaps or signs of loosening, which will guide your approach.
2. Turn Off the Water Supply
To prevent any unexpected water sprays or leaks, start by turning off the water supply to your shower. This is usually done at the main water shut-off valve for your home, or you may find localized valves behind the shower wall if your plumbing is designed that way. Once the water is off, open the shower faucet to relieve any residual pressure. This step is crucial for ensuring a clean and safe work environment as you proceed to tighten the shower arm.
3. Use a Pipe Wrench or Adjustable Wrench
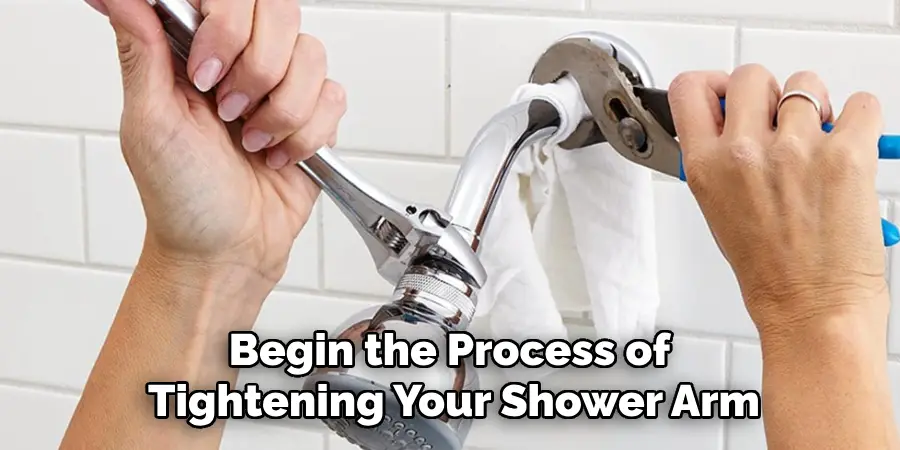
For most shower arms, a pipe wrench or an adjustable wrench will be your best tools for tightening. Begin by wrapping a cloth around the shower arm to protect its finish from scratches. Then, use the wrench to grip the arm securely. Apply gentle pressure in a clockwise direction to tighten it against the wall fitting. Be careful not to overtighten, as this could damage the fittings or crack the shower arm. A snug fit is all that’s needed to ensure a secure connection without causing stress on the materials.
4. Check for Thread Seal Tape or Plumber’s Putty
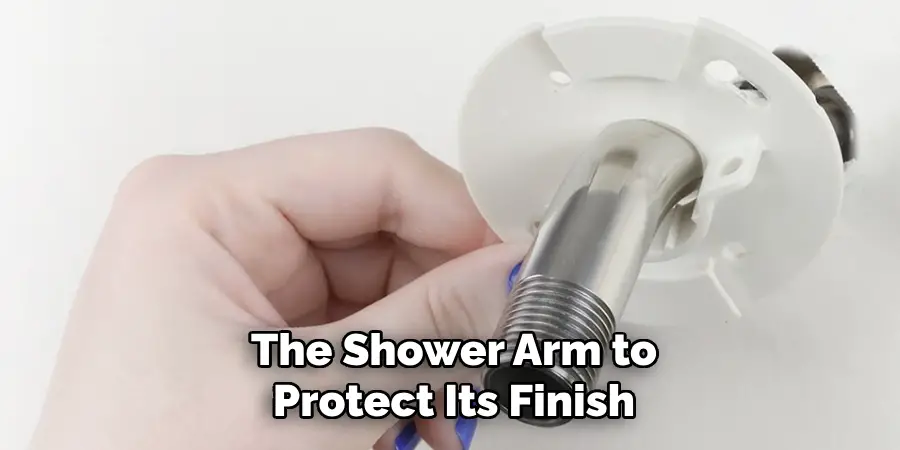
If you notice that the shower arm is consistently loosening, it may be time to check for thread seal tape or plumber’s putty. These materials are often used during installation to create a watertight seal. If the existing tape is worn or damaged, it may not be providing adequate support. To address this, unscrew the shower arm from the wall fitting, remove the old tape or putty, and replace it with fresh tape. Wrap the tape clockwise around the threads of the arm before reattaching it. This will help create a tighter seal and prevent future loosening.
5. Inspect for Damage or Corrosion
While tightening the shower arm, take a moment to inspect it for any signs of damage or corrosion. If you notice any rust, cracks, or dents, it may be time to replace the shower arm rather than simply tightening it. Corrosion can weaken the material and lead to leaks down the line, which could cause more significant damage to your plumbing. If you find damage, visit your local hardware store to find a compatible replacement arm. Installing a new arm is typically a straightforward process that can save you headaches in the future.
6. Tighten the Coupling Nut
In cases where the shower arm is attached via a coupling nut, you’ll want to ensure that this nut is tightened securely. Using an adjustable wrench, grip the coupling nut and turn it clockwise until it is snug. Again, be careful not to overtighten, as this can strip the threads or crack the nut. If your shower arm uses a slip joint, check for any additional screws that may also need tightening. Following this process will help ensure a solid connection between the arm and the showerhead, preventing leaks and improving performance.
7. Use a Silicone-based Lubricant
If your shower arm has become stuck or is difficult to tighten, consider using a silicone-based lubricant. This type of lubricant is excellent for plumbing fixtures because it won’t degrade rubber or plastic components. Apply a small amount of lubricant to the threads of the shower arm and let it sit for a few minutes. Then, use your wrench to tighten the arm more easily. The lubricant will reduce friction, allowing for smoother adjustments and helping to maintain the integrity of the materials involved.
8. Revisit and Adjust Regularly
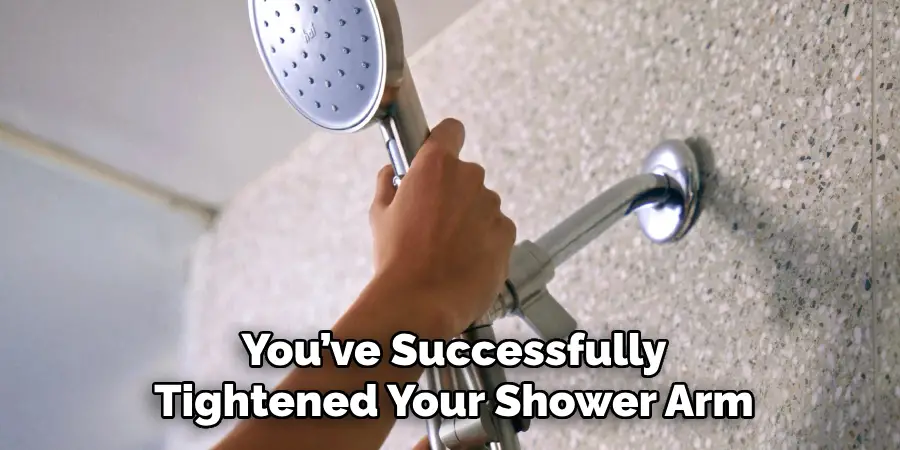
After you’ve successfully tightened your shower arm, make it a habit to revisit and adjust it periodically. Over time, temperature changes, water pressure fluctuations, and regular use can cause components to loosen again. Setting a reminder to check your shower arm every few months can help catch any issues early. This proactive approach will ensure that your shower remains in top condition and that leaks are avoided, preserving the overall integrity of your plumbing system.
9. Replace Any Worn Washers or Gaskets
In some cases, a loose shower arm may be the result of worn washers or gaskets within the plumbing system. These components help create a seal and prevent water from leaking out of the connection points. If your tightening efforts don’t resolve the issue, consider disassembling the shower arm and inspecting these parts. If they appear damaged or compressed, replacing them can help ensure a proper fit and eliminate any leaks. Many plumbing supply stores offer a variety of washers and gaskets that fit standard shower arms, making it easy to find replacements.
10. Seek Professional Help if Needed
If you’ve attempted the above methods and still find that your shower arm is loose or leaking, it may be time to seek professional help. A plumber can assess the situation more thoroughly and identify any underlying issues that may be causing the problem. They can also provide expert advice on repairs or replacements that may be necessary. While this may involve additional costs, hiring a professional can save you time and frustration in the long run, ensuring that your plumbing is handled correctly.
Things to Consider When Repairing Your Plumbing
When delving into plumbing repairs, it’s important to consider several factors to ensure effective and lasting results. First, assess the complexity of the issue—some problems may be manageable with a DIY approach, while others may require professional expertise. Next, review your tool inventory; having the right tools on hand, such as a pipe wrench, adjustable wrench, and thread seal tape, can make a significant difference in the repair process.
Safety should always be a top priority, so ensure that water supply is turned off and that your work area is dry to avoid any accidents. Additionally, familiarize yourself with the components involved in your plumbing system, as understanding how each part functions can aid significantly in troubleshooting and repair. Lastly, consider the materials and age of your plumbing fixtures, as older or worn-out materials may necessitate replacement rather than repair to prevent future issues.

Conclusion
Tightening a shower arm is a crucial maintenance task that can improve the functionality of your shower and prevent leaks. By following these ten methods, from using the right tools to periodically checking the connections, you can effectively tighten your shower arm and enhance your shower experience. Thanks for reading, and we hope this has given you some inspiration on how to tighten a shower arm!
About
Angela is the chief editor of Indoorense. She began her career as an interior designer before applying her strategic and creative passion to lifestyle and home.
She has close to 15 years of experience in creative writing and online content strategy for housekeeping and cleaning,home decorations as well as other efforts.
She loves her job and has the privilege of working with an extraordinary team. She lives with her husband, two sons, and daughter in Petersburg. When she’s not busy working she spent time with her family.

