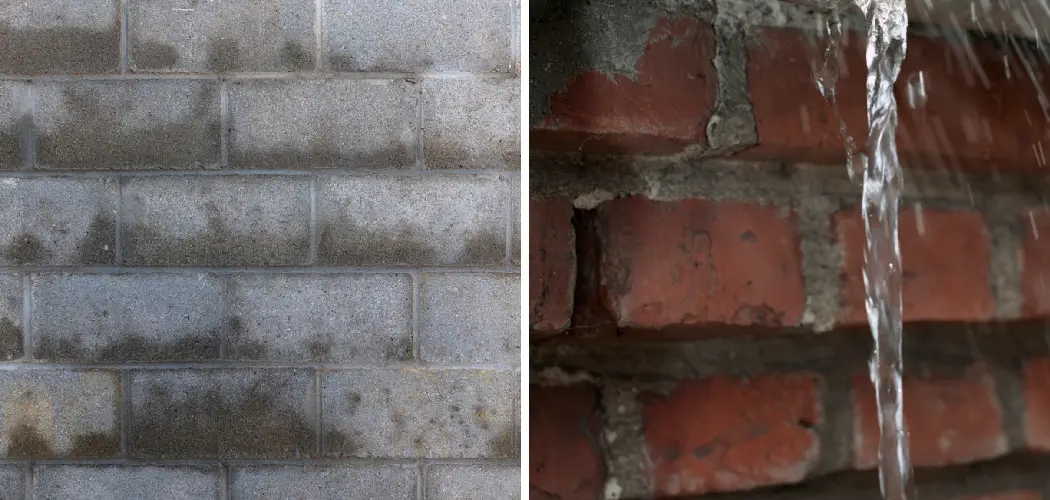
Are you experiencing water coming through your brick walls? Leaks in brick walls can cause a lot of damage to your home, from mold and mildew growth to structural damage. It’s essential to address the issue immediately to prevent further damage.
Understanding how to stop water coming through brick walls is essential for maintaining the integrity of your building. This guide covers effective techniques for identifying potential weaknesses in brickwork and implementing strategies to protect against moisture intrusion. Whether you’re a homeowner, renter, or building professional, knowing how to tackle water infiltration can help extend the lifespan of your brick walls and prevent issues like mold growth and internal water damage.
Implementing these preventive measures and regular maintenance practices ensures your brick walls remain strong and resilient against water-related challenges.
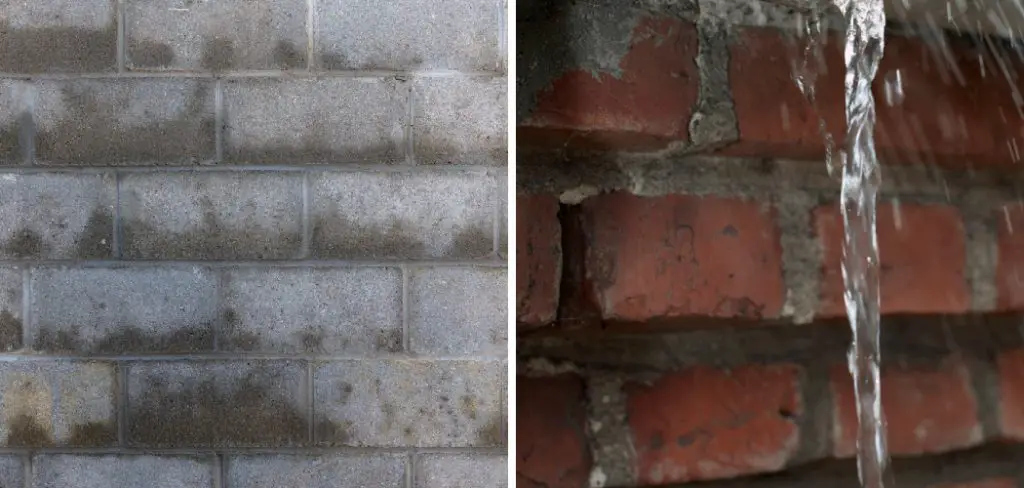
What are the Causes of Water Infiltration in Brick Walls?
Water infiltration can occur for various reasons, ranging from poor construction techniques to natural wear and tear. Some common causes include:
- Faulty or Missing Mortar Joints: Mortar joints bind the bricks together and create a barrier against water. Over time, mortar can erode or crack, allowing water to seep through.
- Cracks in the Brick Wall: After prolonged exposure to elements like rain and extreme temperatures, cracks may appear on your brick walls. These cracks can create an opening for water to enter your home.
- Poorly Installed Flashings: Flashings are metal strips that cover gaps between roofing materials and protect vulnerable areas of your brick walls from water. If they are not correctly installed or become damaged, they can fail to keep water out.
- Lack of Waterproofing: Without proper waterproofing, brick walls are susceptible to water infiltration. This is especially true in areas with heavy rainfall or high moisture levels.
Identifying signs of water infiltration early on can save you a lot of trouble and money in the long run.
What Will You Need?
Before you start addressing any water infiltration issues in your brick walls, make sure you have the following tools and materials on hand:
- Caulking Gun and Caulk: For sealing cracks or gaps in your brick walls.
- Mortar Repair Kit: To fix eroded or cracked mortar joints.
- Waterproofing Sealant: To create a barrier against water penetration.
- Flashings: If your existing flashings are damaged, you must replace them with new ones.
Once you have these items, you can address the water infiltration issue in your brick walls.
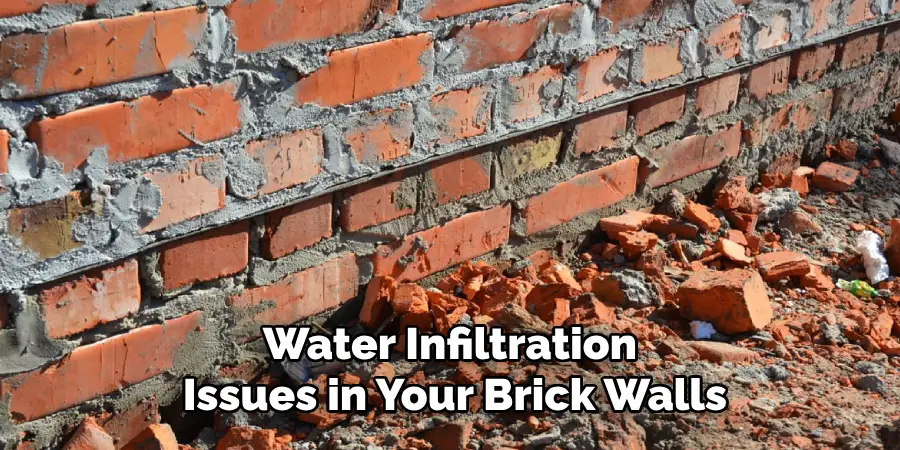
10 Easy Steps on How to Stop Water Coming Through Brick Walls
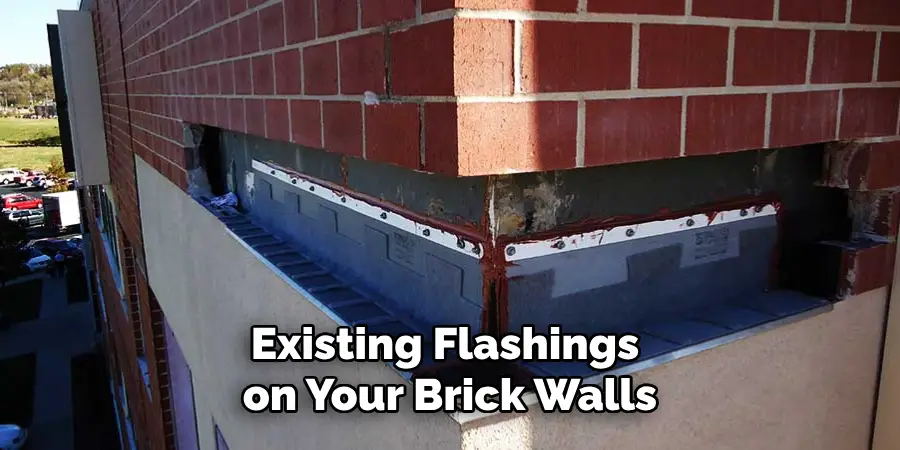
Step 1. Inspect the Existing Flashings:
Carefully examine all existing flashings on your brick walls, paying close attention to any signs of damage or poor installation. Look for gaps, cracks, or rust that might indicate the flashings do not protect the structure from water intrusion. If possible, check beneath the flashings for any trapped moisture or mold, which can be signs of leakage. If you find any issues, take note of the specific areas that need attention. Ensuring the flashings are intact and functional is crucial as they play a vital role in diverting water away from sensitive areas like joints and seams.
Identifying the problems with your flashings will guide you in deciding whether minor repairs will suffice or if a complete replacement is necessary to achieve a long-term solution.
Step 2. Remove Old Flashings:
Once you’ve identified the areas where the flashings are compromised, the next step is to remove the old flashings carefully. Use a pry bar or similar tool to gently lift and detach the flashings from the brick surface, ensuring that they do not cause any damage to the surrounding materials. As you remove the flashings, be cautious of any sharp edges or nails that might be exposed. Proper removal is essential to prepare the area for new installations, providing a more effective barrier against water infiltration.
Gather the removed flashings for disposal and clean the area thoroughly, removing any debris or remnants that could impede the placement of new flashings.
Step 3. Clean the Surface:
Before installing new flashings, it’s important to clean the brick wall’s surface. Use a brush to remove dust, dirt, or old sealant residues. A clean surface ensures the new flashings adhere properly and effectively to prevent water intrusion. Pay special attention to areas around seams and joints, as any buildup can impede proper sealing.
Step 4. Measure and Cut New Flashings:
Accurate measuring and cutting of new flashings are critical to ensure a snug fit and adequate protection against water infiltration. Start by measuring the length and width of the area where the flashings will be installed. Use a measuring tape to get precise dimensions, especially at corners and transitions where precise fits are necessary. Transfer the correct measurements onto the new flashing material once you have the proper measurements. Adding a little extra length to the measurements is advisable to allow for any adjustments or overlaps that might be necessary during installation.
Carefully cut the flashings using tin snips or another appropriate tool, ensuring clean, straight edges for a smooth installation. If your brick wall includes angled sections or unique architectural features, use paper or cardboard to create templates before cutting the final pieces.
Step 5. Install New Flashings:
Begin the installation process by positioning the new flashings over the areas you previously measured and prepared. Ensure that each flashing overlaps the adjacent pieces slightly to create a seamless barrier against water infiltration. Use roofing nails or screws to securely fasten the flashings in place, starting at one end and progressing to the other. Be sure to drive the fasteners evenly, preventing buckling or misalignment.
For sections involving joints or corners, apply a bead of waterproof caulk beneath the overlaps to provide additional sealing. Double-check that all flashings are flush against the wall and free of gaps or misalignments that could compromise effectiveness.
Step 6. Seal the Edges:
After securing the new flashings, sealing the edges is crucial to prevent water from seeping underneath. Apply a continuous bead of high-quality waterproof caulk along the top edge of the flashings where they meet the brick wall. This creates a watertight seal and enhances the flashings’ ability to divert water from vulnerable areas. Smooth the caulk with a caulking tool or finger to ensure a uniform application without gaps or air bubbles. Allow the caulk to dry according to the manufacturer’s instructions before exposing the area to moisture.

Step 7. Test for Leaks:
Once the flashings are installed and sealed, it’s essential to test for leaks to confirm the effectiveness of your work. Conduct a water test by gently spraying water onto the brick wall above the newly installed flashings using a hose or watering can. Observe the area for any signs of water penetration or leaks, paying attention to joints, seams, and edges where moisture could enter. If you detect any leaks, identify the specific area and apply additional waterproof caulk or adjust the flashings as necessary.
Performing this test ensures that the new installations function correctly and can prevent future water damage to your brick structure.
Step 8. Maintain the Flashings:
Regular maintenance of your newly installed flashings is vital to ensure their continued effectiveness in diverting water away from critical areas and preserving the integrity of your brick wall. Inspect the flashings at least twice a year, preferably in the spring and fall or after significant weather events such as heavy rainfall or storms. Look for signs of wear and tear, such as rust, cracks, or loose fasteners, and address any issues promptly to prevent minor problems from escalating into major repairs.
Cleaning the flashings regularly to remove debris and accumulated dirt can also help maintain their functionality. Moreover, reapply waterproof caulk as needed, especially if you notice any signs of degradation or gaps in the seals.
Step 9. Safety Considerations:
When performing any installation or maintenance work on flashings, it’s crucial to prioritize safety. Always wear appropriate personal protective equipment (PPE), such as gloves, safety glasses, and sturdy footwear. If the work involves climbing ladders or accessing hard-to-reach areas, ensure the ladder is stable and placed on a flat surface. It’s advisable to have someone assist or spot you during the process to prevent accidents. Additionally, be mindful of your surroundings and any environmental hazards, like wet or icy conditions, which could increase the risk of slipping or falling.
Step 10. Final Inspection:
Once all the steps have been completed, perform a final inspection to ensure everything is in order. Walk around the area and carefully review each section of the flashings for any missed spots or issues that may need attention. Check for uniformity in installation, ensuring that all pieces are securely fastened and that the caulking is intact without any visible gaps. Note any areas that might require touch-ups or additional sealing.
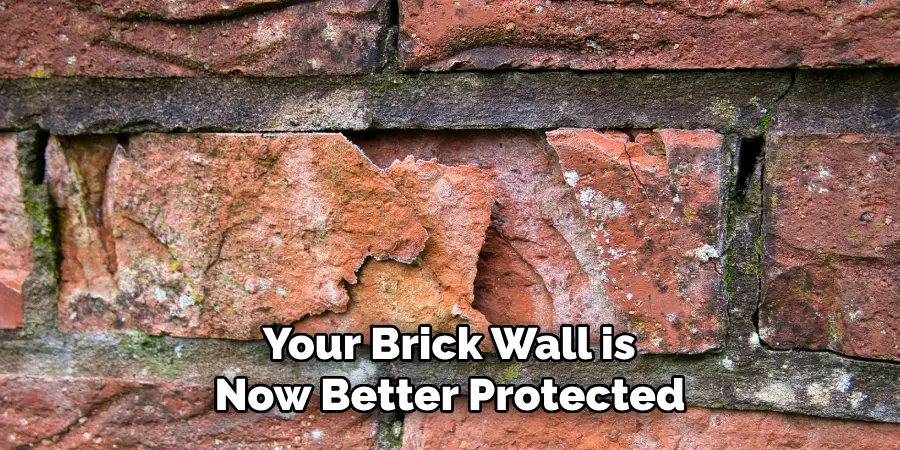
This comprehensive inspection not only reaffirms the quality of your work but also gives you peace of mind that your brick wall is now better protected against water damage. During regular maintenance checks, document your findings and any actions taken for future reference.
By following these steps, you can successfully install new flashings on your brick wall to protect it from water infiltration.
Conclusion
In conclusion, effectively preventing water infiltration through brick walls involves meticulous planning and execution.
Following a structured approach that includes accurate measurement, careful installation, diligent sealing, and regular maintenance, you can ensure that your walls remain resilient against water damage. It’s vital to address any issues promptly and to use high-quality materials that withstand the elements. Furthermore, consistent inspections and maintenance preserve the longevity of the flashings and your brick wall’s structural integrity.
By taking these proactive steps on how to stop water coming through brick walls, you safeguard your property and maintain a safe and dry environment.
About
Angela is the chief editor of Indoorense. She began her career as an interior designer before applying her strategic and creative passion to lifestyle and home.
She has close to 15 years of experience in creative writing and online content strategy for housekeeping and cleaning,home decorations as well as other efforts.
She loves her job and has the privilege of working with an extraordinary team. She lives with her husband, two sons, and daughter in Petersburg. When she’s not busy working she spent time with her family.

