
Are you sick and tired of feeling like Alexa is running your life? Do you find it hard to concentrate when she’s keeping up a steady stream of blue-light notifications – reminding you continually about what needs to be done, where the tasks wait for completion, or who has sent a message that requires attention? If you’ve answered yes to these questions then don’t worry – we have the perfect solution! In this blog post, we’ll show you how to stop spinning blue light on Alexa.

With our step-by-step guide and practical tips, by the end of this article, you’ll know exactly how to put an end to pesky notifications from your smart assistant without compromising its utility. So if it’s time to say goodbye to unwanted interruptions in your day and take control back over your device – read on!
What is the Alexa?
Alexa is a virtual assistant developed by Amazon. It’s a sophisticated AI technology that can perform various tasks such as playing music, making calls, setting alarms, and providing information – all through voice commands.
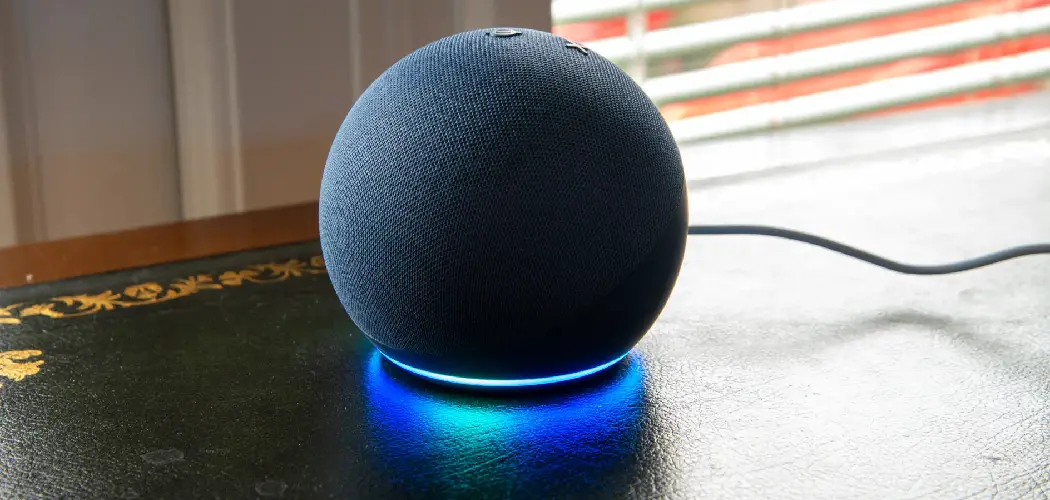
With Alexa-enabled devices like the Amazon Echo or Echo Dot, you can control your home with just your voice – from turning on lights to adjusting the thermostat. But one of the most common complaints about Alexa is her constant blue-light notifications that can be distracting and disruptive.
Why Does the Blue Light Spin on Alexa?
The blue light spinning on your Alexa device indicates new notifications or reminders waiting for your attention. This feature is designed to keep you up-to-date with important tasks, but sometimes it can feel like too much – especially if you have multiple devices or use Alexa heavily for daily tasks. Fortunately, you can customize these notifications to your liking and reduce the blue-light interruptions.
10 Simple Step-by-step Instructions on How to Stop Spinning Blue Light on Alexa
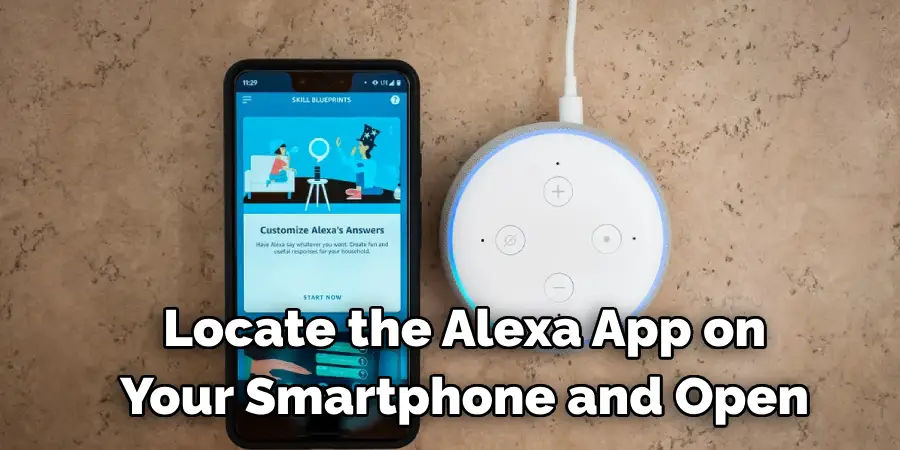
Step 1: Open the Alexa App on Your Smartphone
First, locate the Alexa app on your smartphone and open it. If you don’t have the app, simply download it from the App Store or Google Play Store. Then, log in to your Amazon account. You can also access the app from your computer by going to alexa.amazon.com and signing in.
Step 2: Tap on the “devices” Icon at the Bottom of the Screen
In the Alexa app, tap on the “Devices” icon located at the bottom of your screen. It will take you to a list of all your registered devices. If you have multiple devices, make sure you select the one you want to update. It’s essential to note that changes made will only apply to the selected device.
Step 3: Select Your Device from the List
Once you have tapped on “Devices,” you’ll see a list of all your registered devices. Select the one with the blinking blue light – this will take you to its settings page. But, if you don’t see your device on the list, make sure it’s connected to your Wi-Fi network. It may take a few minutes for new devices to appear on the list. This is also a good time to check if your Alexa device’s software is up to date.
Step 4: Tap on “Communications” from the Device Settings
From the device settings, scroll down and tap on “Communications.” This is where you can customize your notification preferences for calls and messages. It also allows you to control the blue-light notifications when your device is idle. But for now, we’ll focus on calls and messages. It’s worth noting that changes made here will only apply to the selected device and not your other devices.
Step 5: Tap on “Announcement Devices”
Under “Communications,” tap on “Announcement Devices.” This is where you can manage which of your Alexa-enabled devices receive notifications from calls and messages. The active devices will have a checkmark next to them, and inactive devices will have an “X.” To stop the blue-light notifications on all your devices, make sure all devices in this list have an “X.”
Step 6: Customize Your Preferences
If you only want certain devices to receive notifications, simply tap on the ones with a checkmark to deactivate them. You can also select which device will be used as the default for receiving notifications. This is useful if you have multiple devices in your household, and you only want one to receive notifications.
Step 7: Tap on the “Do Not Disturb” toggle
If you don’t want any blue-light interruptions at all, tap on the “Do Not Disturb” toggle. This will mute all incoming calls and messages on your device, and the blue light will stop spinning. You can also schedule a specific time for “Do Not Disturb” mode to be activated automatically.
Step 8: Tap on “Messages from Alexa”
Under the “Communications” section, you’ll see an option to toggle off “Messages from Alexa.” This will disable all notifications related to reminders or tasks set by your virtual assistant through voice commands. You can also customize this feature by selecting the device you want to receive these types of notifications.
Step 9: Tap on “Reminders & Alarms”
Under “Communications,” tap on “Reminders & Alarms.” Here, you can disable or enable reminders and alarms from your Alexa device. If you toggle it off, your device will stop giving audible alerts for reminders and alarms, including the spinning blue light. You can also customize this feature by selecting the device you want to receive these types of notifications.
Step 10: Save Your Changes
Once you have finished customizing your notification preferences, remember to save your changes by tapping on “Save” at the top right corner of your screen. You’re all done! The blue light on your Alexa device should now stop spinning and only give notifications based on your selected preferences.
Following these steps on how to stop spinning blue light on alexa, you can now take control of your Alexa device and customize it to better suit your needs. With fewer distractions, you can enjoy the full capabilities of your virtual assistant without the constant blue-light interruptions.
It’s just one simple change that can make a big difference in managing your smart home device. Happy customizing! So if it’s time to say goodbye to the constant blue-light interruptions, follow these simple steps and take back control of your Alexa device. Happy customizing!
Frequently Asked Questions
Q1. Will Disabling the Blue-light Notifications Affect Other Features of My Alexa Device?
A: No, disabling the blue-light notifications will not affect any other features of your Alexa device. It will only stop the flashing blue light and notification sounds. It’s also important to note that you can still view all missed calls and messages in the Alexa app.

Q2. Can I Still Receive Notifications While “Do Not Disturb” Mode is Activated?
A: Yes, you can customize your “Do Not Disturb” settings to allow certain notifications to come through during specific times. For example, you can set it up to only receive calls or messages from certain contacts during a designated time period. This gives you more control over when and how you receive notifications.
Q3. What Happens if I Can’t See my Alexa Device on the List of Devices in the Alexa App?
A: If your device is not showing up, make sure it’s connected to Wi-Fi and that your Alexa app is up to date. If the issue persists, try restarting your device and refreshing the app. If it still doesn’t show up, contact Amazon customer support for further assistance. So make sure your device is properly connected and updated before troubleshooting further.
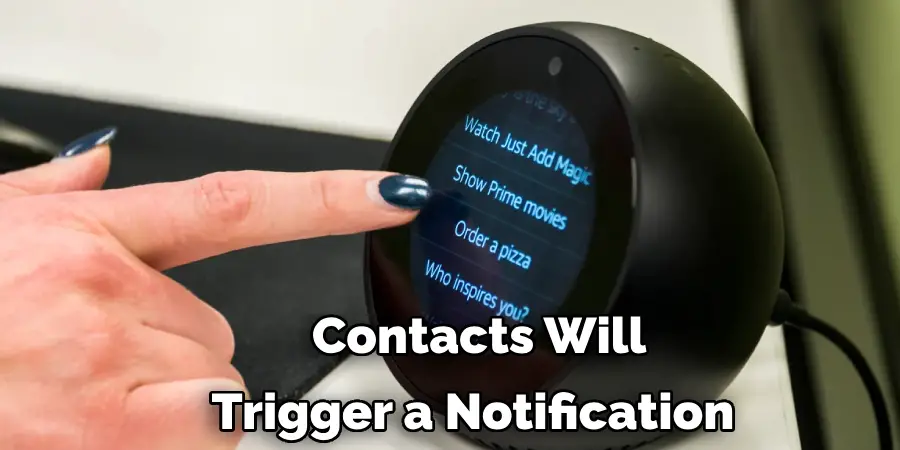
Q4. Can I Customize Notification Preferences for Individual Contacts?
A: Yes, under the “Announcement Devices” section in your device settings, you can select which contacts will trigger a notification on your Alexa device. This allows you to filter out unnecessary notifications and only receive ones from specific contacts.
Conclusion
In conclusion, it was easy to see the worth of setting up blue light controls on Alexa. Not only does this help protect our eyesight from occupational strain by taking away the need for us to look at lit screens all day, but it has also been proven to help those who are sleep-deprived get better quality sleep. With a few simple steps, we can easily set up blue light filters so that we can continue our screen-filled lives without worrying about the potential harm to our eyes and body.
So give these steps on how to stop spinning blue light on alexa a try today and you’ll be one step closer to living your best life! Additionally, if you find yourself needing further assistance with this task, utilize online Alexa resources or consult customer service options offered by Amazon so that you are taken care of when it comes to managing your Alexa’s features for blue light control.
Rick is a handyman who grew up helping his dad with his business. He learned a lot from him about how to fix things, and also about how to work hard and take care of business. These days, Rick is still into fixing things- only now, he’s doing it for a living.
Rick is always looking for new ways to help people grow and develop. That’s why he started contributing to this blog: to share all his experience and knowledge so that he can help people who are interested in DIY repair.