
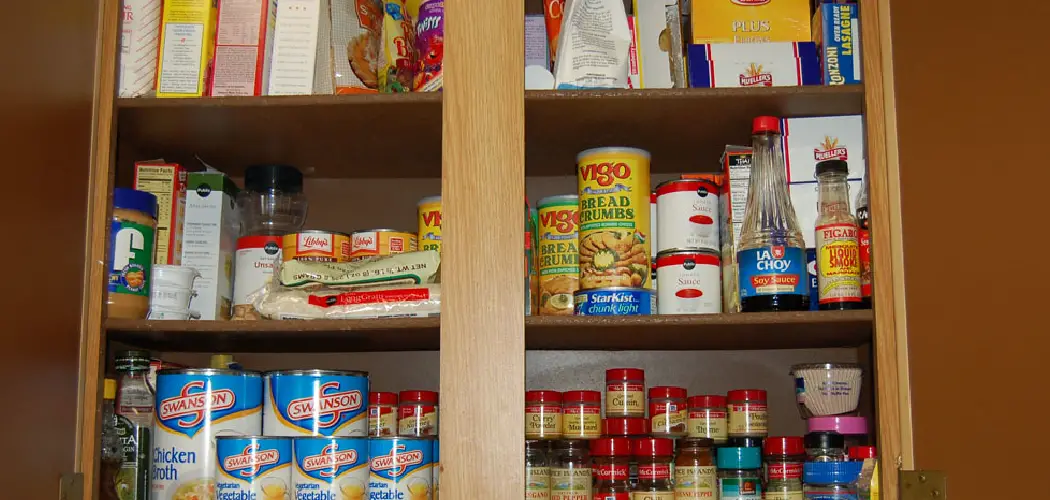
Creating a pantry by stacking wall cabinets is a practical and efficient way to maximize your kitchen storage space. This project allows you to customize your pantry to fit any available space and design preference.
By carefully selecting and arranging wall cabinets, you can create an organized and accessible solution for storing food items, kitchen tools, or other essentials.
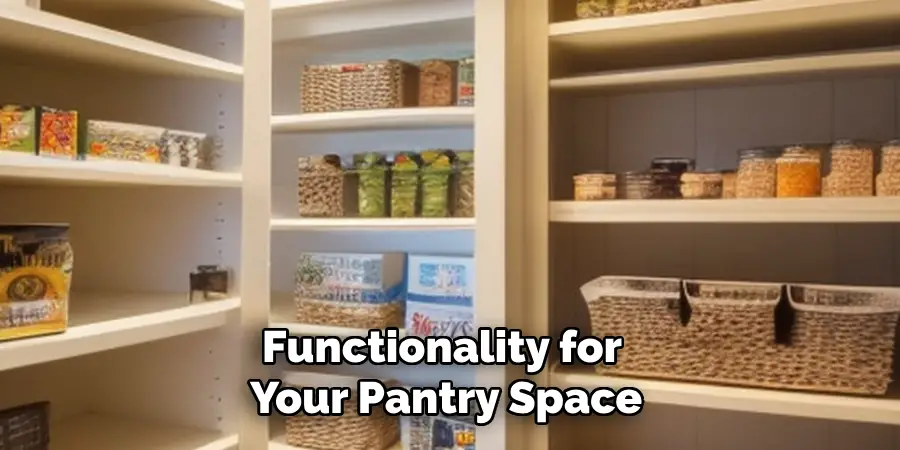
Whether you’re working with small or large spaces, crafting a pantry using stacked cabinets offers versatility while enhancing the functionality of your kitchen environment. In this blogpost on how to stack wall cabinets to make pantry, we’ll guide you through the necessary steps to create a well-organized and functional pantry in your kitchen.

Necessary Tools and Materials
To successfully stack wall cabinets to create a pantry, you will need the following tools and materials:
Tape Measure:
To accurately measure the available space for your pantry and determine the cabinet sizes that will fit.
Stud Finder:
To locate and mark the studs in your wall, ensuring proper installation and support for the stacked cabinets.
Level:
Ensure that the cabinets are evenly aligned during installation.
Screwdriver or Drill:
Attach the cabinets to each other and secure them to the wall.
Wall Cabinets:
Choose high-quality, sturdy wall cabinets with enough depth to hold pantry items. Consider using a mix of different-sized cabinets to maximize storage space and accommodate various items.
8 Step-by-step Guidelines on How to Stack Wall Cabinets to Make Pantry
Step 1: Measure Your Space
Start by accurately measuring the area where you intend to create your pantry. Use a tape measure to determine the width, height, and depth of the available space. It’s crucial to account for any obstructions such as vents, electrical outlets, or moldings that may interfere with cabinet installation.
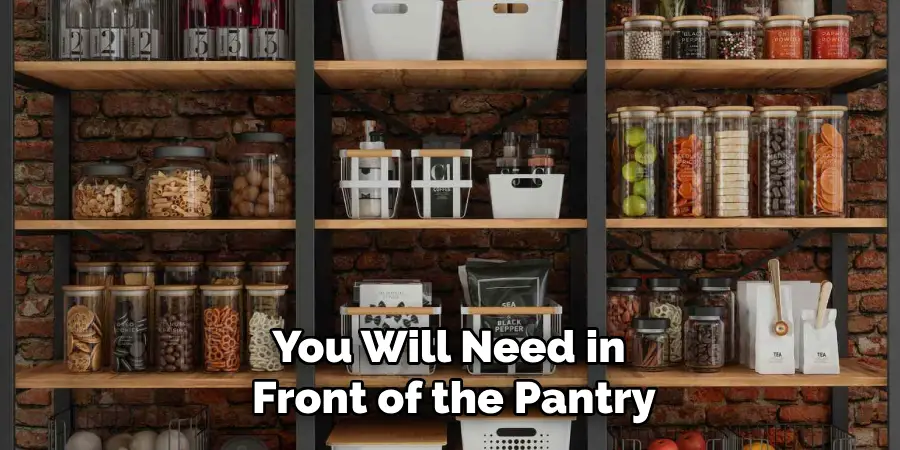
Additionally, consider how much walking room you will need in front of the pantry for easy access. Write down these dimensions and use them to guide your cabinet selection process, ensuring that the cabinets you choose will fit comfortably within the designated space and provide sufficient storage.
Step 2: Choose Your Cabinets
Selecting the right cabinets is integral to creating a functional and aesthetically pleasing pantry. Begin by considering the dimensions you recorded in Step 1, ensuring that your chosen cabinets will fit seamlessly within the allocated space. Opt for sturdy, high-quality wall cabinets with sufficient depth to accommodate various pantry items. Consider a combination of cabinet sizes to maximize storage potential and versatility—this may include taller cabinets for bulkier items and shorter ones for smaller goods.
Pay attention to the cabinet finish and design to complement your kitchen’s overall style. Additionally, ensure that the selected cabinets have adjustable shelves, allowing you to customize the interior configuration to suit your storage needs. Once you have made your selections, purchase or order your cabinets, and prepare them for installation.
Step 3: Locate Studs and Mark Cabinet Placement
Using a stud finder, locate the studs on your wall and mark their positions with a pencil. The studs will serve as anchors for the cabinets, providing necessary support and stability. Use your measurements from Step 1 to determine where exactly you want each cabinet to be placed on the wall. Mark these placements with a pencil, ensuring that they are level and evenly spaced.
It’s crucial to ensure that the cabinets are not placed too far apart, leaving gaps between them. This will affect the overall stability and appearance of your pantry.
Step 4: Install Bottom Cabinet
Begin the installation process by positioning the bottom cabinet in its designated spot as marked in Step 3. Ensure that the cabinet is aligned with the pencil markings and positioned directly against the wall. Using a level, check that the cabinet is perfectly horizontal to prevent any leaning or slanting issues in the completed pantry.
Once level, secure the cabinet to the wall by screwing into the studs at multiple points through the back panel of the cabinet. This ensures a firm attachment, providing a stable base for stacking additional cabinets. Double-check the alignment before fully tightening the screws. If adjustments are needed, loosen the screws and reposition the cabinet as necessary to achieve level alignment. Once satisfied with the placement, finish tightening all screws, ensuring the cabinet is securely mounted and stabilized.
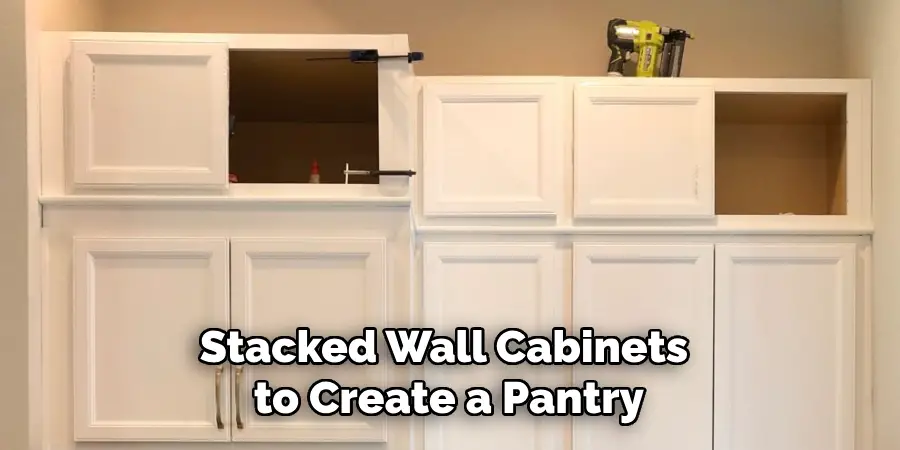
Step 5: Attach the Second Cabinet
Next, take the second cabinet and carefully place it on top of the first cabinet. Align it with the pencil markings on the wall and ensure that it is level both horizontally and vertically. Once in position, secure it to the bottom cabinet by screwing through both cabinets’ back panels into each other. This will provide additional stability for both cabinets.
The top cabinet should also be attached to the wall through its back panel into the studs, just like the bottom one. Take your time during this step to ensure that both cabinets are securely attached and level with each other.

Step 6: Add Additional Cabinets
Repeat steps 4 and 5 for any additional cabinets you plan to stack on top of the first two. Remember to check alignment and levelness at every step before fully securing each cabinet.
It’s best practice to install larger or heavier cabinets at the bottom of the stack for added stability.
Step 7: Adjust Shelves
Once all cabinets are installed, it’s time to adjust the shelves’ positioning inside each cabinet to fit your specific storage needs. Most cabinets come with adjustable shelves that can be moved up or down to accommodate different-sized items. Take advantage of this feature to create a customized storage solution for your pantry.
It’s also a good idea to add shelf liners or organizers for even more efficient use of space and protection for your pantry items.
Step 8: Add Finishing Touches
To complete the stacked wall cabinet pantry, add any finishing touches such as decorative trim, hardware, and organization tools like hooks or racks inside the cabinets to maximize space and keep items organized.
Following these simple steps on how to stack wall cabinets to make pantry, you can effectively stack wall cabinets to create a functional and space-saving pantry in your kitchen. With proper planning, measuring, and installation, your stacked wall cabinet pantry will not only provide ample storage but also add visual appeal to your kitchen’s overall design. So why wait? Give it a try today! Happy organizing!
Do You Need to Use Professionals?
While installing stacked wall cabinets to create a pantry can be a rewarding DIY project, there are scenarios where hiring professionals might be beneficial. If you lack the necessary tools or if your kitchen layout presents complex challenges, professional assistance can ensure a seamless installation. Professionals bring expertise and experience, effectively handling obstacles such as uneven walls or awkward cabinet placements. They can also save you time and provide peace of mind, knowing the job has been done correctly and safely.
Ultimately, whether or not to hire a professional depends on your confidence in your skills and the specific demands of your kitchen space. Consider your budget as well since professional installation can be an additional cost. If you choose to undertake the project yourself, ensure you have the right tools and equipment, and don’t hesitate to consult experienced friends or online resources for guidance.
Frequently Asked Questions
Q: Can You Stack Any Type of Cabinet to Create a Pantry?
A: Yes, as long as the cabinet’s size and weight can be supported by the bottom cabinet and anchored securely to the wall, you can stack any type of cabinets to create a pantry. However, it’s best to use matching or complementary cabinets for a cohesive look.
Q: Can You Stack Cabinets Without Anchoring Them to the Wall?
A: While it’s possible to stack cabinets without anchoring them to the wall, this is not recommended as it poses safety risks and compromises stability. The weight of stacked cabinets can cause them to tip over if not properly secured. Always anchor your stacked cabinets for added safety and stability.
Q: How Many Cabinets Can You Safely Stack Together?
A: This will depend on the specific dimensions and weight limitations of your cabinets, as well as the strength and stability of your wall. It’s best to consult the manufacturer’s guidelines or seek professional advice before stacking more than two cabinets together.
Q: Can You Add Lighting Inside Stacked Wall Cabinets?
A: Yes, you can add lighting inside stacked wall cabinets by attaching LED strip lights or installing puck lights on the cabinet’s interior sides. This will provide additional visibility and functionality for your pantry space.
Conclusion
By following these step-by-step guidelines on how to stack wall cabinets to make pantry, you can easily transform unused wall space into functional and efficient storage for your pantry items. Remember to assess your available space, choose the right cabinets, and properly install them using studs for stability.
With a little creativity and organization, you can customize your pantry to suit your specific needs and make it a standout feature in your kitchen. Don’t be afraid to experiment with different cabinet sizes and configurations to find what works best for you. And most importantly, have fun creating a beautiful and functional pantry that will make meal prep and cooking much more enjoyable!
About
Angela is the chief editor of Indoorense. She began her career as an interior designer before applying her strategic and creative passion to lifestyle and home.
She has close to 15 years of experience in creative writing and online content strategy for housekeeping and cleaning,home decorations as well as other efforts.
She loves her job and has the privilege of working with an extraordinary team. She lives with her husband, two sons, and daughter in Petersburg. When she’s not busy working she spent time with her family.