
Are you tired of looking at your old and discolored bathtub? Instead of spending hundreds or even thousands of dollars to replace it, why try giving it a new look with spray paint?
How to spray paint a bathtub is an effective way to revitalize your bathroom without undergoing a costly renovation. This project allows you to change the color and finish of your bathtub to suit your style better, giving your bathroom a fresh and updated look. While the process might seem daunting at first, you can achieve a professional-looking result with the right tools and preparation. It’s essential to follow each step carefully to ensure the new finish adheres properly and is durable enough to withstand regular use.
Whether you’re looking to cover up stains or chips or simply want to try a new look, spray painting your bathtub is a practical solution.
What Will You Need?
Before starting, gather all the necessary materials and tools to make the process easier. Here’s a list of what you’ll need:
- A can of special epoxy spray paint designed for bathtubs and tiles.
- Protective gear such as gloves, goggles, and a face mask.
- Cleaning supplies – mild detergent or cleaner, sponge, scrub brush.
- Sandpaper (220-grit) or steel wool.
- Painter’s tape or masking tape.
- Plastic tarp or drop cloth to cover surrounding areas.
- Screwdriver (if you have any fixtures on your bathtub).
Once you have everything ready, let’s get started!
10 Easy Steps on How to Spray Paint a Bathtub
Step 1: Prepare the Bathtub
Proper preparation is crucial for successful spray painting. Start by thoroughly cleaning the bathtub to remove soap scum, dirt, and grime that could prevent the paint from adhering properly. Use a mild detergent or a cleaner specifically designed for bathrooms, along with a sponge or scrub brush to ensure the surface is impeccably clean. Rinse the bathtub thoroughly and let it dry completely. Next, use 220-grit sandpaper or steel wool to sand the entire surface of the bathtub gently. This process helps create a slightly rough texture, allowing the epoxy spray paint to bond more effectively. After sanding, rinse the bathtub again to remove any dust, and dry it with a clean cloth.
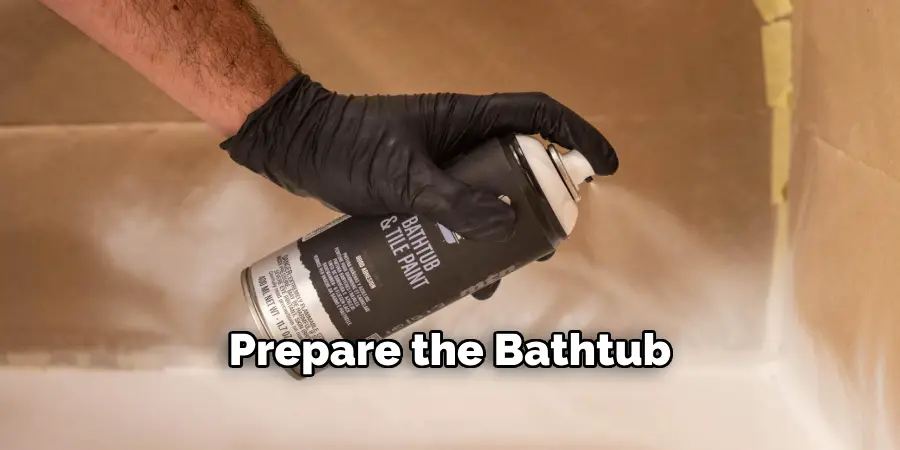
Before proceeding to the next steps, protect areas you do not wish to paint using painter’s or masking tape. Cover fixtures, knobs, and edges where the bathtub meets walls or floor with tape to ensure crisp lines and prevent overspray. Spread a plastic tarp or drop cloth over the surrounding area to catch any drips or excess spray, keeping the rest of your bathroom clean and free of unwanted paint.
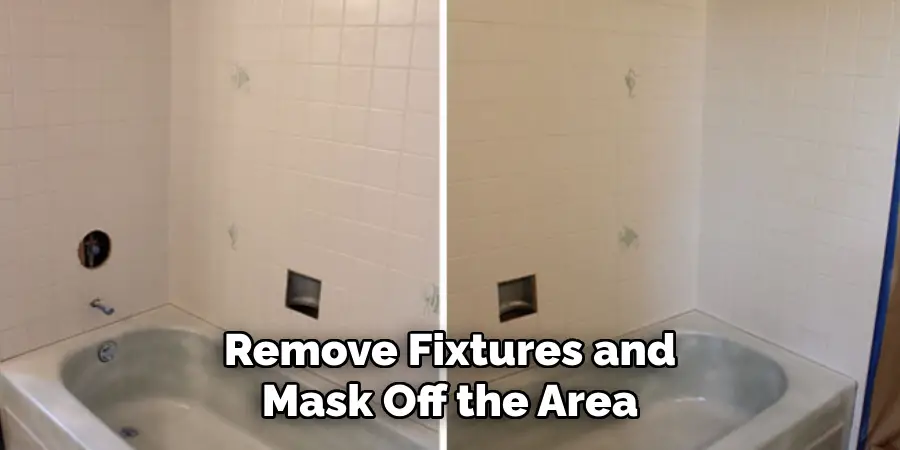
Step 2: Remove Fixtures and Mask Off the Area
Before spray painting, any removable fixtures such as faucets, handles, or drain covers should be removed with a screwdriver. This prevents paint from accidentally covering these components and ensures the coating reaches every area of the tub. Use extra painter’s tape to cover and protect fixtures that cannot be removed. Pay careful attention to areas where the tub meets the wall or floor, using tape to create straight, clean lines. This step guarantees that your finished project looks neat and professional, with no unintended paint coverage on other surfaces.
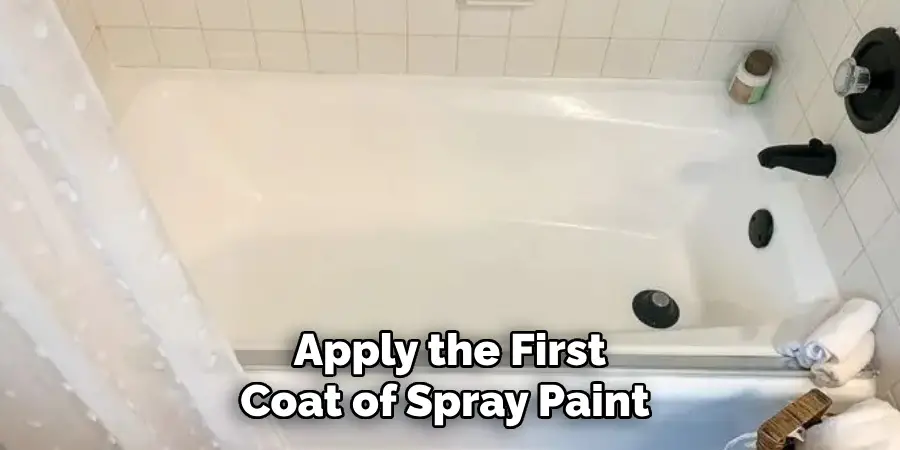
Step 3: Apply the First Coat of Spray Paint
With the bathtub prepped and protected, you can apply epoxy spray paint. Before you begin, wear your protective gear, including gloves, goggles, and a face mask. Shake the spray paint can vigorously according to the instructions on the label. Holding the can approximately 10-12 inches away from the surface, apply a thin, even coat over the entire bathtub, using smooth and steady strokes.
Maintaining a consistent distance and movement is essential to avoid drips and ensure uniform coverage. After the first coat is applied, allow it to dry thoroughly as directed, usually for about 15 to 30 minutes, but check the manufacturer’s guidelines for exact drying times. Remember, patience at this stage will contribute to a smoother, more professional-looking finish.
Step 4: Apply Subsequent Coats
Once the first coat has dried completely, inspect the bathtub’s surface for any areas needing additional coverage. Lightly sand any imperfections or rough spots using the 220-grit sandpaper, and then remove any dust by wiping with a clean cloth. Apply a second thin coat of epoxy spray paint, keeping the can at the same 10-12 inch distance and using fluid, consistent motions. Allow this layer to dry thoroughly before considering a third coat if necessary.
Most spray paint projects will benefit from at least two to three coats to ensure durability and achieve a rich, solid color. Be sure to follow the specific instructions on your spray paint can regarding reapplication timing and drying periods to prevent any inconsistencies in the finish. Patience and thoroughness in applying multiple coats will ensure a beautiful and lasting result.
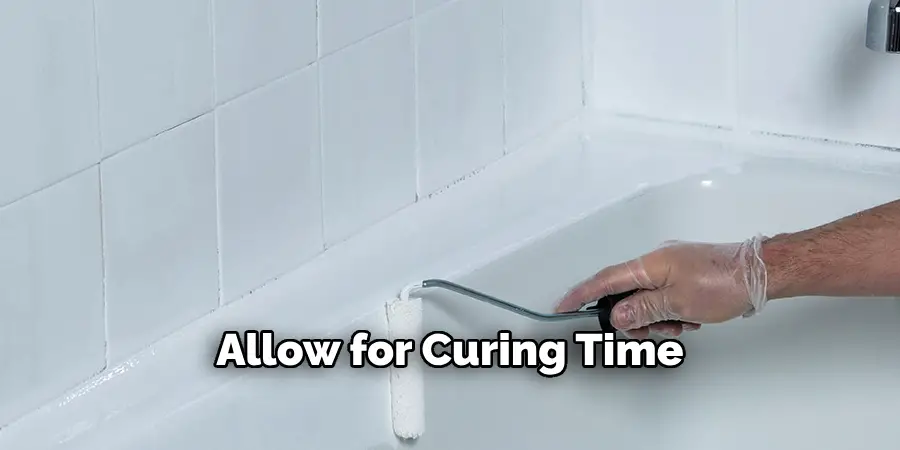
Step 5: Allow for Curing Time
After applying the final coat of spray paint, allow the bathtub to cure for the time specified by the manufacturer. The curing process is crucial as it ensures that the paint fully hardens and adheres to the bathtub surface, providing a durable finish. Curing times can vary, but it’s typically recommended to wait anywhere from 24 to 72 hours before using the bathtub.
During this period, ensure that the bathroom remains well-ventilated to aid in drying and avoid disturbing the paint job. Patience during the curing phase will contribute significantly to the longevity and quality of your newly painted bathtub’s finish.
Step 6: Reattach the Fixtures and Remove the Tape
Once the curing period has concluded, it’s time to reassemble the bathtub. Begin by carefully removing all painter’s tape and any protective coverings. Ensure that the edges are clean and free of paint splatters. Next, using a screwdriver, reattach all removed fixtures, such as faucets, handles, and drain covers. If any paint has inadvertently reached areas it shouldn’t have, carefully clean it up with a gentle cleaner or a small touch-up tool. Ensure that everything is securely fastened and functioning correctly.
Step 7: Inspect and Touch Up
Once you have reassembled the bathtub, take the time to inspect your work thoroughly. Look for any spots where the paint might be uneven or where slight imperfections may have occurred. Using a fine brush, apply touch-ups to these areas using leftover epoxy spray paint, ensuring all parts of the bathtub have a consistent finish. If necessary, lightly sand the area to blend the touch-up seamlessly with the surrounding paint, wipe away any dust, and apply the paint. Allow any touch-up work to dry completely, following the exact drying instructions you followed during the primary painting process. This will ensure that the final appearance of your bathtub is smooth and professional, maximizing the longevity and aesthetic appeal of your project.
Step 8: Final Cleanup and Maintenance Tips
Once the touch-up paint has completely dried, give the entire bathroom a final cleanup. Remove any remaining dust or debris, and ensure that all tools and materials used during the project are stored away properly. Establish a cleaning routine that involves gentle, non-abrasive cleaners to maintain the newly painted bathtub’s appearance and longevity. Regularly wipe down the surface to prevent soap scum and mineral buildup, which can dull the finish over time. Avoid using harsh chemicals or scrub brushes, as these can damage the paint.
Step 9: Enjoy Your Newly Revamped Bathtub
With all the steps completed and precautions taken, your bathtub is now ready to be enjoyed. Take pleasure in the fresh, updated look of your bathroom fixture. Not only does the bathtub appear brand new, but the entire space benefits from this cosmetic enhancement. Remember to keep up with regular maintenance and use gentle cleaning methods to preserve the finish. Enjoy the transformation and take pride in the successful DIY project that you’ve accomplished.
Step 10: Consider Long-Term Care and Future Projects
As you begin to use your newly painted bathtub regularly, keep in mind the value of consistent care in maintaining its appearance. Familiarize yourself with recommended products designed specifically for maintaining painted surfaces in bathrooms. These products can prolong the life and vibrancy of the paint. Additionally, this project may inspire future home improvement tasks. Consider exploring other DIY opportunities to enhance your living space, such as repainting other fixtures or updating accessories to create a cohesive and updated design theme throughout your bathroom. The skills and experience gained from this successful project can serve as a foundation for tackling more complex renovations in the future, further enhancing the comfort and value of your home.
By following these steps and taking care during each stage of the project, you can successfully transform your bathtub from drab to fab using epoxy spray paint.
Conclusion
How to spray paint a bathtub can be a rewarding DIY project that breathes new life into your bathroom without needing costly replacements.
By carefully following each step—from thorough cleaning and preparation to applying multiple coats of epoxy spray paint and allowing for adequate curing time—you ensure a high-quality, aesthetically pleasing, and durable finish. Attention to detail and patience throughout the process are crucial, as they will affect the final result and the bathtub’s longevity. Maintain the revamped bathtub using gentle cleaning methods, and consider the valuable skills gained through this project for future home improvements.
With the right approach and care, you can achieve professional-looking results that enhance and update your bathroom’s overall appearance.
About
Angela is the chief editor of Indoorense. She began her career as an interior designer before applying her strategic and creative passion to lifestyle and home.
She has close to 15 years of experience in creative writing and online content strategy for housekeeping and cleaning,home decorations as well as other efforts.
She loves her job and has the privilege of working with an extraordinary team. She lives with her husband, two sons, and daughter in Petersburg. When she’s not busy working she spent time with her family.