
Are you tired of sitting on hard, uncomfortable chairs? A box cushion could be just what you need to add some comfort and style to your furniture.
How to sew a box cushion is a versatile skill that can bring new life to furniture, tailor custom seating, or add a decorative touch to any room. This project is ideal for both beginners and experienced sewers, offering an opportunity to practice essential techniques such as measuring, cutting fabric, and assembling pieces. By understanding the basics of creating a snug-fitting cover with neatly sewn corners, you can enhance any cushion with a professional finish.
In this guide, we’ll explain the materials needed and provide step-by-step instructions for creating a durable and aesthetically pleasing box cushion. Whether updating a beloved sofa or crafting a unique accent piece, this project provides a satisfying blend of creativity and functionality.

What Will You Need?
Before we dive into the step-by-step instructions, let’s ensure you have all the necessary materials. Here’s what you’ll need:
- Fabric of your choice (measured to fit the dimensions of the cushion)
- Scissors
- Sewing machine
- Thread
- Measuring tape or ruler
- Straight pins or fabric clips
- Zipper (optional)
10 Easy Steps on How to Sew a Box Cushion
Step 1: Measure and Cut Your Fabric
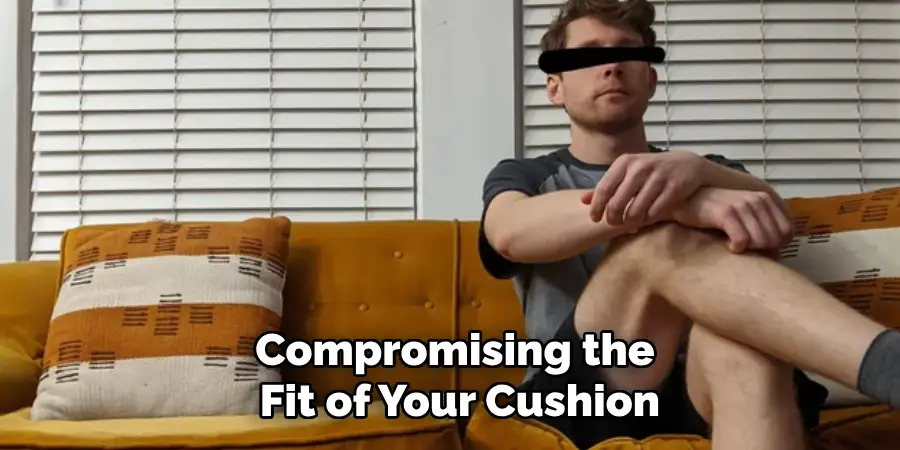
Begin by measuring the dimensions of the cushion you plan to cover. Measuring the width, length, and depth accurately is important to ensure a snug fit. Write down these measurements. When cutting your fabric, remember to add a seam allowance of about 1/2 inch to each side. This extra margin is crucial for sewing the pieces together without compromising the fit of your cushion.
For the top and bottom pieces, you must cut two identical rectangles based on your recorded dimensions with the added seam allowance. Then, cut four strips of fabric for the sides. These should match the depth of the cushion plus the seam allowances, and the lengths should correspond to the sides they will attach to. If you plan to include a zipper, adjust your cuts to accommodate it along one of the longer sides. Using high-quality scissors will ensure clean and straight cuts, providing a tidy canvas for your next steps. Take time to measure and mark your fabric to achieve precision carefully, as this forms the foundation for a successful project.
Step 2: Pin and Sew the Side Pieces Together
With your fabric pieces cut to size, it’s time to assemble the side panels. Start by laying two of the side strips on the right sides together, aligning their edges carefully. Pin along the edge you plan to sew, leaving room for your seam allowance. Repeat this process with the remaining two side strips. Using your sewing machine, sew along the pinned edge with a straight stitch, removing the pins. Press the seams with an iron to create a neat, flat finish.
This step ensures that the side strips will form a continuous perimeter around the cushion, ready to be attached to the top and bottom pieces. As you sew, maintain a consistent seam allowance to avoid discrepancies in size, which could affect the final fit of your box cushion. Proper alignment and seam management here will set the stage for neatly sewn corners in the final assembly.
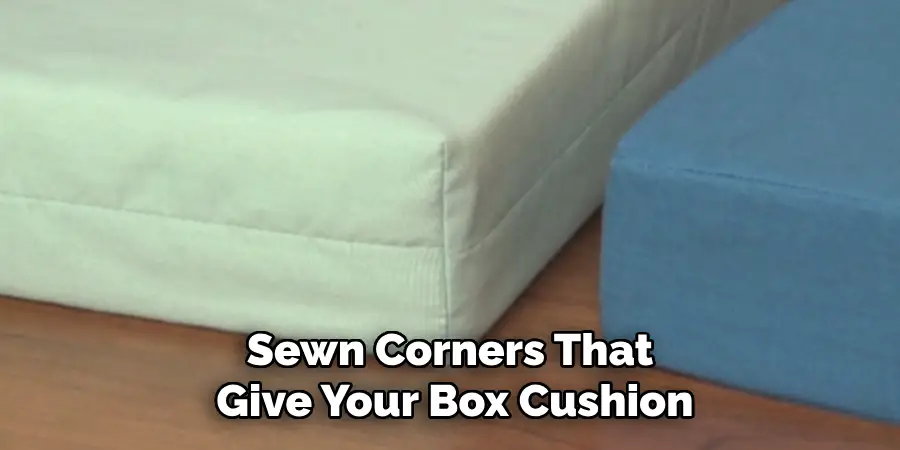
Step 3: Attach the Side Panels to the Top Piece
With your side panels sewn into a loop, attaching them to the cushion’s top piece is time. Begin by placing the top fabric piece on the right side on a flat surface. Then, position the side panel loop over the top piece, aligning the edges so that the right sides of the fabric are facing together. Use straight pins or fabric clips to secure the side panels to the top piece, aligning the corners carefully. This alignment is crucial to achieving neatly sewn corners that give your box cushion a professional appearance.
Next, sew around the perimeter of the top piece using a straight stitch, maintaining a consistent seam allowance. Remove the pins or clips as you sew to prevent damaging your sewing machine needle. Once attached, trim any excess fabric from the seams if necessary, being mindful not to cut too close to the stitches. Finally, press the seams with an iron to ensure a crisp, clean edge.
Step 4: Attach the Side Panels to the Bottom Piece
Once the top piece is securely stitched to the side panels, the next step is connecting the bottom piece. Lay the bottom fabric piece right side up on your workspace, and place the assembled top and side piece over it, right sides facing together. Align the edges carefully, ensuring each corner matches precisely. Use straight pins or fabric clips to secure the two pieces around the edge.
Begin sewing along the pinned perimeter with a straight stitch, maintaining a consistent seam allowance. Remove the pins as you sew to avoid damage to your needle. If you’re including a zipper, sew to the point where the zipper will be placed, leaving an appropriate gap for installation. After attaching the bottom piece, assess the seams to ensure they are strong and evenly sewn.
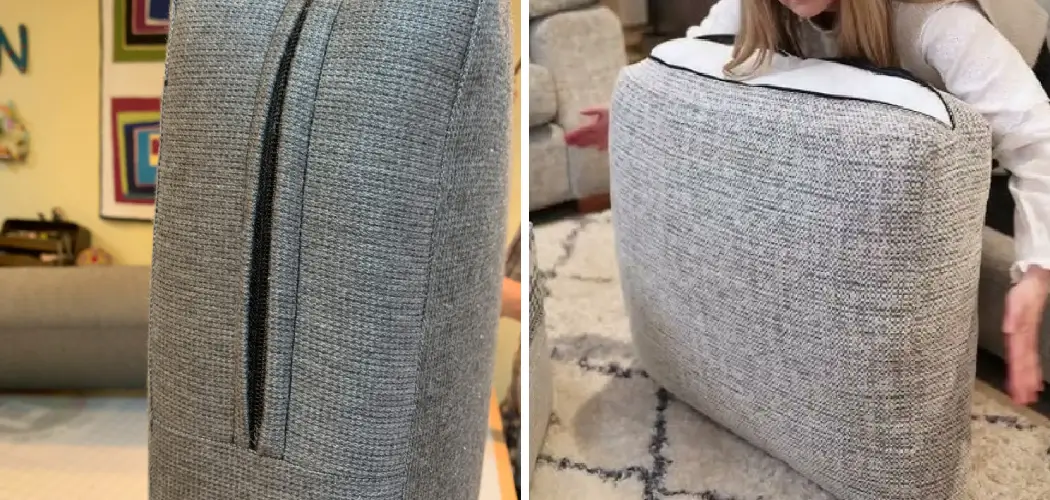
Step 5: Install the Zipper (Optional)
If you are including a zipper in your box cushion, now is the time to install it. Begin by turning your work inside out so the sewn seams face outward. Position the zipper along the opening left in the side panel perimeter. Align the zipper’s right side with the fabric’s right side, ensuring the zipper teeth line up with the edge of the fabric. Use straight pins or fabric clips to hold the zipper in position. When placing the zipper, ensure the slider is positioned at one end of the opening.
Next, using a zipper foot attachment on your sewing machine, sew along one side of the zipper, stitching close to the teeth. Repeat on the opposite side. Ensure the stitching is secure by backstitching at both ends. Once the zipper is attached, test its operation to confirm it moves smoothly and effectively secures the opening.
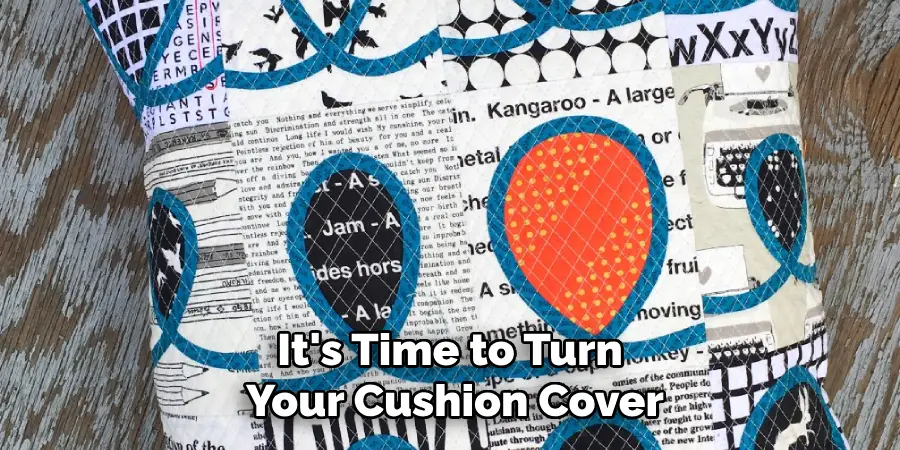
Step 6: Turn the Cushion Cover Right Side Out
After successfully attaching the zipper, it’s time to turn your cushion cover on the right side out. Gently pull the fabric through the zipper opening to reverse the cover so the right sides of the fabric face outward, displaying your neatly sewn seams. Take care not to pull too forcefully, especially around the zipper, to avoid damaging the stitching. Use your fingers to push out the corners firmly, ensuring they are sharp and well-defined.
This step is crucial as it reveals the final form of your cushion cover, allowing you to check for any adjustments or touch-ups needed for a perfect fit. Once the cover is turned correctly, smooth out any wrinkles or folds in the fabric, preparing it for the next stage of your cushion-making process.
Step 7: Insert the Cushion Form
With your cushion cover completed, it’s time to insert the cushion form to give your project its final shape. Start by unzipping the cover and gently slide the cushion from inside. Care to tightly align the cushion form’s corners with the cover’s corners for a snug fit. If the form doesn’t fit perfectly right away, gently adjust and manipulate it by hand, ensuring the material fills out the cover evenly. Once satisfied with the placement, zip the cover closed.
Step 8: Make Final Adjustments and Enjoy
Once your cushion form is securely inside and zipped up, it’s time to make final adjustments to ensure it looks perfect. Start by checking the seams and corners, ensuring they are crisp and well-aligned. Smooth out any unevenness in the fabric and ensure there are no wrinkles. If necessary, use an iron on a low setting to gently press out any stubborn creases, taking care not to damage the fabric. Finally, position your finished box cushion on your desired furniture piece and enjoy the added comfort and aesthetic appeal it brings to your space.
Step 9: Maintain Your Cushion
Regular maintenance is required to maintain your new box cushion’s beauty and functionality. Begin by routinely vacuuming the cushion to remove dust and debris that can settle on the fabric surface over time. If the fabric of your cushion is machine washable, remove the cushion form and follow the washing instructions on the fabric tag, using a gentle wash cycle with cold water. For non-machine washable covers, spot cleaning with a mild detergent and a damp cloth can effectively remove stains.
After cleaning, ensure the cover is completely dry before reinserting the cushion form to prevent mold and mildew growth.
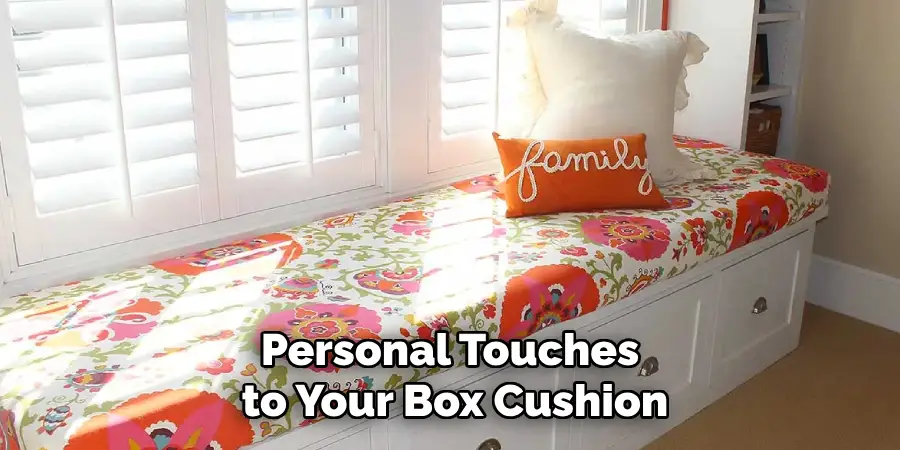
Step 10: Personalize Your Cushion
Adding personal touches to your box cushion can make it a unique piece in your home. Consider embellishing the cushion cover with embroidery, appliqués, or fabric paint to reflect your style or match the décor of the space. If you prefer a more subtle approach, using decorative trims such as piping or tassels can enhance the overall look. Ensure that any added decorations are securely fastened and do not compromise the integrity of the seams or the closure.
Personalization improves the aesthetic appeal of your cushion and transforms it into a meaningful and functional piece of art you can enjoy daily.
Conclusion
How to sew a box cushion is a rewarding and practical project that allows you to create custom and comfortable additions to your living space.
By carefully following each step—from cutting the fabric to making final adjustments—you ensure a high-quality result that reflects both craftsmanship and personal style. The process may require patience and attention to detail, particularly when installing zippers or aligning seams. However, the end product is a durable and attractive cushion tailored to your specific needs.
With regular maintenance and the option for personalization, your handmade box cushion provides comfort and showcases your creativity and sewing skills. As you enjoy your completed project, you can take pride in transforming simple materials into a functional and stylish piece of home décor.
About
Angela is the chief editor of Indoorense. She began her career as an interior designer before applying her strategic and creative passion to lifestyle and home.
She has close to 15 years of experience in creative writing and online content strategy for housekeeping and cleaning,home decorations as well as other efforts.
She loves her job and has the privilege of working with an extraordinary team. She lives with her husband, two sons, and daughter in Petersburg. When she’s not busy working she spent time with her family.