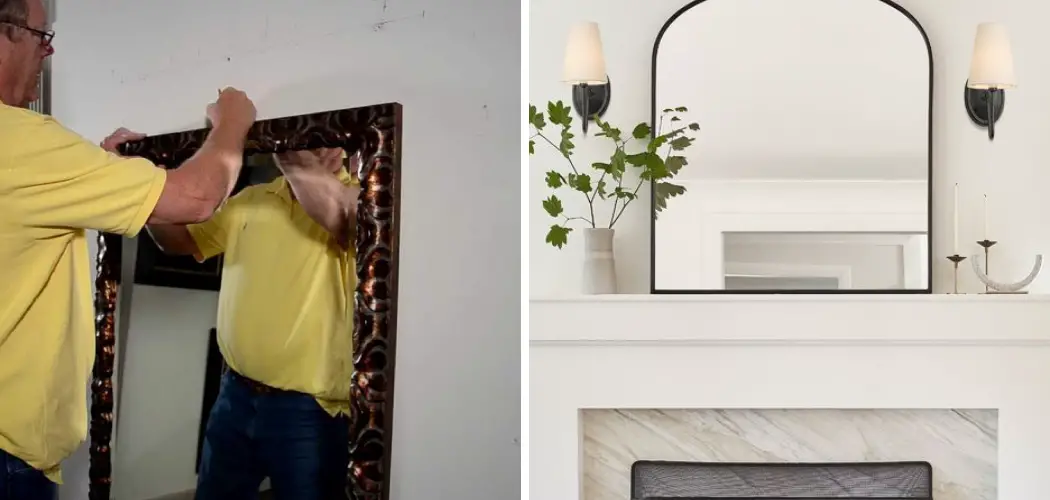
Are you wondering how to secure leaning mirror on mantle? It’s important to properly secure your leaning mirror to prevent any accidents or damage. Leaning mirrors are a popular and stylish way to decorate mantles, but they can also be dangerous if not securely attached.
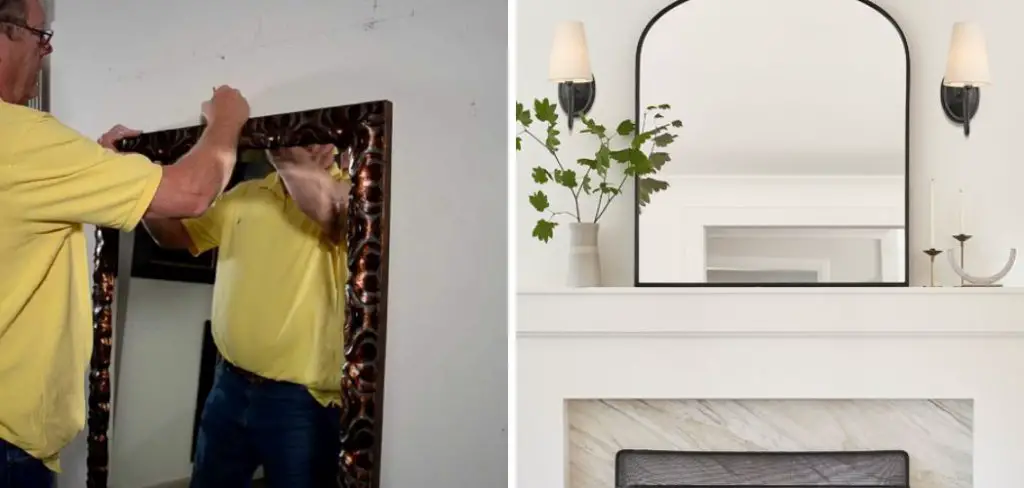
Securing a leaning mirror on the mantle adds style and dimension to any room, creating a focal point that enhances the overall aesthetic. However, ensuring these mirrors are safely and securely positioned is crucial to avoid accidents or damage. Whether you’ve just purchased a new mirror or are repositioning an existing one, understanding the best practices for securing it can provide peace of mind and maintain the elegance of your home decor.
This guide will offer step-by-step instructions and essential tips on effectively securing a leaning mirror on your mantel, ensuring both safety and style.
What Will You Need?
Before securing the mirror, ensure you have all the necessary tools and equipment. The exact materials required may vary depending on the size and weight of your leaning mirror, but here are some general items to consider:
- Screws or sturdy picture hangers
- Wall anchors (if needed)
- Level
- Drill
- Screwdriver
- Measuring tape
- Pencil
Once you have gathered all your materials, you can begin securing your leaning mirror.
10 Easy Steps on How to Secure Leaning Mirror on Mantle
Step 1. Measure the Height:
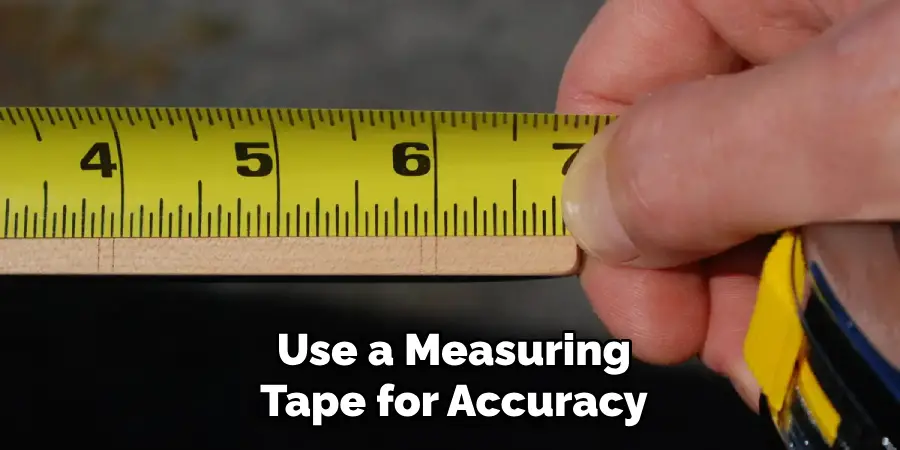
Start by measuring the height from the surface of the mantle to where you want the top of the mirror to rest. Use a measuring tape for accuracy and ensure that the mirror is at a visually appealing height while allowing for the fasteners’ safe placement. Mark the desired height with a pencil on the wall. This initial step is crucial as it determines the precise positioning of your mirror and will aid in ensuring symmetry, especially if you have other decorative elements on the mantel.
Keeping the measurements consistent also allows for a harmonious arrangement, avoiding a tilted or uneven appearance that could detract from the aesthetic value of the mirror. Additionally, be mindful of any potential glare from overhead or nearby lights when deciding on the mirror’s height, and ensure it doesn’t obstruct viewable space on the wall.
Step 2. Find Studs in the Wall:
Using a stud finder, locate the studs behind the wall where your mantle is situated. Finding studs is essential for securing heavier mirrors, providing the necessary support to hold the mirror in place without compromising safety. Once you locate the studs, mark their positions lightly with a pencil. This step ensures that the screws or hangers are anchored firmly into the wall, reducing the risk of the mirror becoming imbalanced or falling. Additionally, if the studs are not located conveniently behind your desired mirror position, consider using wall anchors as an alternative to distribute the weight more evenly and maintain stability.
Step 3. Mark the Fastening Points:
With the studs marked, determine where the fasteners will be positioned on the wall. Ideally, these points should align with the studs for maximum support. Use a level to ensure the marks are straight and even, as a crooked mirror detracts from the room’s appearance and may increase the risk of it slipping out of place. Make light pencil marks where you plan to drill holes for the screws or hooks, ensuring they align with both the mirror’s top edges and the marked stud positions. This careful alignment will help distribute the mirror’s weight evenly, keeping it securely attached and preventing potential accidents.
Step 4. Drill Holes for Fasteners:
Now that you have marked the fastening points, it’s time to drill the holes for the fasteners. Using a drill, carefully create holes at each of the pencil marks. Be mindful of the drill bit size, ensuring it matches the diameter of the screws or anchors you plan to use. If you’re drilling into studs, use screws directly; otherwise, insert wall anchors into the holes to provide additional support. This drilling step is critical for ensuring the fasteners are securely anchored, giving your mirror the required stability. Ensure you drill straight and steady to avoid any slippage or misalignment and check each hole’s depth to guarantee the fasteners can be fitted snugly, providing maximum strength.

Step 5. Insert Fasteners
Once the holes are drilled, insert the fasteners into the wall. If you’ve drilled into studs, simply screw the fasteners directly into place using a screwdriver. For holes that require anchors, begin by inserting the wall anchors carefully until they are flush with the wall. Then, insert your screws or hooks into the anchors, tightening them securely. This step is crucial to ensure that the mirror is held firmly against the wall, providing the necessary support. Double-check that the fasteners are secure by giving them a gentle tug to confirm they are adequately anchored before moving on to the next phase of the installation.
Step 6. Secure the Mirror with Brackets
With the fasteners in place, the next step is using brackets to hold the mirror to the wall securely. Depending on the type of bracket you have chosen, position each one so that it frames the bottom edge of the mirror. Carefully slide the mirror into place, ensuring it rests evenly across the brackets. Once positioned, firmly tighten the brackets to ensure they are clamped securely against the mirror’s frame.
This will prevent any forward tipping or accidental slippage. If your mirror comes with additional securing hardware, such as L-brackets, use them to reinforce the top or sides of the mirror for added stability. This step is essential in maintaining the mirror’s balance and securing it steadfastly, ensuring safety while complementing the room’s decor.
Step 7. Adjust and Level the Mirror
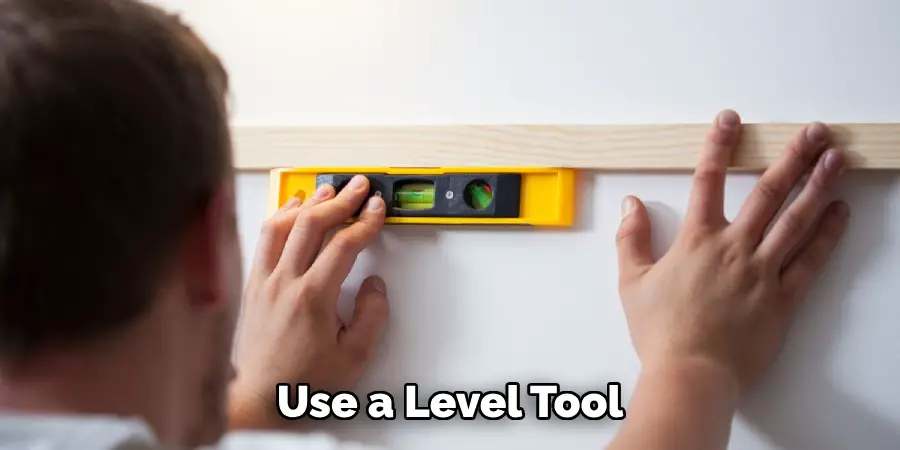
After securing the mirror with brackets, take a moment to check its level. Use a level tool to ensure the mirror is perfectly horizontal. Adjust the brackets if necessary, moving the mirror slightly until it aligns correctly. This step is vital to maintaining the visual aesthetic and balance of the mirror in your room. A well-leveled mirror enhances the room’s symmetry and catches and reflects light uniformly, adding to the overall decor. Once satisfied with the positioning, re-tighten any brackets or screws to keep the mirror securely in place. This final adjustment is the key to ensuring your mirror remains stable over time.
Step 8. Clean the Mirror and Surrounding Area
Now that your mirror is securely installed take a moment to clean it and the surrounding area. Start using a soft microfiber cloth and a gentle glass cleaner to remove any fingerprints, smudges, or dust from the mirror. This will ensure that the mirror reflects light beautifully and looks pristine in its new position. Next, tidy up around the installation site, clearing any dust or debris left from drilling and fastening. This keeps the area neat and prevents particles from scratching or damaging the mirror over time. With the mirror clean and the area tidy, your installation process is complete, leaving you with a beautifully enhanced space.
Step 9. Final Touches and Inspection
With the mirror installed and the area cleaned, perform a final inspection to ensure everything is secure and aesthetically pleasing. Check that the mirror aligns perfectly with surrounding features, such as windows, furniture, or artwork. Look for any remaining imperfections like visible screws or uneven brackets that may need adjustment. If suitable, consider adding decorative elements around the mirror, such as sconces or a decorative frame, to enhance the overall look of the space. By taking the time to inspect and add these final touches carefully, you ensure the mirror’s arrangement is not only functional but also elevates the room’s ambiance.
Step 10. Regular Maintenance and Care
To ensure your newly installed mirror remains in excellent condition, it’s essential to establish a routine maintenance regime. Regularly clean the mirror’s surface with a glass cleaner and a soft cloth to free it from dust and smudges. Avoid using abrasive materials as these could scratch the glass. Periodically inspect the fasteners and brackets to ensure they remain secure and tighten any that seem loose. Maintaining the cleanliness and security of the mirror will not only preserve its reflective quality but ensure the safety and longevity of your installation. Regular care will allow it to continue enhancing the beauty and functionality of your space.

By following these steps, you can quickly and safely install a mirror in your home. With proper installation and regular maintenance, your mirror will serve its practical purpose and elevate the aesthetic of any room it’s placed in.
Conclusion
How to secure leaning mirror on mantle requires both attention to detail and proper precautions to ensure safety and stability.
Begin by selecting a mirror that fits nicely onto your mantle and complements the room’s decor. Place non-slip pads at the mirror’s base to help keep it in position and prevent accidental slipping. Additionally, consider using museum gel or putty on the bottom corners to further secure the mirror to the mantle surface without causing damage. For added security, utilize discreet clamp brackets or anchor screws at the top corners of the mirror if possible, to attach it gently to the wall above the mantle.
These steps ensure that the mirror remains an attractive yet safe feature in your space, enhancing functionality and style while minimizing the risk of it tipping over.
Check it out to Remove Wax From a Wooden Floor
About
Angela is the chief editor of Indoorense. She began her career as an interior designer before applying her strategic and creative passion to lifestyle and home.
She has close to 15 years of experience in creative writing and online content strategy for housekeeping and cleaning,home decorations as well as other efforts.
She loves her job and has the privilege of working with an extraordinary team. She lives with her husband, two sons, and daughter in Petersburg. When she’s not busy working she spent time with her family.

