
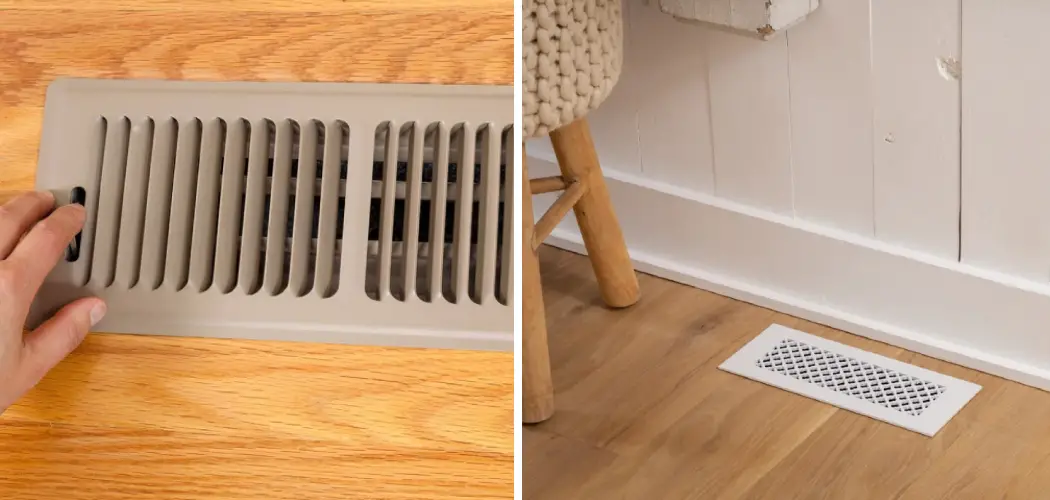
If you’re looking for a way to protect your floors from the elements or prevent airflow into unused rooms, floor vent covers are an ideal solution. Floor vents can help keep dust and debris out of your living areas and ensure that heated or cooled air stays in the spaces where it’s needed most.

But if they aren’t secured with the right materials, they can become loose—or worse, get stuck. In this blog post, we’ll discuss how to secure floor vent covers and show you how to do so quickly and easily. Read on to learn more!
Tools and Materials You Will Need to Secure Floor Vent Covers
- Screws
- Drill/screwdriver
- Caulk or sealant
- Level
- Duct tape (optional)
Step-by-step Guidelines on How to Secure Floor Vent Covers
Step 1: Measure the Area Around the Vent Cover
Before you start securing your floor vent covers, make sure to measure the area around the cover and note any irregularities in the surface. This will help you determine where screws need to be positioned for optimal stability. Measuring before starting also ensures that the screws are placed equidistant from each other.
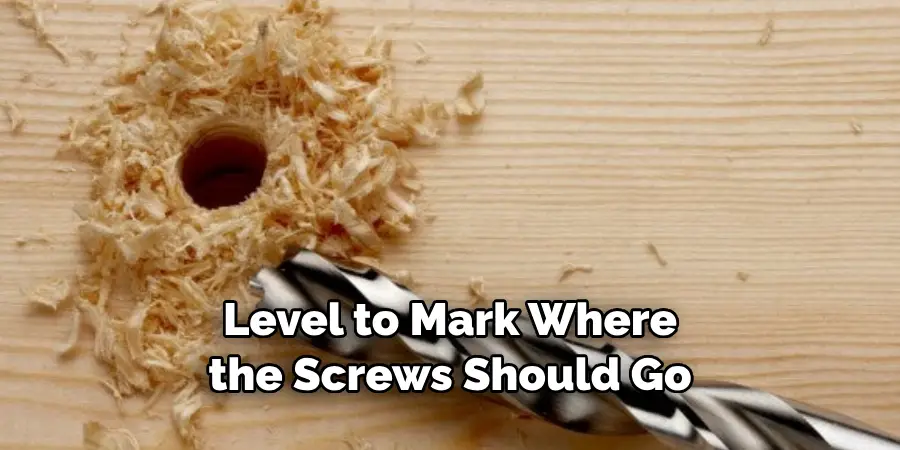
Step 2: Mark the Spot for Screws
Once you’ve measured the area, use a level to mark where the screws should go. Make sure to double-check your measurements and mark carefully so that all of the screws will be even when they’re installed. While marking the spots, you may also want to leave extra space for caulk or sealant. This will ensure that the screws are firmly in place and can’t be loosened by any external forces.
Step 3: Drill in the Screws
Now it’s time to drill in the screws. Use a drill or screwdriver for this step, depending on the type of screws you’re using. Make sure that all of the screws are firmly secured before moving on to the next step. While drilling the screws, be careful not to over-tighten them as this can cause the material to become damaged.
Step 4: Apply Caulk or Sealant
Once all of the screws are in place, it’s time to apply caulk or sealant around the edge of the vent cover and between each screw. Make sure that you apply a generous amount of caulk or sealant to ensure that the cover is securely fastened. Applying caulk or sealant also helps keep dust and debris out.
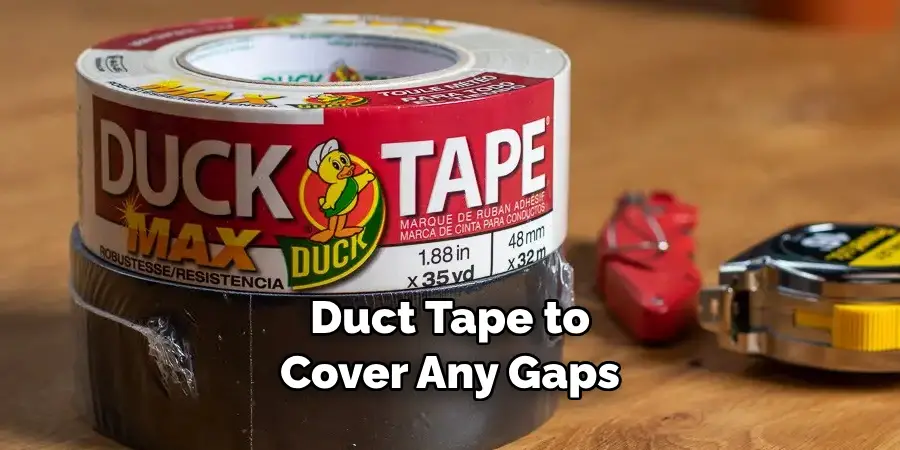
Step 5: Test the Cover
Once you’ve completed the steps listed above, it’s time to test your vent cover. Carefully press down on each side of the cover to make sure that all of the screws are firmly in place and that there’s a secure seal between each one. In this step, you may want to use duct tape to cover any gaps around the edges of the vent.
Congratulations! You’ve now successfully secured your floor vent covers. With a few simple steps and tools, you can have peace of mind knowing that your floors are safe from dust and debris and that heated or cooled air is staying where it’s supposed to be.
Additional Tips and Tricks to Secure Floor Vent Covers
- Make sure the vent covers you purchase are appropriately sized for your floor vents. Oversized or undersized covers won’t properly secure the vent opening and may allow dust, debris, or even pests to get into your home.
- For vinyl or plastic vent covers, use double-sided adhesive tape to secure the cover in place. It’s a good idea to check the tape periodically to make sure it is still properly adhering and replace it if necessary.
- If you have metal, wood, or fiberglass covers, use screws or bolts to secure them in place. Make sure the screws are not too long as this could cause damage to underlying floorboards and also make sure they are not too short as this could reduce their effectiveness in securing the vent cover.
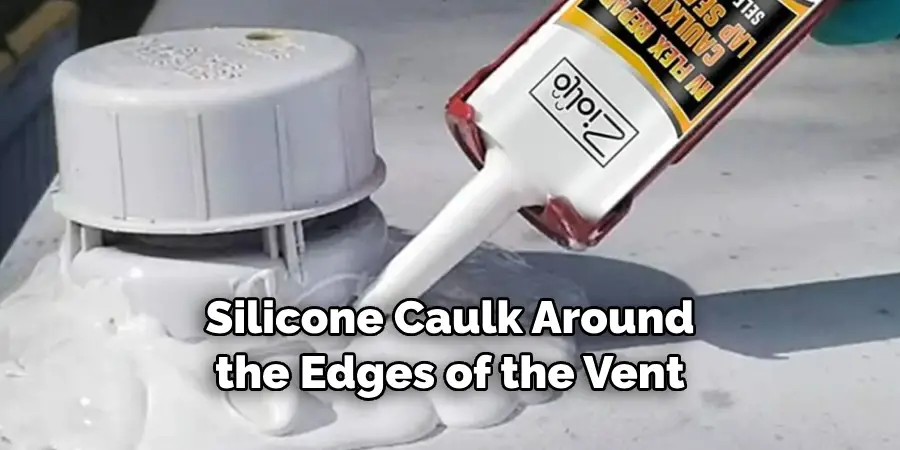
- If your floor vents are located in an area that is prone to moisture, it may be beneficial to use silicone caulk around the edges of the vent opening before installing the cover. This will provide additional protection against water and other debris entering through the tight spaces between the vent and the cover.
- For hard-to-reach areas or spaces with odd shapes, using custom-made covers can be the best solution to securing a vent opening. Companies like Floor Vent Covers offer made-to-measure covers that provide an exact fit for any space and last for years without needing replacement.
Following these tips and tricks will ensure your floor vents remain securely covered and protected. This will not only keep your home safe from dust, debris, and pests but also provide extra insulation to help keep the temperature inside your home comfortable all year round.
Things You Should Consider to Secure Floor Vent Covers
- Know the type of floor vent cover you have. Different materials require different installation techniques. For example, metal covers are usually secured with special screws that need to be driven into the wood underneath and should be avoided on tile floors as they may crack the tile. Plastic vents can be secured with adhesive strips or double-sided tape, while louvered vents can simply be wedged in place.
- Take into account the area you want to secure your vent cover in. If it is a carpeted area, you may need to use special screws that won’t penetrate the backing of the carpet and cause damage. Laying down a piece of cardboard on top of the floor before driving any screws will help prevent this from happening.
- For tile floors, adhesive strips can be used to secure the vent cover in place. Be sure to use a product designed for use with tiles as some may discolor the surface. You can also use double-sided tape or foam sealing strips, which are available at most home improvement stores.
- Louvered grilles are easy to install as they simply fit into the opening. They should be wedged in place with a piece of wood, such as a shim or broom handle, to ensure they don’t come out easily.
- Regularly check if your vent cover is securely fastened and replace any parts that appear worn or damaged. This will help prevent anyone from accidentally pushing it out of place and causing a potential hazard.
By taking the time to properly secure floor vent covers, you can help ensure that your family and friends are safe from any potential injuries or accidents. With these tips in mind, you should have no trouble keeping your vents securely in place for years to come!
Frequently Asked Questions
How Often Should I Check Floor Vent Covers?
It’s important to check your floor vent covers at least once a month for any signs of wear and tear. This is especially important if you have small children or pets in the home, as they could potentially injure themselves on loose or damaged vents. Additionally, checking for potential issues regularly will allow you to take appropriate action before the problem becomes more serious.
What Can I Do to Secure My Floor Vent Covers?
One of the easiest and most effective ways to secure your floor vent covers is by using screws. Most vents come with pre-drilled holes, allowing you to easily install screws for added security. Additionally, there are adhesive discs available that are specifically designed for securing floor vents. The discs can be easily affixed to the underside of the vent cover and will ensure that it stays firmly in place.
Are Floor Vent Covers Dangerous?
In general, floor vent covers are not dangerous when properly installed and maintained. However, if your vent covers become loose or damaged, they can pose a safety risk. Be sure to inspect your vents regularly for any signs of wear and tear, and secure them with screws or adhesive discs as needed. Additionally, you should never try to remove a vent cover yourself. If you need to replace or repair your vents, it’s best to contact a professional for assistance.
Are There Any Other Tips for Securing Floor Vent Covers?
In addition to using screws or adhesive discs, you can also place furniture or rugs over floor vents to help keep them in place. This is a good option if you don’t want to have visible screws in your home, but it’s important to make sure the furniture or rug isn’t too heavy, as this could cause the vent cover to become loose or even break. Additionally, make sure that anything placed directly on top of the vent is nonflammable, as this could be a fire hazard.
Conclusion
With the above outlined you can easily learn how to secure floor vent covers and keep your floors safe. Be sure to check for any signs of wear and tear regularly, use screws or adhesive discs to secure the covers, and place furniture or rugs over them as needed. Taking these steps will help ensure that your floor vents are properly secured and remain safe at all times.
About
Angela is the chief editor of Indoorense. She began her career as an interior designer before applying her strategic and creative passion to lifestyle and home.
She has close to 15 years of experience in creative writing and online content strategy for housekeeping and cleaning,home decorations as well as other efforts.
She loves her job and has the privilege of working with an extraordinary team. She lives with her husband, two sons, and daughter in Petersburg. When she’s not busy working she spent time with her family.