
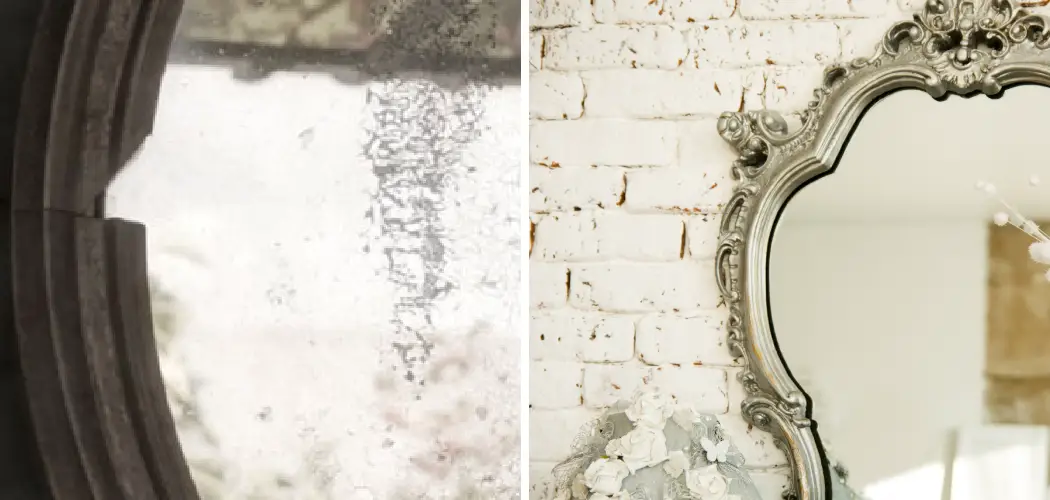
Are you tired of looking at your old, cloudy, and blemished mirrors? Do they make your room look dull and uninviting? Well, don’t throw them away just yet! With a little bit of effort and some simple supplies, you can restore those old mirrors to their former reflective glory.

Restoring old mirrors can be a rewarding project that breathes new life into a cherished decor piece. Whether you have an antique mirror with a beautifully ornate frame or a simple vintage mirror that holds sentimental value, the restoration process can enhance its appearance and functionality.
This guide provides step-by-step instructions on how to restore old mirrors, repair, and refresh old mirrors, enabling you to preserve their historical charm while ensuring they remain a stunning focal point in your home.
What Will You Need?
To restore your old mirrors, you will need the following supplies:
- Microfiber cloth
- Glass cleaner or a mixture of vinegar and water
- Soft bristle brush
- Rubbing alcohol
- Putty knife or razor blade
- Automotive rubbing compound
- Metal polish (optional)
10 Easy Steps on How to Restore Old Mirrors
Step 1: Clean the Mirror Surface
The first step in restoring an old mirror is thoroughly cleaning its surface. Start by wiping down the mirror with a microfiber cloth to remove any loose dirt and dust particles. Next, use a glass cleaner or a mixture of equal parts vinegar and water to gently wipe away any remaining residue. Avoid harsh chemicals or abrasive materials, as they can damage the mirror’s surface.
Step 2: Inspect for Damage
After cleaning the mirror, inspect it carefully for any chips, cracks, or scratches. If you notice any severe damage that cannot be repaired, it may be best to seek professional assistance. However, if the damage is minor, you can proceed with the restoration process.
Step 3: Remove Backing and Frame
Once you have inspected the mirror and identified any minor damage, it’s time to remove the backing and frame. Carefully lay the mirror face down on a flat, padded surface to prevent any new scratches or damage. Use a putty knife or a razor blade to gently pry off the backing material. This step may require some patience, especially if the backing is old and adhered firmly to the mirror.
If your mirror has a frame, you must also carefully detach it. Depending on the construction, the frame might be held in place with nails, screws, or clips. Remove these fasteners gently using the appropriate tools, such as a screwdriver or pliers. Take care not to damage the frame during this process, especially if it is an antique or has intricate detailing that you wish to preserve. Once the frame and backing are removed, set them aside in a safe place for later reattachment.
Step 4: Remove Old Mirror Coating
With the mirror’s backing and frame removed, it’s time to address the old mirror coating. Over time, the reflective coating on the back of the mirror may become tarnished or discolored. To remove this, use a soft bristle brush to carefully scrub off the old coating. Avoid applying too much pressure to prevent damaging the glass itself.
For stubborn areas, dampen the brush with a bit of rubbing alcohol to help break down the coating. As you work, be patient and methodical to ensure you remove the coating evenly without scratching the mirror’s surface.
Step 5: Clean the Glass Thoroughly
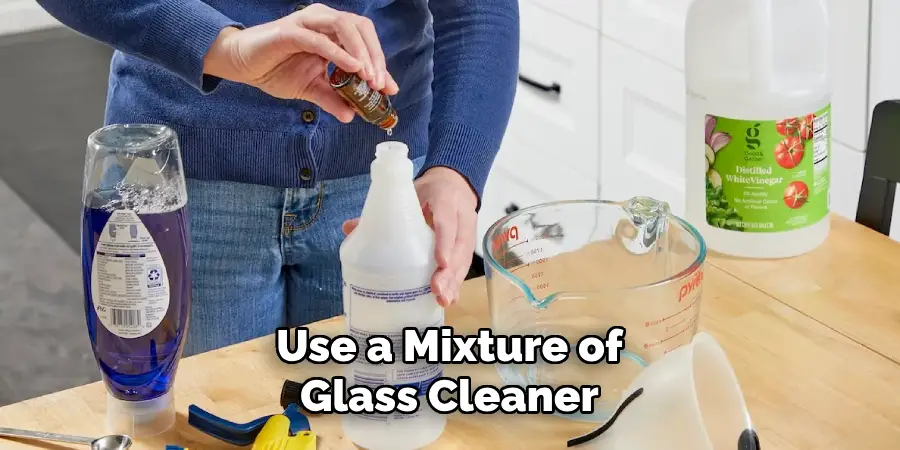
After removing the old mirror coating, cleaning the glass thoroughly to prepare it for re-silvering or applying a new reflective coating is crucial. Use a mixture of glass cleaner or equal parts vinegar and water to wash the glass. Spray the solution generously over the surface and gently wipe it with a microfiber cloth, removing any debris or remnants of the old coating.
Be meticulous in this step as any remaining dirt or residue can affect the final outcome of the restoration process. For particularly stubborn stains or residues, use a small amount of rubbing alcohol with a soft cloth to ensure the glass is completely clean and ready for the next phase.
Step 6: Apply a New Reflective Coating
Once the glass is thoroughly cleaned, the next step is to apply a new reflective coating to restore the mirror’s brilliance. This can be done using a mirror re-silvering kit, which typically includes a chemical solution designed to deposit a new layer of silver onto the back of the glass. Carefully follow the instructions provided with the kit to ensure proper application.
Generally, this involves evenly spreading the chemical solution over the back of the glass and allowing it to dry completely. Ensure that the application is smooth and even, as any inconsistencies can affect the mirror’s reflective quality. Patience and precision are key in this step to achieve a professional-looking finish.
Step 7: Polish the Surface
After allowing the new reflective coating to dry completely, the next step is to polish the mirror’s surface to achieve a high-quality finish. Use an automotive rubbing compound and a soft cloth to gently buff the glass.
Apply a small amount of the rubbing compound to the cloth and work it in circular motions across the mirror’s surface. This will help smooth out imperfections and enhance the mirror’s shine. Be sure to polish evenly and avoid applying excessive pressure to prevent scratching the glass.
Step 8: Reattach the Backing and Frame
Once you have polished the mirror and are satisfied with the reflective surface, it’s time to reattach the backing and frame. Begin by carefully positioning the backing material onto the rear of the mirror, ensuring it fits snugly and aligns properly. If the old backing was damaged during removal, consider replacing it with a new piece of similar material. Use a putty knife or your fingers to gently press down the backing so it adheres properly.
Next, reattach the frame. Align the frame carefully with the edges of the mirror and use the appropriate fasteners—such as nails, screws, or clips—to secure it in place. Ensure the fasteners are tightened adequately to hold the frame, but do not over-tighten, as this may cause damage. Handle intricate or antique frames with extra care to preserve their detailing and aesthetic value.
Step 9: Inspect the Finished Mirror
Now that the backing and frame are securely reattached inspect the finished mirror. Ensure that the reflective surface is free from blemishes and that the frame is properly aligned and secured. Check for any signs of looseness or instability in the frame and make any final adjustments as necessary. If the mirror is to be hung, verify that the hanging hardware is still intact and capable of supporting the mirror’s weight.
Step 10: Hang the Restored Mirror
With your mirror now fully restored and inspected, the final step is to hang it back in its designated spot. Begin by selecting a suitable location that can support the mirror’s weight. If the mirror is particularly large or heavy, consider using wall anchors or additional support brackets to ensure it is securely mounted. Use a level to ensure the mirror hangs straight, marking the desired position on the wall with a pencil.
Next, install the appropriate hanging hardware on the back of the mirror. Depending on the mirror’s design and weight, this might include D-rings, wire, or a French cleat system. If using wire, ensure it is robust and precisely measured to distribute the mirror’s weight evenly. Attach the hardware securely to the wall, following the markings you’ve made, and then carefully lift the mirror into place, ensuring it is centered and level.
Following these steps can effectively restore an old mirror to its former glory. With proper care and maintenance, your restored mirror can continue bringing charm and elegance to your home for years.
5 Things You Should Avoid
1. Using Abrasive Materials: When restoring mirrors, avoiding using abrasive materials such as steel wool, scouring pads, or harsh scrubbing brushes is crucial. These can easily scratch the glass surface, causing irreparable damage.
2. Applying Excessive Pressure: Avoid applying too much pressure while cleaning or polishing the glass. Excessive force can cause cracks or even break the mirror.
3. Skipping Surface Preparation: Skipping the cleaning and preparation of the glass surface before applying a new coating can significantly impact the final outcome. Dirt, residue, or leftover cleaning agents can prevent the new coating from adhering properly, leading to imperfections and reduced reflectivity.
4. Ignoring Safety Precautions: Restoration involves handling chemicals, broken glass, and sharp edges, so appropriate safety precautions are essential. Always use gloves and protective eyewear and ensure you are working in a well-ventilated area.
5. Rushing the Process: Restoring a mirror requires patience and attention to detail. Rushing through the steps can result in an imperfect finish, with visible flaws or uneven coating. Take your time and follow each step carefully for the best results.
With these tips, you can confidently restore old mirrors and give them a new lease on life.
Conclusion
How to restore old mirrors is a meticulous but rewarding task that can transform a weathered piece into a stunning focal point for any room.
By following a structured approach—from initial inspection and cleaning through to re-coating and final polishing—you can achieve professional results that enhance the mirror’s reflectivity and aesthetic appeal.
Attention to detail, patience, and adherence to safety precautions are essential throughout the process. Avoiding common pitfalls such as using abrasive materials, applying excessive pressure, and skipping proper surface preparation is crucial for a successful restoration.
Ultimately, a restored mirror can add charm, elegance, and historical significance to your home, proving that even worn-out items can be revived with the right care and technique.
About
Angela is the chief editor of Indoorense. She began her career as an interior designer before applying her strategic and creative passion to lifestyle and home.
She has close to 15 years of experience in creative writing and online content strategy for housekeeping and cleaning,home decorations as well as other efforts.
She loves her job and has the privilege of working with an extraordinary team. She lives with her husband, two sons, and daughter in Petersburg. When she’s not busy working she spent time with her family.