
Are you tired of looking at your rusty bathtub? Well, you’re not alone.
Repairing a rusted bathtub is a common issue many homeowners face, yet it can be effectively managed with the right approach and tools. Over time, the combination of moisture and metal can lead to unattractive rust stains and deterioration, which may affect the bathtub’s aesthetic appeal and compromise its structural integrity. Fortunately, with a few simple steps, restoring your bathtub to its original condition is possible.

This guide on how to repair rusted bathtub, will provide you with practical advice on the necessary materials and procedures to remove rust, patch up problem areas, and ensure your bathtub looks as good as new. Whether you’re a DIY enthusiast or tackling this for the first time, you’ll find helpful tips to make the process straightforward and successful.
What Will You Need?
Before repairing your rusted bathtub, gather all the necessary materials and tools. This will save time and make your job more efficient. Here is a list of essential items:
- Protective gear (gloves, goggles, apron)
- Rust remover/neutralizer
- Sandpaper or wire brush
- Epoxy putty or bondo filler
- Fiberglass mesh tape
- Waterproof sealant
- Paintbrushes or rollers
- Paint suitable for bathtubs (epoxy-based or acrylic)
Once you have everything you need, it’s time to start the repair process.
10 Easy Steps on How to Repair Rusted Bathtub
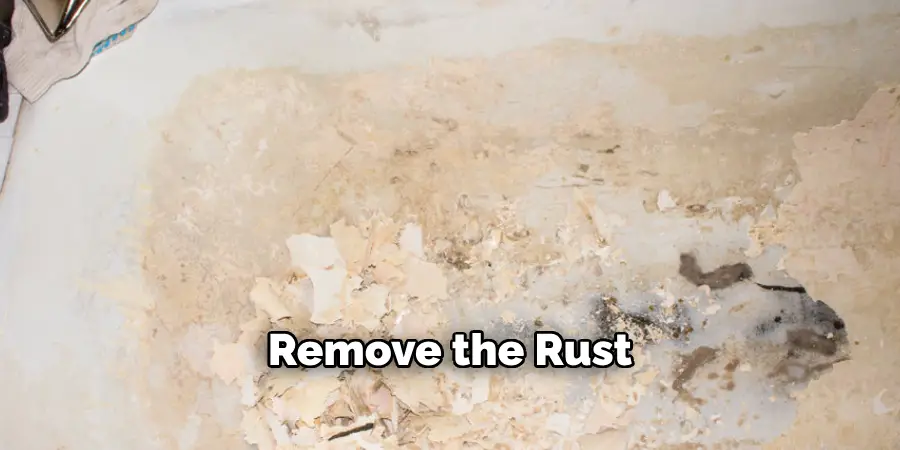
Step 1: Remove the Rust
Begin by thoroughly cleaning the rusted areas of your bathtub. Use a mild detergent and water to wipe down the surface, removing any dirt or grime that might interfere with the repair process. Once cleaned, allow the area to dry completely. Next, don protective gear, including gloves and goggles to protect yourself from dust and residues. Using sandpaper or a wire brush, gently scrub the rusted spots until you remove all rust and expose the clean metal below.
Be thorough in this process to ensure you eliminate all traces of rust, as residual rust can cause further damage later. Afterward, wipe down the area with a damp cloth to remove any loose particles, and let it dry before moving on to the next step. This preparation ensures that the following treatments adhere properly to the bathtub surface.
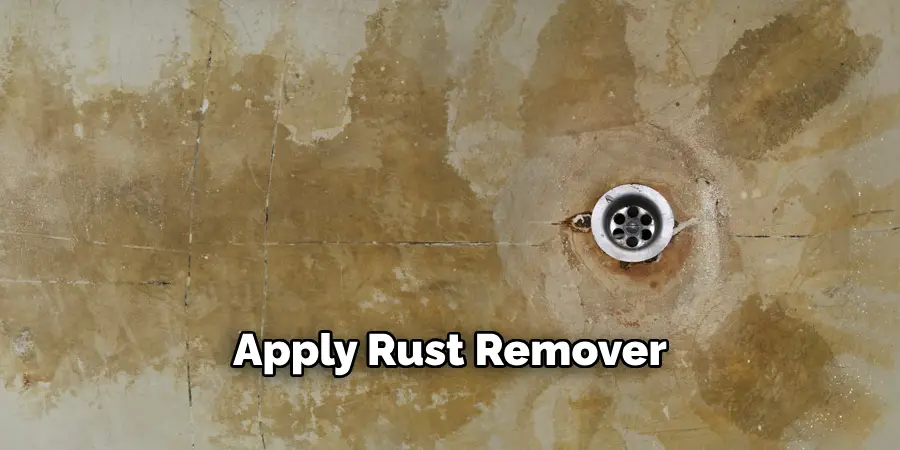
Step 2: Apply Rust Remover or Neutralizer
Once the rust has been thoroughly cleaned away, applying a rust remover or neutralizer is essential to ensure all microscopic rust remnants are halted in their tracks. This will prevent future rust from spreading. Apply the rust remover according to the product’s instructions, typically brushing or spraying the solution onto the affected areas. Allow it to sit for the recommended duration, as the manufacturer indicates, to let it effectively work on the surface.
After the allocated time, wipe off the excess with a clean cloth and ensure the area is arid before proceeding to the next step. Proper application of a rust remover or neutralizer is crucial for achieving a lasting repair and prolonging the life of your bathtub.
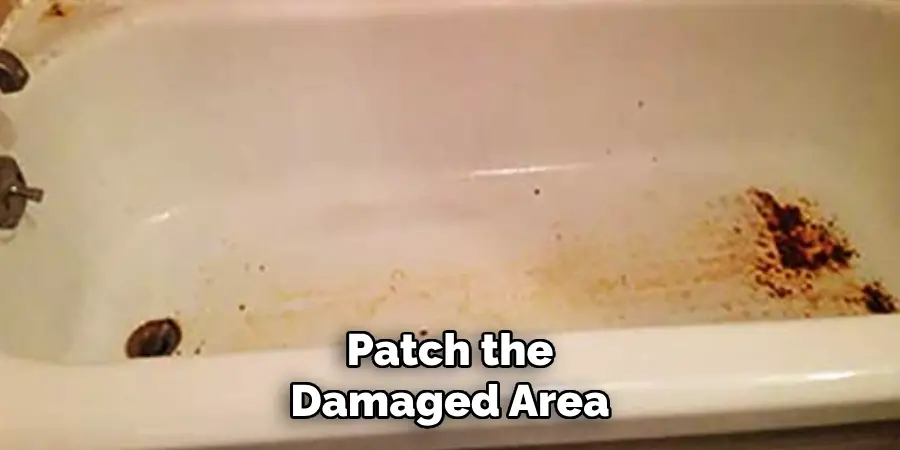
Step 3: Patch the Damaged Area
After ensuring the rust remover has thoroughly done its job, inspect the bathtub for any pitted or perforated areas that need patching. Using epoxy putty or bondo filler, mix the compound as directed by the manufacturer. Carefully apply the filler to the damaged areas using a putty knife, ensuring that the filler is evenly spread and covers all imperfections. If the damage is extensive, consider using fiberglass mesh tape to reinforce the area before applying the filler.
Press the tape firmly into place, and then add a layer of epoxy putty on top. Smooth out the surface as much as possible to reduce sanding later on. Allow the filler to set and cure completely, according to the instructions, before finishing the repair.
Step 4: Sand the Patched Area
Once the epoxy putty or bondo filler has fully cured, it’s time to sand the patched area to ensure a smooth and even surface. Use fine-grit sandpaper to gently sand down the dried filler, blending it seamlessly with the surrounding bathtub surface. Be careful not to over-sand, as this could compromise the integrity of the repair. The goal is to achieve a level surface flush with the rest of the bathtub, minimizing any visible edges or lines. Take your time in this step to ensure a professional-looking finish. Wipe away any dust with a clean, damp cloth before proceeding to the next step.
Step 5: Apply Waterproof Sealant
The next step in repairing your rusted bathtub is to apply a waterproof sealant over the patched area. This crucial step will provide long-lasting protection against moisture, which could otherwise trigger rust formation again. Using a paintbrush or roller, apply an even coat of waterproof sealant, ensuring total coverage of the patched and surrounding areas. Let the sealant dry according to the product instructions, usually a few hours, to ensure it properly adheres and seals the bathtub surface. This will create a durable barrier against future water exposure.
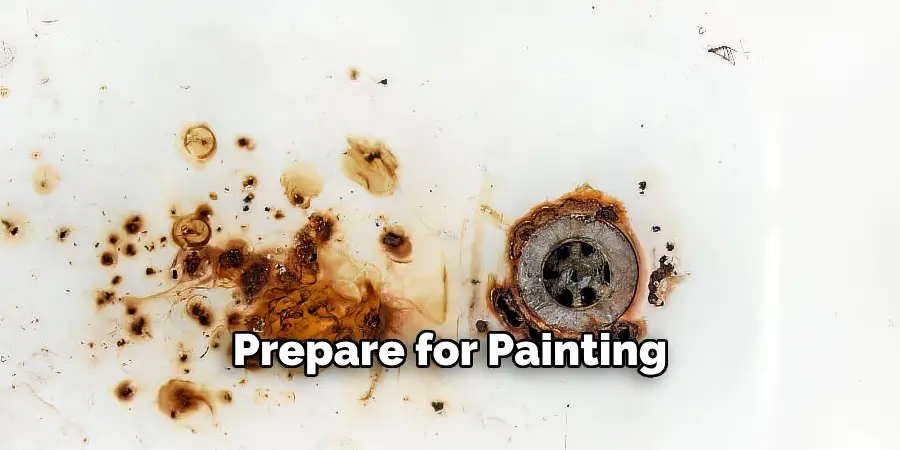
Step 6: Prepare for Painting
Before you begin painting your bathtub, it’s essential to prepare the surface meticulously to ensure the paint adheres correctly and provides a smooth, professional finish. First, thoroughly clean the entire bathtub, paying particular attention to the areas surrounding the repair to remove any grease, soap scum, or dust that might have settled during the previous steps. Use a gentle cleaner or a mixture of vinegar and water, followed by a clear water rinse, and allow the surface to dry completely. Once dry, inspect the bathtub to ensure that all patched and sanded areas are clean and free from any loose particles or debris.
Next, protect the bathtub surroundings to avoid accidental paint spills or splatters. Use painter’s tape to mask off any edges, including around the drain, faucet, and any other fixtures, as well as surrounding tiles or floors. Cover larger areas with plastic sheeting or drop cloths to safeguard them from paint overspray.
Finally, ensure the work area is well-ventilated. Proper ventilation helps disperse harmful fumes and ensures the paint dries evenly. You can achieve this by opening windows, using fans, or, if available, turning on an exhaust fan.
Step 7: Apply Primer
With the surface now thoroughly prepared, it’s time to apply a primer to create a uniform base for the final paint and enhance its adhesion to the bathtub surface. Select a high-quality primer compatible with your bath material and the chosen paint. Using a clean paintbrush or a roller, apply a thin, even coat of primer across the entire bathtub surface. Pay special attention to the repaired areas to ensure they are adequately primed.
Allow the primer to dry completely as per the manufacturer’s instructions before applying a second coat if necessary. A properly primed surface will contribute to a long-lasting and professional finish, making this step vital in the repair process.
Step 8: Apply Paint
Once the primer has completely dried, it’s time to apply the paint. Choose a high-quality paint that is designed explicitly for bathtubs and is compatible with the material of your bathtub. Begin by stirring the paint thoroughly to ensure a consistent color and texture. Using a clean brush or roller, apply the first coat of paint in even, smooth strokes, ensuring complete coverage over the entire surface. Pay close attention to the edges and corners to prevent any missed spots.
Allow the first coat to dry fully according to the manufacturer’s instructions. Once dry, inspect the surface for any thin areas and apply a second coat to ensure an even finish. Let the final coat cure for the recommended time before using the bathtub again. Properly applied paint will not only enhance the appearance of your bathtub but also provide a durable protective layer.
Step 9: Curing and Finishing Touches
Once the final coat of paint has been applied and is completely dry, it’s crucial to allow the paint to cure properly before using the bathtub. Refer to the paint manufacturer’s instructions for the recommended curing time, which typically ranges from several days to a week. During this period, avoid exposing the bathtub to water or any heavy use to ensure the paint fully sets and bonds to the surface.
After the curing period, inspect the painted surface for any imperfections or areas needing a touch-up. If necessary, use a small brush for precision in applying touch-ups, making sure to follow the same drying and curing procedures as before.
Step 10: Reinstall Fixtures and Clean Up
After ensuring that your bathtub is fully cured and the paint is set, it’s time to reinstall any fixtures you removed earlier in the process. Carefully reattach the drain covers, faucets, and other hardware, ensuring everything is securely tightened and aligned. Once your fixtures are in place, remove any painter’s tape, plastic sheeting, or drop cloths used to protect surrounding areas. Perform a final clean-up of the work area, ensuring no debris or dust is left behind. Wipe down the bathtub with a soft cloth to remove fingerprints or smudges.
By following these steps, you can effectively repair a rusted bathtub and give it a fresh new look without replacing the entire tub.
Conclusion
How to repair rusted bathtub is a multifaceted process that emphasizes attention to detail at every step.
By methodically following each stage—from cleaning and patching to sealing, painting, and curing—you can revitalize your bathtub without the expense of a complete replacement. Each step is crucial in ensuring a professional, long-lasting finish that restores both its functionality and appearance. Taking the time to prepare and properly protect the surfaces throughout the project will significantly enhance the durability of the repair.
You can achieve remarkable results with patience and care, making your bathtub look as good as new and extending its service life.
About
Angela is the chief editor of Indoorense. She began her career as an interior designer before applying her strategic and creative passion to lifestyle and home.
She has close to 15 years of experience in creative writing and online content strategy for housekeeping and cleaning,home decorations as well as other efforts.
She loves her job and has the privilege of working with an extraordinary team. She lives with her husband, two sons, and daughter in Petersburg. When she’s not busy working she spent time with her family.