
Are you tired of seeing unsightly white stains on your bathroom tiles? Whether caused by hard water or cleaning product buildup, these stains can make your tiles look dull and dirty.
How to remove white stains from bathroom tiles can be a challenging yet essential task in maintaining a clean and appealing space. These stains often form due to hard water deposits that build up over time, leaving unsightly marks that can detract from the overall look of your bathroom.

By understanding the causes of these stains and employing effective cleaning methods, you can restore the luster of your tiles and avoid potential long-term damage. This guide will walk you through various techniques and tips to tackle stubborn white stains efficiently, ensuring your bathroom surfaces remain pristine and inviting.
What are the Causes of White Stains on Bathroom Tiles?
Before diving into the removal methods, it is essential to understand why these white stains occur in the first place. Here are some common causes:
- Hard Water: If you have hard water in your area, you may notice a build-up of minerals such as calcium and magnesium on your tiles over time. These minerals can leave behind white spots that can be challenging to remove.
- Residue From Cleaning Products: Certain cleaning products contain harsh chemicals that can react with the minerals in your water, leaving behind white stains. It is crucial to rinse your tiles thoroughly after using any cleaning product to prevent this buildup.
- Soap Scum: Soap residue can also contribute to white stains on bathroom tiles. As soap mixes with water, it can form a white film that sticks to surfaces and can be challenging to remove.
Now that you know the potential causes of these white stains, let’s explore some practical ways to remove them.
What Will You Need?
- Distilled White Vinegar
- Lemon Juice
- Baking Soda
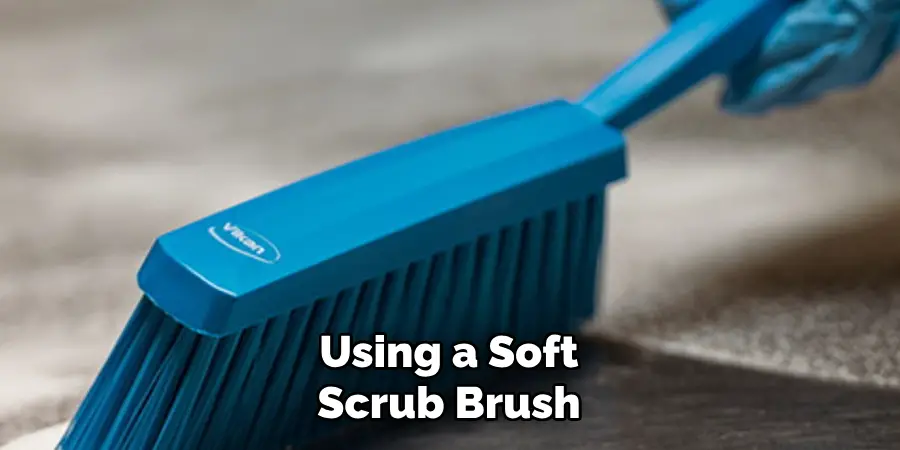
- Soft Scrub Brush
- Clean Cloth or Sponge
Once you have these items, you can begin the stain-removal process.
10 Easy Steps on How to Remove White Stains From Bathroom Tiles
Step 1. Prepare the Cleaning Solution:
To effectively tackle white stains caused by cleaning product residue, preparing a suitable cleaning solution is essential. Mix equal parts of distilled white vinegar and water in a spray bottle. Distilled white vinegar is a natural and powerful cleaning agent that can help break down mineral buildup and neutralize the alkaline components of cleaning products that contribute to staining. Swirl the bottle gently to ensure the solution is well-mixed. If desired, add a few drops of lemon juice, which acts as an additional natural cleaning agent and leaves a fresh scent. Once your cleaning solution is ready, you can proceed to the next step in the stain-removal process.

Step 2. Apply the Cleaning Solution:
With your cleaning solution prepared, it’s time to apply it to the affected areas. Spray the vinegar and water mixture generously over the white stains on your bathroom tiles. Cover each stained spot thoroughly to ensure the solution effectively breaks down the residue. Let the solution sit for about 10 minutes, allowing the vinegar’s acidity to penetrate and loosen the stubborn deposits, making them easier to scrub away in the following steps. Avoid letting the solution dry thoroughly, which may hinder the cleaning process.
Step 3. Scrub the Stains:
After allowing the cleaning solution to sit for 10 minutes, take a soft scrub brush and gently scrub the stained areas. Use circular motions to loosen the buildup, applying moderate pressure to avoid damaging your tiles. Focus on each spot individually to ensure no residue remains. If needed, reapply the cleaning solution to stubborn stains and continue scrubbing until the tiles look clean and shiny. The vinegar’s acidity, combined with the mechanical action of scrubbing, will help lift the stains, restoring the appearance of your bathroom tiles.
Step 4. Rinse Thoroughly:
Once you have scrubbed away the residue, it’s crucial to rinse the area thoroughly with clean water to remove any remaining vinegar solution and loosened deposits. Take a clean cloth or sponge, dampen it with water, and wipe down the tiles to rinse off the cleaning solution thoroughly. Ensure all residues are removed to prevent any further buildup or streaks. After rinsing, you can use a dry towel to wipe the tiles dry, leaving your bathroom surfaces sparkling and free from white stains.
Step 5. Use Baking Soda for Stubborn Spots:
If you encounter stubborn spots that remain after the initial cleaning, baking soda can be a practical addition to your cleaning arsenal. First, make a paste by mixing equal parts of baking soda and water in a small bowl. Baking soda is a gentle abrasive, helping lift the most challenging stains without scratching the tiles.
Next, apply the paste directly onto the persistent stains and let it sit for about 5 minutes. Using a soft scrub brush, gently scrub the area again, focusing on the tough spots. Combining baking soda’s abrasive properties and the leftover vinegar solution will enhance the cleaning process. Rinse thoroughly with clean water once completed, and dry the tiles with a towel to reveal a pristine, stain-free surface.
Step 6. Use Lemon Juice for Additional Shine:
For an extra shine and to impart a fresh scent, lemon juice can be applied as a final touch to the cleaning process. Squeeze fresh lemon juice onto a clean cloth or sponge and gently apply it to the entire tile surface. The natural acidity of lemon juice helps break down any remaining mineral deposits and leaves the tiles looking vibrant. Allow the lemon juice to sit on the tiles for a few minutes to maximize its effectiveness.
Afterward, wipe down the tiles with a damp sponge to remove any lemon juice residue, and finish by drying them thoroughly with a towel. This step not only enhances the cleanliness and shine of the tiles but also helps prevent future buildup, keeping your bathroom fresh and inviting.
Step 7. Prevent Future Buildup:
Regular maintenance and preventive measures are crucial to maintaining cleanliness and preventing future white stains from forming on your tiles. After every shower or bath, make it a habit to wipe down the tiles with a clean towel or squeegee to remove excess water and soap residue. This simple action minimizes the chances of mineral deposits and soap scum forming on your bathroom surfaces.
Additionally, consider applying a water-repellent spray to the tiles; this forms a protective barrier that reduces water spots and mineral buildup. Follow the manufacturer’s instructions for the best results, and reapply the treatment as necessary to keep your bathroom tiles sparkling clean and free from unsightly stains.
Step 8. Regular Deep Cleaning:
In addition to everyday maintenance, scheduling regular deep cleaning sessions for your bathroom tiles to ensure their long-term cleanliness and appearance is essential. Aim to perform a thorough cleaning at least once a month. Begin by applying your vinegar solution over the entire tile area and allow it to penetrate for about 10 minutes. Follow this by scrubbing with a soft brush and repeating any necessary steps with baking soda or lemon juice.
This comprehensive approach addresses any overlooked residues and maintains the pristine condition of your tiles. Regular deep cleaning not only enhances your bathroom’s hygiene but also prolongs the lifespan of your tiles and prevents stubborn stains from becoming a recurring problem.

Step 9. Final Touches and Inspection:
After completing the deep cleaning steps, thoroughly inspect your bathroom tiles to ensure that all stains and residues have been effectively removed. Pay attention to the grout lines and any corners or edges that may have been missed. If you identify any remaining spots, revisit the necessary steps and address these areas.
Once you are satisfied with the cleanliness of your tiles, consider adding a finishing touch by applying a tile sealant if your tiles are porous. A sealant can provide extra protection against future stains and simplify future cleaning tasks. Follow the instructions on the sealant’s label carefully for optimal results. Finally, step back and admire your sparkling clean bathroom tiles, knowing they are now free from stains and well-maintained for daily use.
Step 10. Monitor and Maintain:
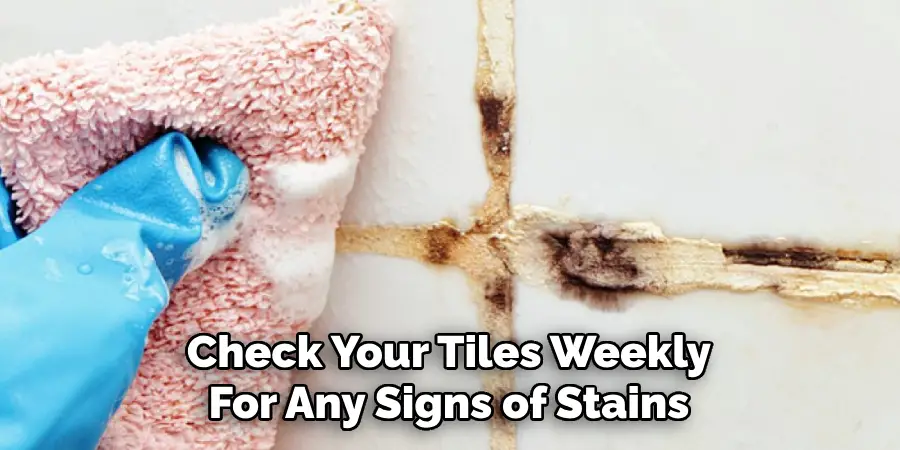
To ensure your bathroom tiles remain pristine, establish a routine for monitoring their cleanliness and performing maintenance as needed. Check your tiles weekly for any signs of stains or mineral buildup. If necessary, address minor issues immediately before they develop into more significant problems. Implementing the preventive measures discussed, such as wiping down tiles after each use and reapplying water-repellent treatments, will help maintain their appearance.
In doing so, you will extend the lifespan of your tiles and keep your bathroom looking fresh and inviting. Consistent monitoring and maintenance provide peace of mind, allowing you to enjoy a clean and comfortable bathroom environment.
By following these steps and incorporating regular maintenance into your cleaning routine, you can effectively remove white stains from your bathroom tiles and prevent them from returning.
Conclusion
How to remove white stains from bathroom tiles can be a straightforward process when you have the right tools and techniques at your disposal.
You can tackle even the most stubborn stains effectively by following a step-by-step approach, starting with readily available ingredients like baking soda, vinegar, and lemon juice. Regular cleaning and maintenance play a crucial role not only in removing existing stains but also in preventing future buildup. Implementing habits like wiping down tiles after use and applying water-repellent sprays can significantly extend the cleanliness and lifespan of your tiles. Consistent monitoring and deep cleaning sessions ensure your tiles remain spotless and hygienic.
With diligence and the right strategies, your bathroom can continue to be a bright, inviting space free from the inconvenience of unsightly white stains.
About
Angela is the chief editor of Indoorense. She began her career as an interior designer before applying her strategic and creative passion to lifestyle and home.
She has close to 15 years of experience in creative writing and online content strategy for housekeeping and cleaning,home decorations as well as other efforts.
She loves her job and has the privilege of working with an extraordinary team. She lives with her husband, two sons, and daughter in Petersburg. When she’s not busy working she spent time with her family.