
Are you looking for a quick and easy way to remove wax from your warmer? Look no further! In this guide, we will discuss the best methods for removing wax from your warmer without damaging the appliance.
How to remove wax from warmer can seem like a daunting task, but with the right approach, it can be effortless and mess-free. Whether you’re changing scents or simply cleaning your warmer, knowing the proper techniques will help maintain the longevity of your warmer and ensure it continues to function effectively. There are several methods available, each suited to different types of wax and warmer designs.
In this guide, we’ll explore these methods step-by-step to help you remove wax from your warmer quickly and efficiently.
What Will You Need?
Before we dive into the different methods, let’s first gather the necessary materials. Depending on the method you choose, you may need:
- Paper towels or cloths
- A plastic bag or small container
- An oven mitt or towel (if using a hot plate warmer)
- Rubbing alcohol
- Cotton swabs
- Goo Gone or any adhesive remover (if applicable)
Once you have these materials ready, let’s move on to the step-by-step processes.
8 Easy Steps on How to Remove Wax From Warmer
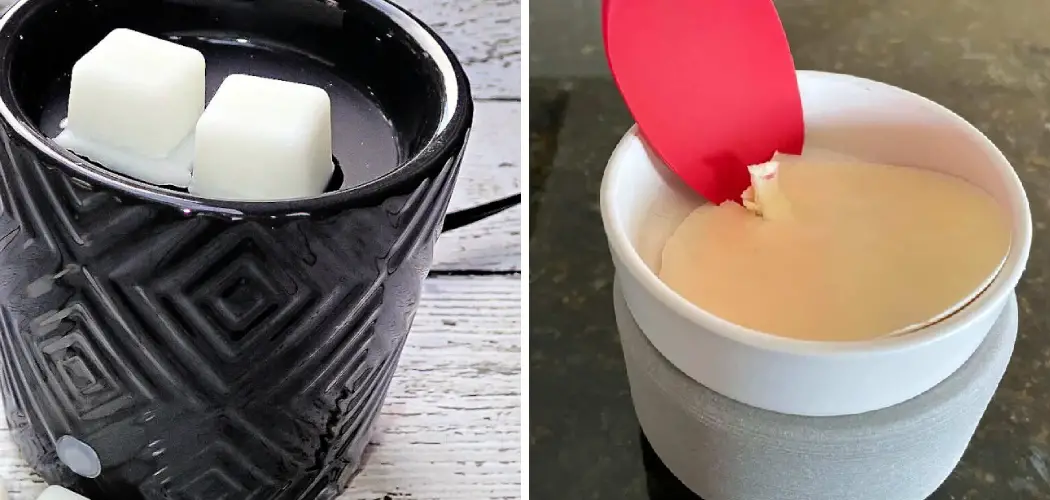
Step 1: The Freezer Method
The freezer method is a popular and straightforward technique for removing wax from your warmer. To use this method, follow these steps:
- Turn off and unplug your warmer: Ensure your warmer is completely cool before proceeding. This will prevent any risk of burns or damage.
- Remove the dish: If your warmer has a removable dish, take it out and place it in your freezer. If the dish is not removable, you may need to put the entire warmer in the freezer, provided it fits and safe to do so.
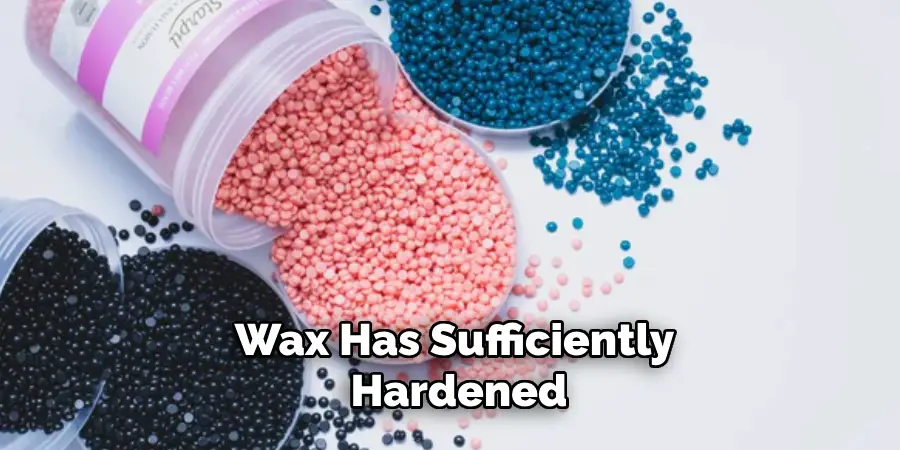
- Wait for 10-20 minutes: Allow the wax to harden inside the freezer. The cold temperature will cause the wax to contract and become brittle, making it easier to remove.
- Remove the wax: After the wax has sufficiently hardened, take the dish or warmer out of the freezer. Carefully use your fingers or a plastic utensil to gently lift the hardened wax out of the dish. It should pop out easily and cleanly.
- Clean any residue: If any residue remains, use a paper towel or cloth to wipe it clean. For stubborn residue, a dab of rubbing alcohol on a cotton swab can be used to remove it effectively.
Using the freezer method is a hassle-free way to remove wax from your warmer, ensuring it is ready for the next use without any mess.
Step 2: The Cotton Ball Method
Another easy and mess-free method for removing wax from your warmer is the cotton ball method. Follow these steps:
- Turn off and unplug your warmer: As with any method, begin by ensuring your warmer is turned off and unplugged to avoid any accidents.
- Place cotton balls in the warmer dish: While the wax is still in a liquid state, place a few cotton balls into the warmer dish. Let the cotton balls soak up the liquid wax. You may need more than one cotton ball depending on the amount of wax in your warmer.
- Remove soaked cotton balls: Once the cotton balls have absorbed most of the wax, use a pair of tongs or your fingers to carefully remove and discard them.
This method is quick, effective, and perfect for those who want to clean their warmer without waiting for the wax to cool and harden.
Step 3: The Hot Plate Method
The hot plate method works well for warmers with a heating plate. Here’s how to do it:
- Turn off and unplug your warmer: Make sure your warmer is completely cool before starting the process.
- Turn the warmer back on: Plug in your warmer again and allow it to heat up just enough to melt the wax. This should take a couple of minutes.
- Pour out the liquid wax: Once the wax has melted into a liquid state, carefully pour it into a disposable container or trash bin. Be cautious not to spill the wax.
- Wipe clean: Use a paper towel or cloth to wipe any remaining liquid wax. For stubborn residues, apply a small amount of rubbing alcohol on a cloth or cotton swab and clean the area.
The hot plate method is perfect for those who need to quickly switch scents without waiting for the wax to firm up.
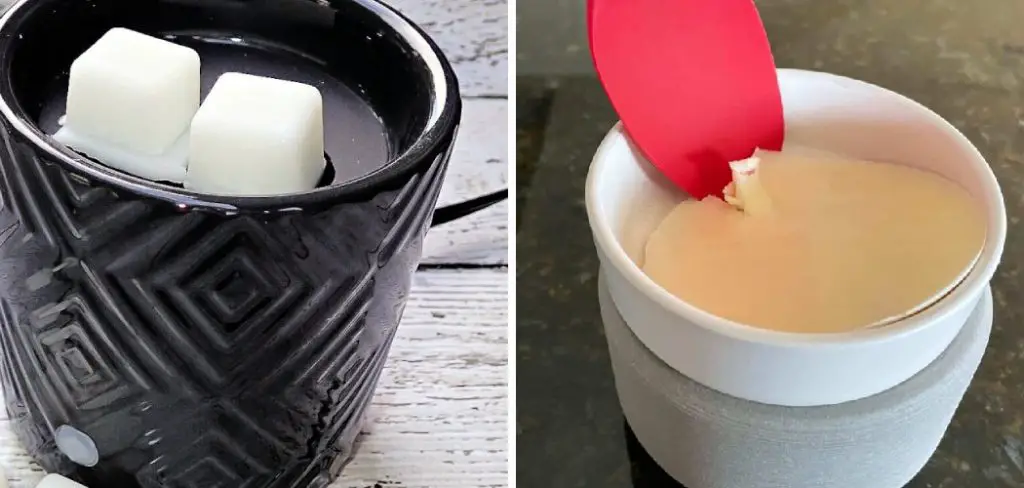
Step 4: The Hair Dryer Method

The hair dryer method is versatile and works with most types of warmers. Here’s how it’s done:
- Turn off and unplug your warmer: Start by making sure your warmer is off and cool.
- Soften the wax with a hair dryer: Turn on your hair dryer to a medium or high heat setting and aim it at the wax in the warmer dish. The heat will soften the wax, making it easier to remove.
- Remove the softened wax: Once the wax has softened, use a paper towel or cloth to wipe it out of the dish. You can also use a plastic spatula to lift it out if necessary.
- Clean any remaining residue: For any leftover wax, use a bit of rubbing alcohol on a cotton swab to clean the dish thoroughly.
The hair dryer method is excellent for those who prefer using household items to maintain their warmer.
Step 5: Use Goo Gone for Stubborn Wax
If you have a stubborn wax residue that won’t come off with the methods mentioned above, try using a specialized adhesive remover like Goo Gone. Follow these steps:
- Turn off and unplug your warmer: Ensure your warmer is completely cool before proceeding.
- Apply Goo Gone on the wax residue: Put some Goo Gone on a paper towel or cloth and gently rub it onto the area with wax residue. Give it a few minutes to work its magic.
Make sure to use Goo Gone in a well-ventilated area and avoid contact with your skin or eyes.
Step 6: The Boiling Water Method
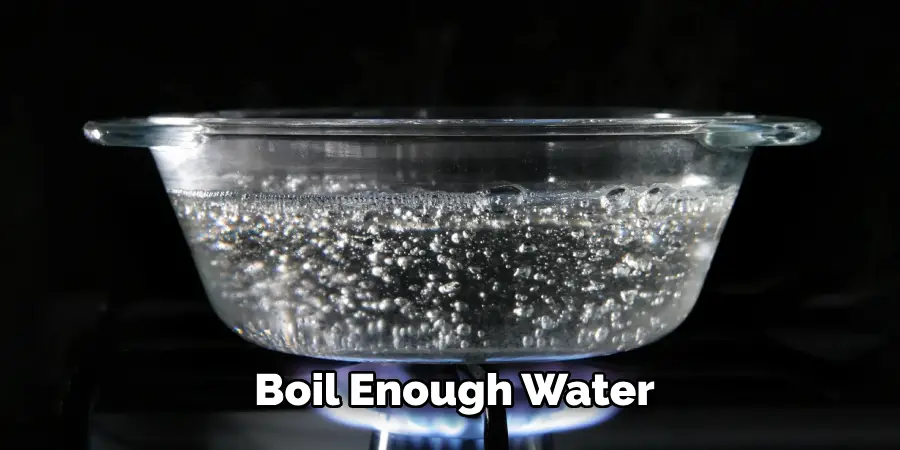
The boiling water method is perfect for cleaning warmers with deep, hard-to-reach crevices like tea light warmers. Here’s how it’s done:
- Turn off and unplug your warmer: Begin by turning off and unplugging your warmer to prevent any accidents.
- Boil water: In a pot or kettle, boil enough water to fill your warmer dish.
- Pour the hot water in your warmer: Carefully pour the boiling water into your warmer dish, making sure not to overfill. The heat will melt and loosen any wax residue inside.
- Remove the softened wax: Once the wax has melted and softened, use a paper towel or cloth to wipe it off. You can also use a toothbrush or Q-tip for hard-to-reach areas.
- Dry and clean: Once all the residue is removed, dry your warmer with a towel and clean any remaining residue with rubbing alcohol if needed.
This method is perfect for deep cleaning warmers that have accumulated a lot of wax buildup over time.
Step 7: The Ice Cube Tray Method
The ice cube tray method is an innovative way to remove wax from your warmer, especially useful for those tiny bits of wax that cling to the sides. Here’s how to do it:
- Turn off and unplug your warmer: Begin by making sure your warmer is turned off and unplugged to avoid any accidents.
- Place the warmer dish in an ice cube tray: Fill the slots around the dish with ice cubes. The cold from the ice cubes will help harden any remaining wax quickly.
- Wait for a few minutes: Allow the dish to sit in the ice cube tray for several minutes until the wax hardens and shrinks slightly.
- Remove the hardened wax: Use your fingers or a plastic utensil to gently lift the hardened wax from the dish. If done correctly, the wax should pop out easily.
- Clean any residue: If there is any residual wax left in the dish, use a paper towel or cloth to wipe it clean. For stubborn residues, a bit of rubbing alcohol on a cotton swab can be very effective.
The ice cube tray method is an excellent and quick solution for efficiently cleaning your warmer, ensuring it remains ready for the next use without any wax buildup.
Step 8: Regular Maintenance Tips
To prevent wax residue buildup and keep your warmer in top condition, here are a few simple maintenance tips to follow:
- Clean your warmer regularly: Make it a habit to clean your warmer after using it. This will prevent any wax buildup and make it easier to clean.
- Use a liner: Consider using a paper or plastic liner in your warmer dish for easy cleanup. This also helps with switching scents quickly without having to wait for the wax to cool completely.
- Trim wicks before use: If you are using a candle warmer, remember to trim the wick down to ¼ inch before lighting it. This will help reduce the amount of soot produced and prevent excess wax from building up.
By following these maintenance tips, you can keep your wax warmer clean and ready for use whenever you want to fill your space with a lovely fragrance.
Conclusion
How to remove wax from warmer can be straightforward and efficient with the right methods.
Whether you prefer using a hot plate, hair dryer, or boiling water, each technique has its benefits, suited for different types of wax residue and warmer designs. Tools like Goo Gone are invaluable for particularly stubborn wax deposits, while innovative methods such as the ice cube tray approach provide quick and convenient solutions. Regular maintenance, including cleaning after each use and using liners, can prevent buildup and ease the wax removal process.
By following these steps, you can ensure your warmer remains in optimal condition, providing a pleasant and fragrant environment every time you use it.
About
Angela is the chief editor of Indoorense. She began her career as an interior designer before applying her strategic and creative passion to lifestyle and home.
She has close to 15 years of experience in creative writing and online content strategy for housekeeping and cleaning,home decorations as well as other efforts.
She loves her job and has the privilege of working with an extraordinary team. She lives with her husband, two sons, and daughter in Petersburg. When she’s not busy working she spent time with her family.