

Are you tired of constantly buying new Brita filters every month? Do you want to save money and reduce waste by prolonging the lifespan of your Brita filter? Removing the top of your Brita filter can help achieve that goal. Here’s a step-by-step guide on how to remove top of Brita filter.
Maintaining your Brita filter is essential for ensuring that you continue to enjoy clean, great-tasting water. One key aspect of maintaining the filter is knowing how to remove the top correctly. Whether you need to replace the filter or perform a deep cleaning, understanding the proper technique is crucial to avoiding damage and ensuring the longevity of your filter system.
This guide will show you how to safely and effectively remove the top of your Brita filter, making maintenance a breeze.
What Will You Need?
Before you begin the process of removing the top of your Brita filter, make sure you have the following items on hand:
- A new Brita filter (if you plan on replacing the old one)
- Warm water
- A clean sponge or cloth
- A sink or basin large enough to submerge the entire filter
Now that you have everything ready let’s get started!
10 Easy Steps on How to Remove Top of Brita Filter
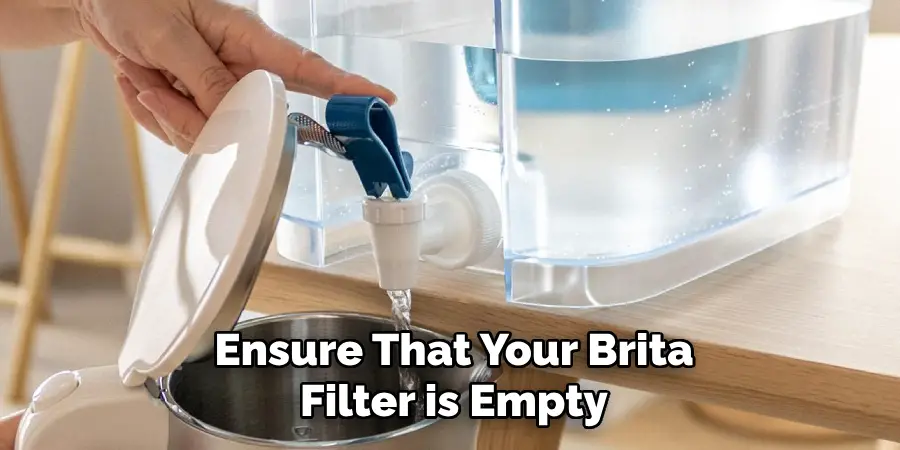
Step 1: Prepare Your Filter for Removal
Before you begin, ensure that your Brita filter is empty and free from water to prevent any spillage during the process. Start by removing the filter from the pitcher or container and placing it on a clean, flat surface. It’s helpful to have a towel or cloth nearby to absorb any excess water that may drip from the filter.
Step 2: Submerge the Filter in Warm Water
Fill a sink or basin with warm water, ensuring that it’s deep enough to fully submerge the Brita filter. Place the filter in the water and let it soak for about 10-15 minutes. This will help to loosen any parts that may be stuck and make the removal process easier. Be careful not to use boiling water, as extreme heat can damage the plastic components of the filter.
Step 3: Gently Wipe the Filter with a Sponge or Cloth
After the filter has soaked, gently wipe it with a clean sponge or cloth to remove any loosened debris or buildup. Be sure to clean all parts of the filter, paying special attention to any seams or crevices where dirt and grime can accumulate. The goal is to ensure that the filter is as clean as possible before proceeding to the next step.
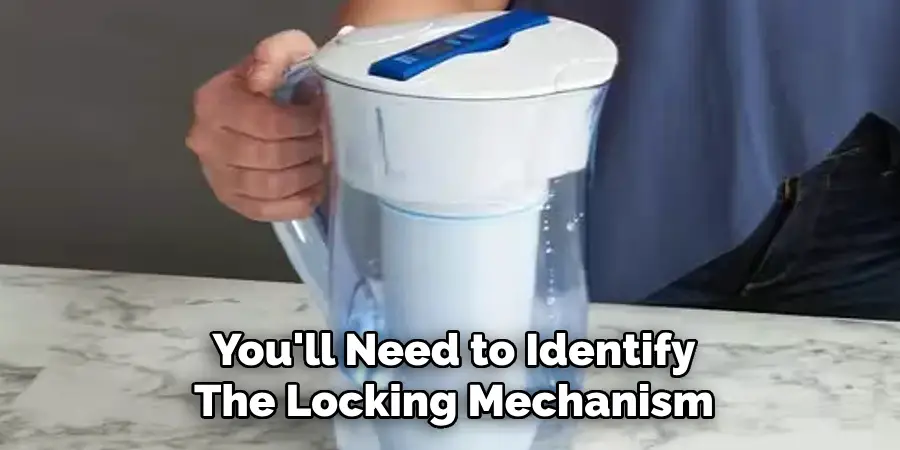
Step 4: Locate the Locking Mechanism
Once the filter has been thoroughly cleaned, you’ll need to identify the locking mechanism that secures the top of the Brita filter in place. This mechanism is typically found at the top or around the neck of the filter, where the lid attaches to the body. Carefully inspect this area to locate any tabs, clips, or screws that might be holding the top in place.
Step 5: Release the Locking Mechanism
With the locking mechanism identified, it’s time to release it. If your filter uses tabs or clips, gently press or slide them to unlock the top. For filters with screws, use a small screwdriver to remove them. Take care to work slowly and avoid applying excessive force, as the plastic components can be delicate and prone to breaking. If you encounter any resistance, double-check to ensure that all locking elements have been properly disengaged before proceeding.
Step 6: Lift Off the Top
Once the locking mechanism has been released, the top of the Brita filter should be free to remove. Gently lift the top off, wiggling it slightly if necessary to ease it off. If you’re struggling to remove the top, recheck that all locks are disengaged, and consider soaking the filter in warm water again to loosen any stubborn parts further.
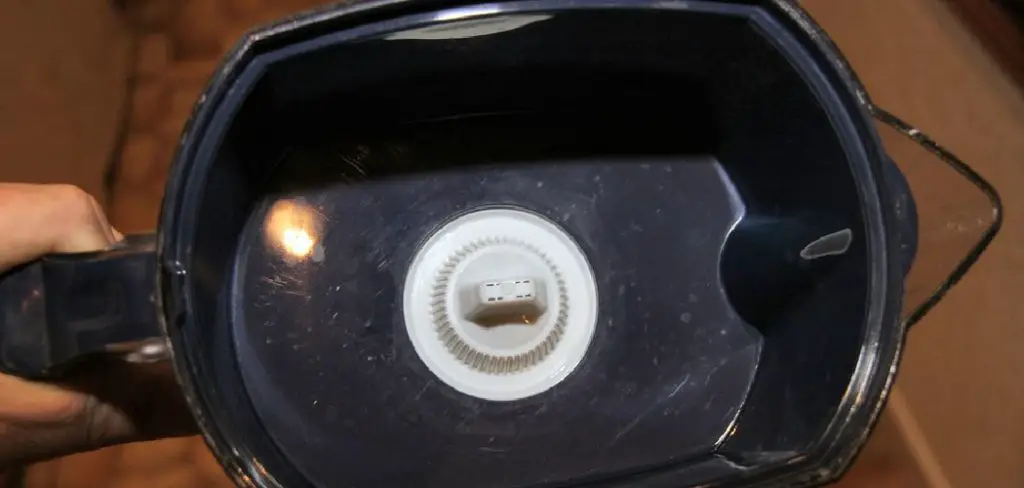
Step 7: Inspect the Interior Components
With the top removed, inspect the interior components of your Brita filter. Look for any signs of wear, damage, or buildup that may affect the filter’s performance. This is also a good opportunity to replace any parts that may be worn out or degraded. Ensuring all components are in good condition is essential for maintaining optimal water filtration.
Step 8: Clean the Interior Components
Using warm water and a clean sponge or cloth, gently clean the interior components of the filter. Make sure to remove any debris, sediment, or buildup that may have accumulated. You might use a soft brush for stubborn grime, but be careful not to scratch any plastic parts. Rinse everything thoroughly afterward to remove any residue.
Step 9: Dry the Components
After cleaning, allow all parts of the Brita filter to air dry completely. This step is crucial to prevent mold or bacterial growth, which can occur if components are reassembled while damp. Place the parts on a clean, dry towel and leave them in a well-ventilated area until thoroughly dry.
Step 10: Reassemble the Filter
Once all components are dry, carefully reassemble the Brita filter. Begin by placing the interior components back in their respective positions, ensuring each part fits snugly and correctly. Next, reattach the top by aligning it properly with the body of the filter and securing it with the locking mechanism. If your filter has screws, tighten them gently to avoid stripping the threads. Finally, check quickly to confirm that everything is assembled correctly and securely before placing the filter back into the pitcher or container.
Following these steps will ensure a smooth removal and reassembly process and help extend the life of your Brita filter, providing you with clean, great-tasting water for longer periods.

5 Additional Tips and Tricks
- Read the Manual: Start by reading the user manual with your Brita filter. It often contains specific instructions that can make the process easier and prevent any accidental damage.
- Use Gentle Pressure: When attempting to remove the top, use gentle, even pressure. Avoid using excessive force as it might break the plastic components.
- Warm Water Soak: If the top is difficult to remove, try soaking the filter in warm (but not hot) water for a few minutes. This can help to loosen any built-up residue.
- Rotate Slowly: As you twist the top off, do it slowly and steadily. Rapid movements might cause the top to get stuck or damage the threading.
- Use a Rubber Grip: If your hands slip, a rubber jar opener can provide the extra grip needed to turn the top without much effort. This can be particularly helpful if the top has become slick with water or residue.
With these additional tips and tricks, you can ensure that your Brita filter remains in good condition and continues to provide you with clean, filtered water.
5 Things You Should Avoid
- Using Extreme Force: Excessive force can damage the filter’s plastic components and make it impossible to reattach the top properly.
- Using Metal Tools: Avoid using metal tools, such as pliers, as they can crack or scratch the plastic, leading to leaks.
- Ignoring Residue: Trying to force off the top without addressing built-up residue can make the process harder and more frustrating.
- Overheating: Soaking the filter in water that is too hot can warp or damage the plastic components.
- Twisting Incorrectly: Twisting the top in the wrong direction or at an angle can strip the threading, making it difficult to reattach the top securely.
By avoiding these common mistakes, you can ensure that your Brita filter remains in good condition and continues to effectively remove impurities from your water.

What are the Signs that Your Brita Filter Needs Replacing?
The lifespan of a Brita filter depends on your usage and water quality, but here are some signs to look out for:
- The water takes longer to filter through the cartridge.
- The filtered water has an unusual taste or odor.
- There is visible residue or discoloration in the filtered water.
- The filter has reached its recommended replacement date (usually around 40 gallons or every 2 months).
- The filter housing is cracked, damaged, or warped.
If you notice any of these signs, it may be time to replace your filter. Changing your filter every 40 gallons or about every two months is recommended. However, if you use your filter heavily or have inferior water quality, you may need to replace it more frequently.
Conclusion
How to remove top of Brita filter may seem challenging at first, but by following a few simple steps and taking some precautions, you can make the process easier and more effective. Start by thoroughly reading the user manual to understand the specific instructions for your model.
Use gentle pressure and consider employing a rubber grip to facilitate the removal without damaging the plastic components. If the top is particularly stubborn, a warm water soak can help loosen any residue, while slowly rotating the top ensures the threading remains intact.
By avoiding common pitfalls such as using excessive force or metal tools, you can maintain the integrity of your Brita filter and ensure it continues to provide clean, filtered water for your needs. Employing these best practices will help prolong the life of your filter and maintain its efficiency.
About
Angela is the chief editor of Indoorense. She began her career as an interior designer before applying her strategic and creative passion to lifestyle and home.
She has close to 15 years of experience in creative writing and online content strategy for housekeeping and cleaning,home decorations as well as other efforts.
She loves her job and has the privilege of working with an extraordinary team. She lives with her husband, two sons, and daughter in Petersburg. When she’s not busy working she spent time with her family.