
Sliding patio doors are popular in many homes due to their elegant design and ability to seamlessly merge indoor and outdoor spaces. They provide easy patio access and enhance natural light without consuming much space. However, there are several reasons why one may need to remove these doors, such as replacing old models with more energy-efficient options, conducting repairs, or undergoing home renovations.

The process of removing sliding patio doors requires precision and care to prevent damage to the doors and the surrounding framework. This article aims to offer a comprehensive, step-by-step guide on how to remove sliding patio doors safely and effectively, ensuring a smooth transition whether you’re installing new doors or simply exploring a new layout. By following these detailed instructions, you can manage the removal process confidently while maintaining the integrity of your home’s structure.
Gather Your Tools and Materials
1. Required Tools
Before starting the removal process, ensure you have all the necessary tools at hand to perform the task safely and efficiently. The tools you will need include:
- Screwdriver (Flathead and Phillips): Essential for removing screws from the door tracks and frame.
- Pliers: Useful for gripping and pulling nails or small pins.
- Hammer: Necessary for loosening tight frames or gently tapping components into place.
- Pry Bar or Crowbar: Ideal for prying away stubborn frames without damaging the surrounding wall.
- Utility Knife: Handy for cutting through any caulk or sealant along the doors.
- Tape Measure: Important for measuring and ensuring precise dismantling.
- Level: To check the evenness of the area and ensure perfect alignment during reinstallation.
2. Safety Gear
Prioritizing safety is crucial when undertaking the removal of sliding patio doors. Equip yourself with the following gear:
- Safety Goggles: Protect your eyes from flying debris and dust.
- Gloves: Prevent cuts and injuries when handling glass panels or metal components.
Above all, ensure your working environment is clear of obstacles and well-organized to minimize hazards and complications.
Prepare the Area
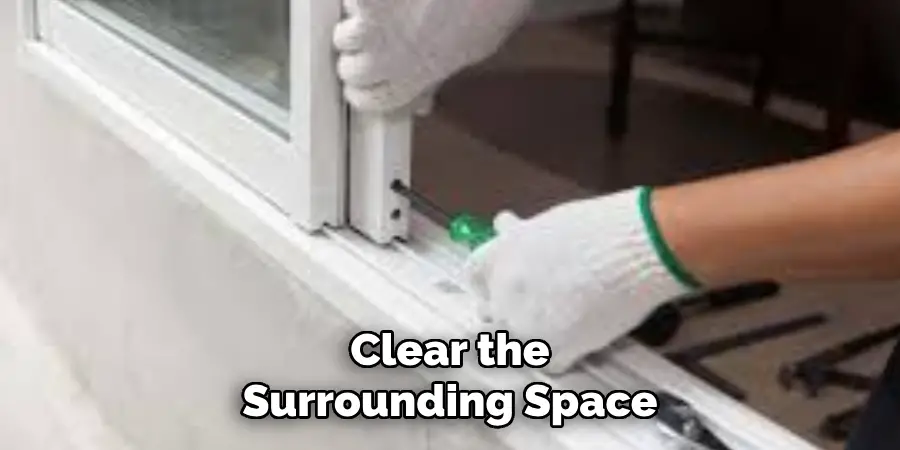
1. Clear the Surrounding Space
Before beginning the removal process, it’s essential to clear the area around the sliding patio doors thoroughly. Remove any nearby furniture, decorative items, or obstacles to ensure a spacious and safe working environment. This minimizes the risk of accidents and provides adequate room to maneuver the doors as they are being detached. Additionally, ensure that the area is well-lit, either with natural light or sufficient artificial lighting, to facilitate a clear view of all working components and potential hazards.
2. Check the Door Mechanism
Understanding how your sliding doors operate is crucial for successful removal. Examine whether the doors use a single or double-track system, as this will affect the removal method. Familiarize yourself with the mechanisms, such as whether the doors slide on rollers or glide along tracks, which will inform how they should be lifted out. Knowing how your doors function ensures you approach the task with the right technique and tools, streamlining the removal process.
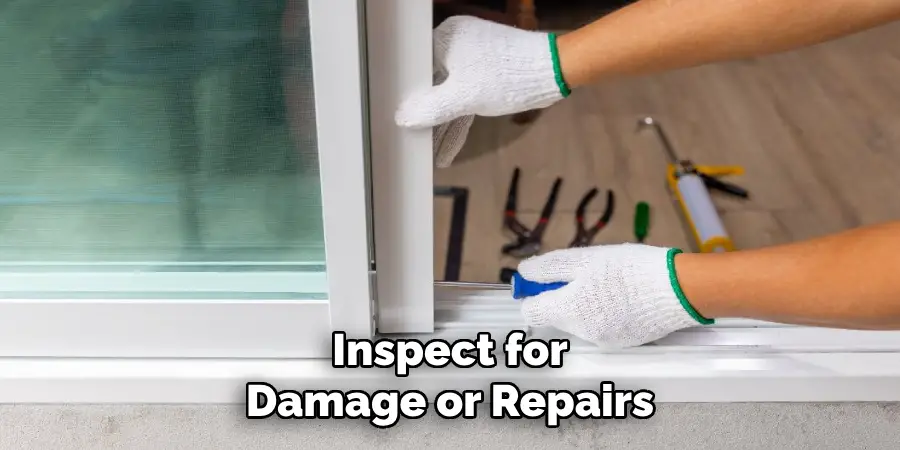
3. Inspect for Damage or Repairs
Before proceeding, inspect the doors and their frames for any existing damage or alterations. Look for cracks, broken rollers, or bent tracks that could complicate the removal. Assess the frame’s condition and track it to determine if repairs are needed, which will help avoid potential issues during the dismantling process and guide smooth reinstallation later.
Remove the Screen Door (if applicable)
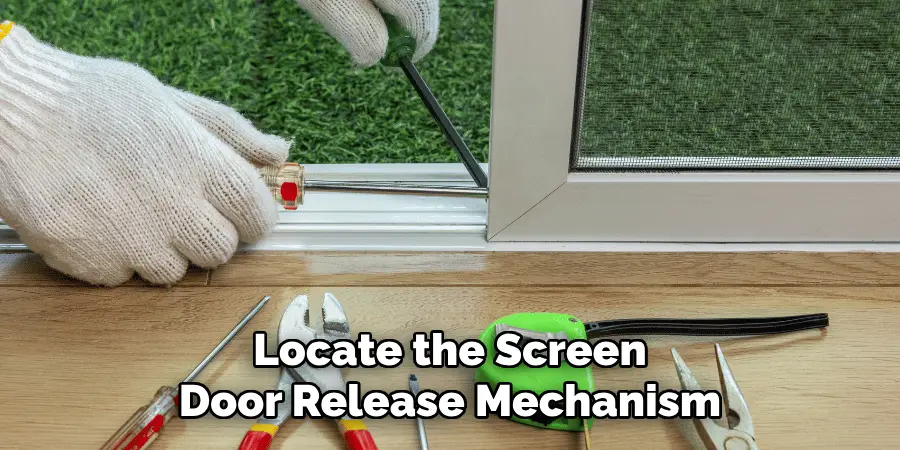
1. Locate the Screen Door Release Mechanism
Start by identifying the screen door’s release mechanism, usually found at the top or bottom of the frame. Look for clips or tabs that secure the door in place. In many models, these release components can be gently pressed or flipped to disengage the door from its track. If available, familiarize yourself with the specific mechanism of your door by consulting the manufacturer’s instructions.
2. Detach the Screen Door
To safely remove the screen door, begin by positioning yourself to one side while maintaining a firm hold on the frame. Carefully press or adjust the release clips or tabs as needed. Once unlatched, gently lift the door upwards to clear the bottom track. Gradually tilt the top of the door toward you, allowing the rollers to come free from the upper guide. Be cautious not to apply excessive force to prevent damage to the delicate frame or screen material.
How to Remove Sliding Patio Doors: Remove the Sliding Door Panels
1. Open the Doors Fully
To remove the sliding door panels, slide them open to their maximum position. This provides easy access to both the top and bottom tracks, allowing you to approach the remaining steps conveniently and efficiently. Ensure the doors are as far open as possible to create ample space for handling each panel securely.
2. Detach the Top Track (if necessary)
In some cases, removing additional hardware securing the top track may be necessary. Carefully inspect the top track for any screws or brackets holding it in place. Use a screwdriver to unscrew these fastenings, ensuring there is no remaining attachment. Verifying the track is completely free of its fixings is crucial before attempting to lift the door panels, as lingering attachments can cause damage or make them challenging to remove.
3. Lift and Tilt the Door Panels
Once the tracks are accessible, it’s time to lift the door panels. Begin by firmly grasping either end of the door panel and lifting it gently upwards to disengage the bottom rollers from the track. Slightly tilt the door towards you, which should help free it from the top track. Lifting and tilting should be done gradually to prevent any forceful movements that might damage the doors or surrounding framework. If the sliding door panels are particularly heavy or oversized, enlist the help of another person to ensure a safer and more controlled operation, reducing the risk of injury or damage.
4. Remove the Bottom Track (if needed)
If the bottom track is slated for removal or creates an obstruction, proceed by unscrewing it cautiously. Examine any fastening screws along the lengths of the track and use a screwdriver or drill to remove them. After the screws are removed, carefully lift the track free from the frame. Evaluate the framework to decide if any additional support or reinforcement is needed during this stage to maintain the structure’s integrity before proceeding with any replacement or renovation efforts.
How to Remove Sliding Patio Doors: Remove the Door Frame (if applicable)
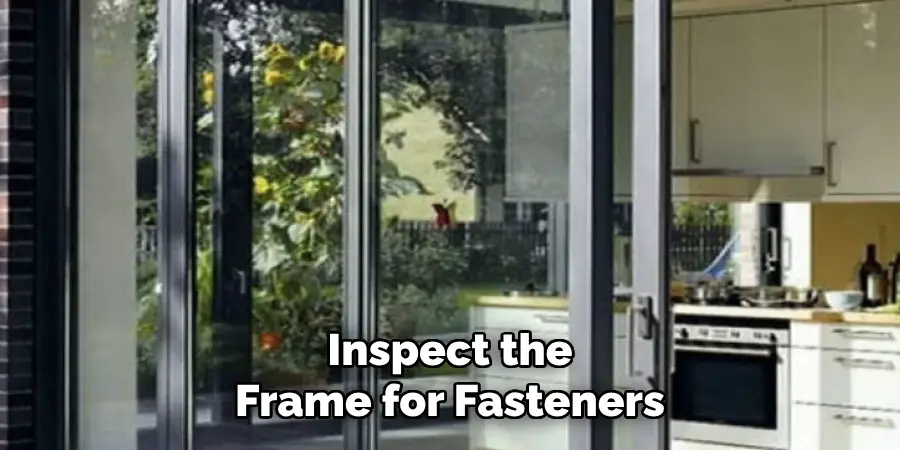
1. Inspect the Frame for Fasteners
Begin by carefully examining the door frame to identify any fasteners, such as screws or nails, that attach it to the surrounding wall or structure. Pay close attention to the corners and the area where the frame meets the wall. This thorough inspection will help you determine how the frame is secured and what tools you’ll need to remove it safely.
2. Detach the Frame
Once you’ve identified the fasteners, it’s time to remove the frame. Use a screwdriver to unscrew any visible screws, ensuring each one is fully detached. For nails or other fasteners, employ a pry bar or crowbar. Insert the pry bar gently between the frame and the wall, applying slow and steady pressure. This careful approach minimizes the risk of damaging the surrounding wall or floor. Work your way around the frame, detaching it gradually and ensuring no sections are still fastened to the structure.
3. Clean Up Any Residual Caulk or Sealant
With the frame removed, your next step is to clean any remaining caulk or sealant along the edges of the frame. Use a utility knife to carefully cut away any old caulk, ensuring a smooth and clear surface. Be meticulous in this process to prepare the area for potential new installations. Cleaning thoroughly prevents complications during any future work and allows for a seamless assembly or renovation as needed.
Safety and Cleanup
1. Inspect the Area for Damage
After doors and frames are removed, it is essential to inspect the surrounding area meticulously for any signs of damage or repairs needed. Check for potential issues such as scratches, dents, or cracked plaster that may have occurred during the removal process. Identifying these problems early ensures they can be addressed promptly, preventing further damage or complications and allowing for a clean slate if new installations are planned.
2. Properly Dispose of Old Materials
Disposing of old sliding doors and frames must be done responsibly to minimize environmental impact. Consider recycling options for glass, metal, or wood components when possible. It’s advisable to consult your local waste management authority to understand specific regulations regarding the disposal of large items, as many areas have designated recycling centers or pickup services for construction materials. Adhering to these guidelines ensures compliance and supports sustainability efforts.
3. Clean the Work Area
Ensuring a clean and secure work area is vital for safety and readiness for future tasks. Begin by gathering and properly storing tools, then clear any debris or dust using a broom or vacuum. Sweep the entire area thoroughly to remove potential hazards such as sharp objects or fragments. Taking the time to clean up effectively prevents accidents and maintains a tidy space, enhancing both safety and efficiency in subsequent projects.
Conclusion
Removing sliding patio doors involves a careful sequence of steps to ensure the safety and preservation of the surrounding structure. Begin by opening the doors to access the tracks, detaching any necessary hardware, and lifting the panels precisely. If required, remove tracks and frames, ensuring all fasteners and residual caulks are properly handled. It’s crucial to employ proper techniques and exercise meticulous handling to prevent damage. For those unsure of “how to remove sliding patio doors,” it’s advisable to consult professionals, especially for complex tasks or when new installations are planned, ensuring a smooth and successful process.
About
Angela is the chief editor of Indoorense. She began her career as an interior designer before applying her strategic and creative passion to lifestyle and home.
She has close to 15 years of experience in creative writing and online content strategy for housekeeping and cleaning,home decorations as well as other efforts.
She loves her job and has the privilege of working with an extraordinary team. She lives with her husband, two sons, and daughter in Petersburg. When she’s not busy working she spent time with her family.