
Sand in your washing machine can be a bothersome and unexpected problem, especially if you live in a beachside area or frequently enjoy outdoor activities. It can lead to gritty residue on your clothes, damage to the machine, and even plumbing issues if left unaddressed.

If you’re struggling with this issue, you’re not alone, and there are effective ways to rid your washing machine of sand and prevent its recurrence. In this article, we’ll explore how to remove sand from washing machine, whether it’s simply a minor inconvenience or a recurring problem.
These methods range from basic cleaning steps to preventative measures that can help keep your washing machine sand-free, ensuring your laundry remains clean and your appliance operates smoothly. Whether you’re dealing with beach sand, garden soil, or other forms of grit, these solutions will help you maintain the cleanliness and functionality of your washing machine.
The Common Issue of Sand in Washing Machines
Sand is a natural element that can be found in many parts of the world, especially in coastal areas. It’s not uncommon for sand to make its way into our homes and appliances, including washing machines.

While having sand on our clothes after a day at the beach may seem harmless, it can actually cause damage to our washing machines if left untreated. In this article, we’ll discuss why sand can be a problem in washing machines and how to effectively remove it.
Why Sand Can Cause Issues
Sand is made up of small particles that can easily get trapped in the crevices of our clothes. When these clothes are put into the washing machine, the sand can be dispersed and end up clogging the drain or filter. This can lead to drainage issues and can even cause damage to the machine’s internal components.
If left untreated, the sand can also build up in the drum of the washing machine, leading to an unbalanced load and potentially causing it to malfunction. This not only affects the performance of the machine but can also result in costly repairs or replacements.
10 Methods How to Remove Sand from Washing Machine
1. Wipe Down the Drum
The first step in removing sand from a washing machine is to wipe down the drum. This can be done with a damp cloth or sponge and some mild detergent. Make sure to get into all of the nooks and crannies of the drum, as this will help to remove any residual sand particles that may have been left behind. Additionally, it’s important to make sure that you don’t leave any detergent residue in the drum as this could cause problems with future loads of laundry.
2. Clean Out the Detergent Dispenser
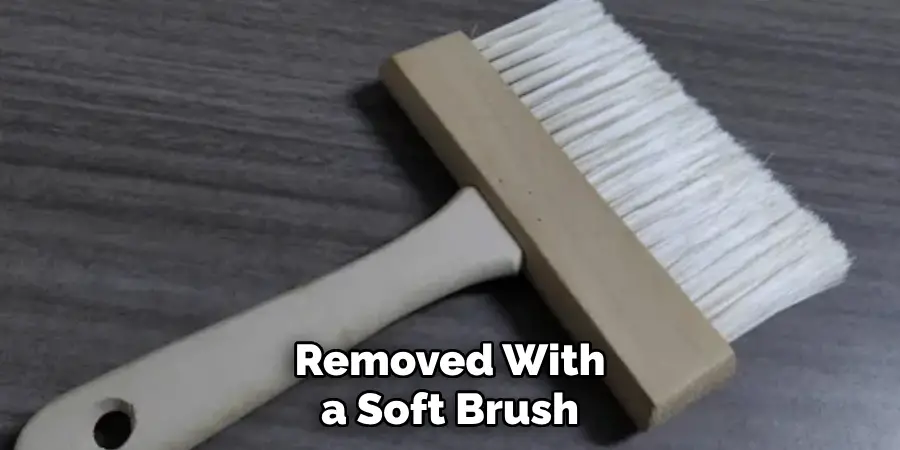
The next step in removing sand from a washing machine is to clean out the detergent dispenser. If there is any sand or dirt stuck in the dispenser, it should be removed with a soft brush or cloth. It’s important to make sure that all of the dirt and sand is removed before putting in new detergent, as this will help ensure that your laundry comes out clean and free from sand particles.
3. Check for Blockages
Another way to remove sand from a washing machine is to check for blockages in the drainage system. If there are any blockages, these should be cleared out using a plunger or other appropriate tool. Additionally, if there are any kinks or bends in the hoses leading away from the machine, these should also be checked and straightened if necessary.
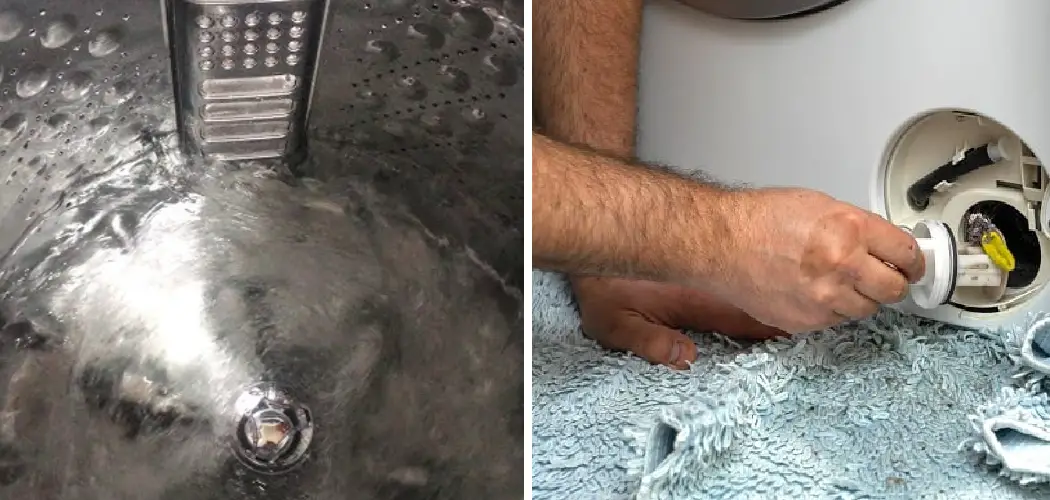
4. Empty Out Any Accumulated Water
If there has been water accumulating inside your washing machine due to an issue with drainage, this should be emptied out before attempting further repairs or maintenance on your machine. This can easily be done by unplugging your appliance and tipping it slightly so that all of the water runs out into a bucket or drain below it.
5. Run an Empty Cycle With Hot Water
Once all of the accumulated water has been emptied out of your washing machine, you should then run an empty cycle with hot water and some detergent-free cleaning solution, such as white vinegar or baking soda mixed with hot water. This will help to flush out any remaining residue inside your appliance which may have been causing issues with drainage and preventing your laundry from coming out clean and free from sand particles.
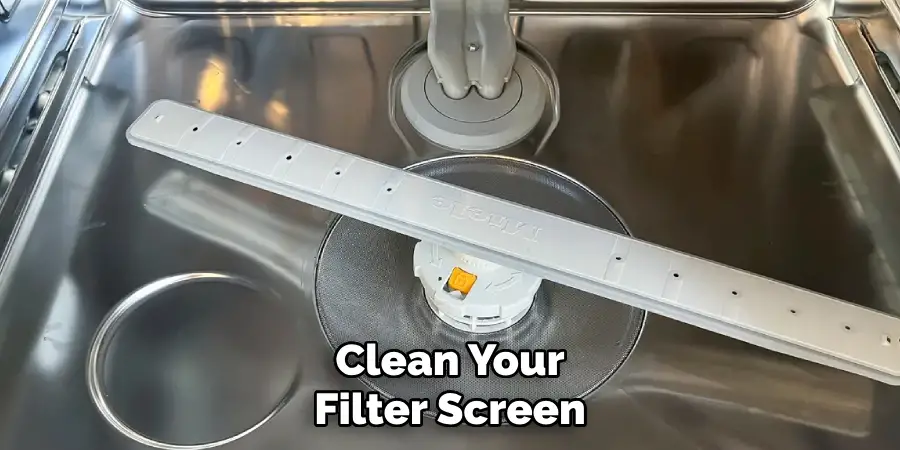
6. Clean Filter Screen
It’s also important to check and clean your filter screen periodically as this can become clogged up over time due to lint buildup or other debris getting caught up inside it during regular use of your appliance. To do this, simply unscrew the filter screen cover located at either side of your washing machine door and use a vacuum cleaner attachment (or similar tool) to remove any lint or debris stuck inside it before replacing its cover back on securely once again afterward.
7. Use Magnets
If you find that you are still having issues with sand getting into your laundry after taking all of these steps, then you may want to consider using magnets inside your appliance as an additional measure against this problem occurring again in future loads of laundry.
Magnets can be placed strategically around areas where sand may likely accumulate, such as near drains or filter screens etc., which helps trap small grains of sand before they enter into other parts of your appliance where they could potentially cause damage over time if left unchecked..
8. Clean Drain Hose Regularly
It’s also important not to forget about cleaning out your drain hose regularly too; especially if you live near beaches or areas where fine grains of sand are often found outside.. Sand can easily get trapped inside drain hoses over time due to their narrow openings, which makes them difficult for regular vacuuming tools like those used for cleaning filter screens previously mentioned above.
To avoid this issue occurring again in future cycles, though, just remember that when running an empty cycle through every now & then, add some hot water mixed with white vinegar/baking soda into it, too, which helps break down & flush away any built-up residue stuck inside more effectively than just plain hot water alone would do otherwise..
9. Use A Vacuum Cleaner Attachment
Using a vacuum cleaner attachment is another effective way for removing stubborn bits & pieces of trapped-in-sand from hard-to-reach places within washing machines, like crevices between moving parts etc., which regular brushes/sponges cannot reach themselves easily without risking damaging delicate components within them instead unintentionally while doing so..

Simply attach one end onto vacuum cleaner handle & insert another end carefully into tight spaces within appliances such as those found between drums/pumps, etc., while slowly moving around until all visible traces have been sucked up completely before detaching afterward safely once done successfully..
10. Replace Seals/Gaskets Regularly
Lastly, it’s important to replace the seals and gaskets on your washing machine regularly. Over time, these can become worn or damaged, allowing sand particles to seep into areas where they shouldn’t be. By replacing these components, you can help prevent sand from causing further damage to your appliance and ensure that it continues to function properly for years to come.
Things to Consider When Removing Sand from Washing Machine
When living near the beach, it’s inevitable that some sand will end up in your washing machine. While this may not seem like a major issue, sand can actually cause damage to your machine and result in costly repairs. To avoid this, it’s important to know how to properly remove sand from your washing machine.
Here are some things to consider when removing sand from your washing machine:
Check for any visible sand
The first step in removing sand from your washing machine is to check for any visible piles of sand inside the drum or around the edges. If you see any, use a vacuum cleaner with a hose attachment to suck up as much sand as possible.
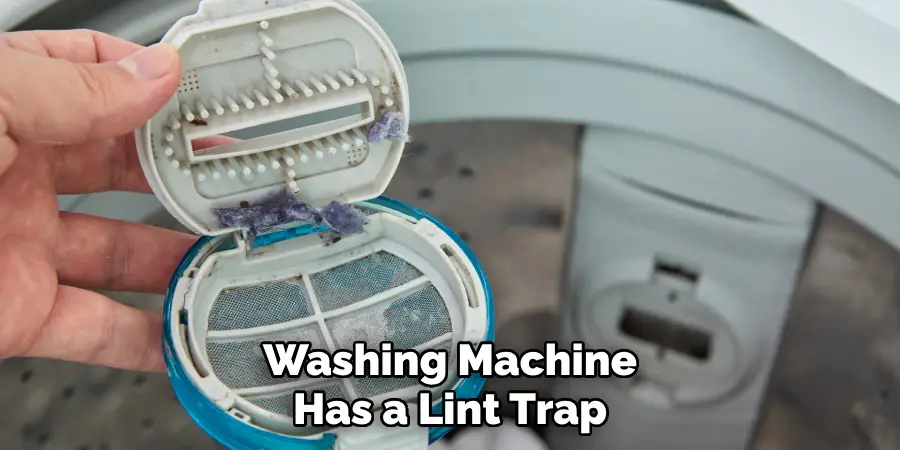
Use a lint trap
If your washing machine has a lint trap, be sure to empty it regularly. Sand can easily get caught in the lint trap and cause clogs.
Rinse off sandy items before washing
Before adding any sandy items to your washing machine, be sure to rinse them off outside or in a sink. This will help prevent excess sand from entering your machine.
Run a cleaning cycle
To remove any remaining sand and residue, run a cleaning cycle with hot water and vinegar. This will help dissolve any sand particles left in the machine.
Common Mistakes to Avoid with a Sand-Washing Machine
Overloading the Machine
One of the most common mistakes with a sand-washing machine is overloading it with too many clothes or towels. This can put strain on the motor and cause it to malfunction, leading to costly repairs or replacements. It is important to follow the manufacturer’s guidelines for weight capacity and not exceed it.
Not Cleaning the Lint Trap
Just like a dryer, sand-washing machines have a lint trap that needs to be cleaned regularly. This helps to prevent build-up and blockages which can affect the machine’s performance. Make sure to clean the lint trap after each use, especially if you are washing items with a lot of loose fibers.
Using Too Much Detergent
Using too much detergent can cause excess suds and water to build up in the machine, leading to a musty smell and potentially damaging the machine’s components. It is important to use the recommended amount of detergent for each load.
Conclusion
All in all, taking the right steps to remove sand from a washing machine is not difficult but it does require some care and attention. You should also remember to clean your washing machine’s filter regularly to help prevent the build-up of lint and potentially avoid a costly repair bill. If your washing machine does become clogged with sand, follow these steps – unplug the machine, check for any damage, drain all of the water, then remove the sand using a vacuum cleaner or sieve.
With some patience and proper cleaning techniques, you can keep your washing machine running effectively and ensure that it will last for many years to come. Do what’s needed now to protect your investment and make sure you take lessons on how to remove sand from washing machine so you’re prepared next time.
About
Angela is the chief editor of Indoorense. She began her career as an interior designer before applying her strategic and creative passion to lifestyle and home.
She has close to 15 years of experience in creative writing and online content strategy for housekeeping and cleaning,home decorations as well as other efforts.
She loves her job and has the privilege of working with an extraordinary team. She lives with her husband, two sons, and daughter in Petersburg. When she’s not busy working she spent time with her family.