
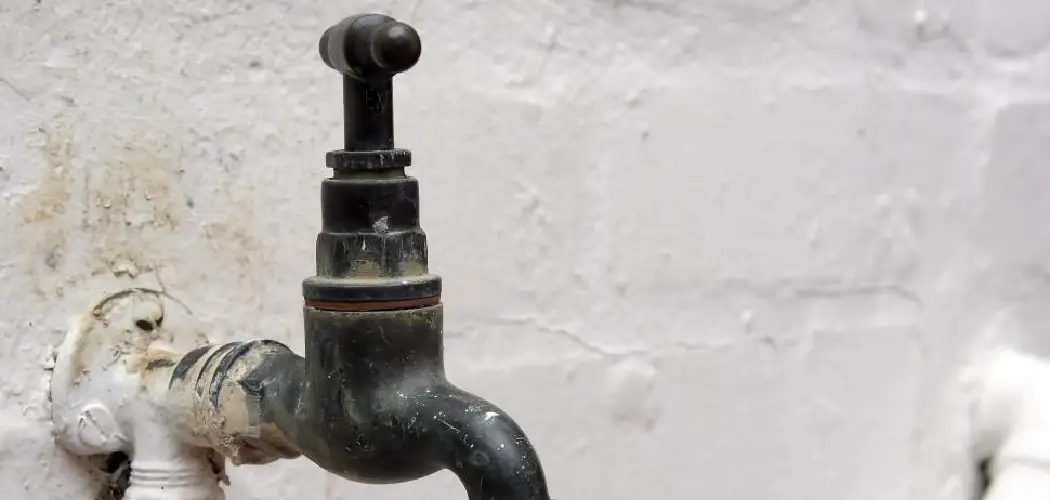
Are you tired of the stubborn limescale buildup on your black taps? Limescale, or calcium carbonate, can leave a white, chalky residue on your taps, making them look unsightly and difficult to clean.
Limescale is a common issue that can affect the aesthetic and functionality of black taps in your kitchen or bathroom. It forms when hard water evaporates and leaves minerals like calcium and magnesium behind, resulting in unsightly white, chalky deposits. These stubborn deposits detract from the sleek appearance of black taps and can also affect water flow if left untreated. Fortunately, there are effective methods to tackle limescale without damaging the finish of your taps.
This guide on how to remove limescale on black taps, will walk you through some simple yet efficient techniques to keep your black taps looking pristine and functioning perfectly.
What Will You Need?
Before starting the limescale removal process, make sure you have the following items at hand:
- White vinegar or lemon juice
- Baking soda
- Soft cloth or sponge
- Old toothbrush
- Microfiber cloth
Once you have everything ready, let’s remove limescale from your black taps.
10 Easy Steps on How to Remove Limescale on Black Taps
Step 1. Prepare the Cleaning Mixture:
Mix equal parts of white vinegar or lemon juice in a small bowl with a few tablespoons of baking soda to create a paste. The mixture may fizz initially, but this reaction will subside, forming a foamy, abrasive paste. White vinegar and lemon juice are natural acids that break down mineral deposits, while baking soda is a mild abrasive that scrubs away limescale. This cleaning mixture is effective, safe for the environment, and gentle on your taps.

Step 2. Apply the Cleaning Mixture:
Using a soft cloth or sponge, take some of the prepared paste and gently apply it to the limescale-affected areas of the black tap. Covering all the spots with visible limescale deposits is crucial for the solution to work effectively. Be careful not to rub too harshly to avoid scratching the surface of the tap. The gentle abrasiveness of the baking soda, combined with the dissolving power of the vinegar or lemon juice, will start breaking down the mineral buildup. Allow the paste to sit on the surface for about 15 to 20 minutes. This resting time gives the cleaning agents ample opportunity to work on dissolving the stubborn limescale deposits.
Step 3. Scrub the Affected Areas:
After allowing the cleaning mixture to sit, take the old toothbrush and gently scrub the limescale-affected areas. Focus on areas with the heaviest deposits, using small circular motions to effectively lift and remove the limescale. The toothbrush’s bristles enable you to reach crevices and hard-to-reach spots where limescale tends to accumulate. Be sure to scrub with care, ensuring you do not damage the surface of the tap while removing the buildup. If necessary, apply more of the cleaning mixture to particularly stubborn areas and continue scrubbing as needed.
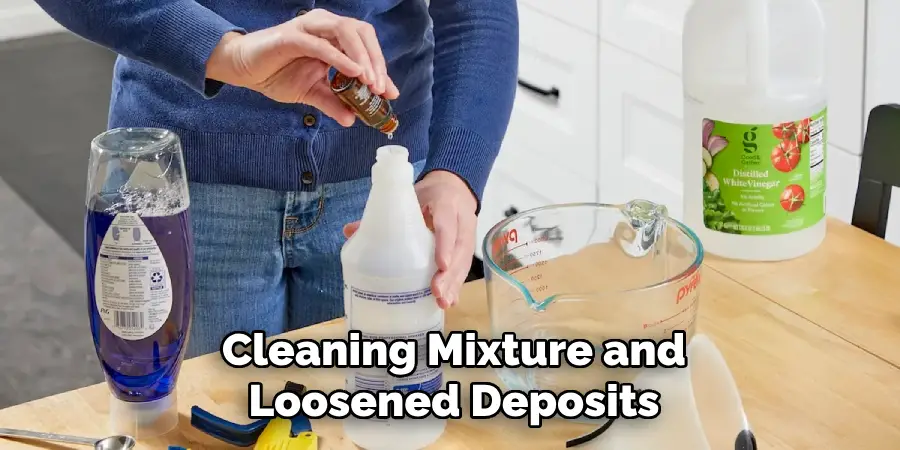
Step 4. Rinse the Tap:
Once thoroughly scrubbing the limescale, rinse the tap with warm water to wash away the cleaning mixture and loosened deposits. Remove all traces of the paste so that no residue is left behind. Rinsing is crucial because any remaining cleaning solution can leave streaks or continue to react with the tap surface. Use your hands to gently guide the water flow over the tap, ensuring a thorough rinse. If your kitchen or bathroom setup allows, detach the tap for a more immersive rinse under the faucet. Taking the time to rid the area of any remaining residue will prevent further accumulation and aid in maintaining the pristine condition of your black taps.
Step 5. Dry the Tap:
After rinsing, use a microfiber cloth to dry the tap carefully. Wipe the tap gently, ensuring that the entire surface is rid of moisture. This step prevents water spots from forming and adds a polished shine to your taps. A microfiber cloth is effective because it absorbs water efficiently and doesn’t leave any lint or scratches behind. Pay attention to seams and edges, which can sometimes retain moisture, leading to future limescale buildup. Drying your taps thoroughly is a critical step in maintaining their sleek, black finish and ensuring long-lasting cleanliness.
Step 6. Inspect for Remaining Limescale:
Inspect it closely once you have dried the tap to ensure all limescale has been removed. Look for any remaining white chalky residue, especially around tight corners, seams, and the base of the tap, where deposits are often more complicated to notice. Use bright light or touch the surface to feel for rough patches indicating residual limescale. If you find lingering spots, reapply a small amount of the cleaning mixture specifically to those areas and repeat the scrubbing, rinsing, and drying process. Ensuring every trace of limescale is eliminated will extend the time between cleanings and preserve the aesthetics of your black taps.
Step 7. Polish the Tap:
To enhance the appearance of your black taps and add an extra layer of protection, use a suitable tap polish or a small amount of mineral oil. Apply a thin layer of polish or oil to a clean, soft cloth and gently buff the tap in circular motions. This step helps accentuate the tap material’s natural luster and forms a protective barrier that can repel water and dirt, making future cleanings more straightforward. Be cautious not to over-apply, as too much product can create a greasy residue on the surface. After polishing, your taps should look sleek and shiny, complementing the overall look of your kitchen or bathroom.

Step 8. Prevent Future Limescale Buildup:
Prevention is always better than cure, and maintaining the shine and functionality of your black taps involves a few proactive steps. First, consider installing a water softener if your area has tough water, as this will reduce the mineral content and help prevent limescale from forming in the first place. Additionally, make it a habit to regularly wipe down your taps with a dry microfiber cloth after each use. This practice removes water droplets that could evaporate and leave behind mineral deposits.
For an added prevention layer, apply a thin layer of car wax or silicone-based sealant on the tap surface after each deep cleaning. These products create a protective shield that can repel water and minimize the adherence of minerals. Finally, keeping an eye on any early signs of buildup and addressing them immediately with the cleaning mixture can significantly reduce the need for excessive future cleaning, saving time and effort.
Step 9. Regular Maintenance:
To ensure your black taps remain pristine, incorporate regular maintenance into your cleaning routine. Set a weekly schedule for mild cleanings, especially in high-use areas like the kitchen or bathroom. Use a soft, damp cloth to gently wipe down the taps, followed by a dry microfiber cloth to prevent water spots. Avoid harsh chemicals or abrasive cleaners unless there’s severe buildup, as these could damage the finish.
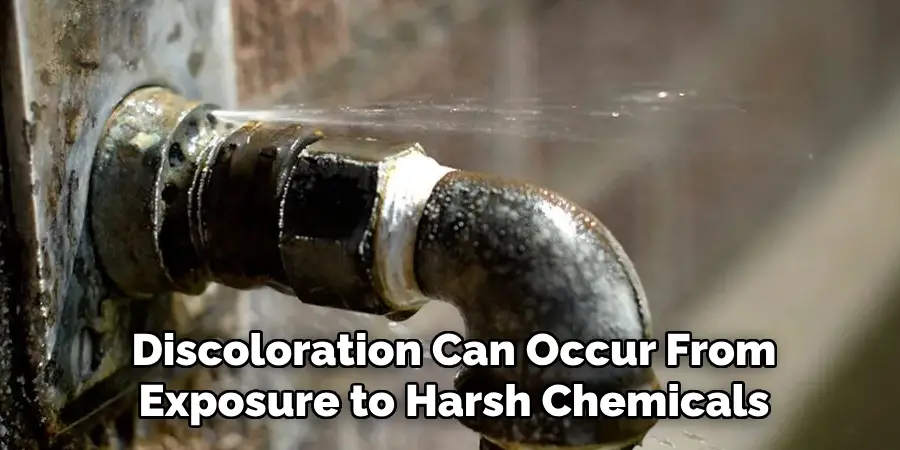
Step 10. Troubleshoot Common Issues:
Even with the best cleaning practices, you might encounter common issues with black taps, such as discoloration, scratches, or persistent limescale. Discoloration can occur from exposure to harsh chemicals or prolonged contact with hard water. If discoloration is noticed, revert to using the recommended gentle cleaning mixtures and avoid any harsh chemical products in future cleanings. Scratches may be minimized by using a tap-specific polish and avoiding abrasive cleaning tools. Consider using a more vital, commercially available descaler sparingly on affected areas for persistent limescale that regular cleaning can’t remove.
By following these steps and incorporating regular maintenance, you can effectively clean and maintain your black taps, keeping them in pristine condition for years to come.
5 Things You Should Avoid
- Using Abrasive Cleaners: Avoid using steel wool, abrasive scrubs, or harsh cleaning powders. These can scratch the surface of black taps, making them look dull and worn.
- Bleach and Ammonia: Avoid cleaning products that contain bleach or ammonia, as they can cause discoloration or damage to the taps’ finish.
- High Acidity Products: Be cautious with cleaning agents that have high acidity levels, like vinegar or lemon juice, especially in concentrated forms. Prolonged exposure can erode the protective layer on black taps.
- Leaving Limescale Untreated: Ignoring limescale build-up can lead to more stubborn deposits that are harder to remove and affect the taps’ functionality over time.
- Excessive Force: Applying too much pressure when cleaning can cause accidental damage. Aim for gentle and consistent methods to prevent unwanted scratches or marks.
By avoiding these common mistakes, you can keep your black taps looking sleek and shiny for years to come.
Conclusion
It’s best to use a mild, non-abrasive cleaning solution specifically designed for bathroom fixtures to successfully remove limescale from black taps without compromising their finish. Gently apply the cleaner with a soft cloth or sponge, avoiding excessive force, as this can scratch or damage the surface.
For stubborn deposits, a solution of equal parts water and vinegar can be effective. Still, it’s essential to rinse thoroughly and dry the taps immediately to prevent any acid from lingering on the surface. Consistent, gentle maintenance will help keep limescale under control while maintaining the sleek look of black taps.
Hopefully, the article on how to remove limescale on black taps has provided you with some useful tips and insights. Always read the manufacturer’s cleaning instructions, and if in doubt, seek professional help to avoid damaging your taps.
About
Angela is the chief editor of Indoorense. She began her career as an interior designer before applying her strategic and creative passion to lifestyle and home.
She has close to 15 years of experience in creative writing and online content strategy for housekeeping and cleaning,home decorations as well as other efforts.
She loves her job and has the privilege of working with an extraordinary team. She lives with her husband, two sons, and daughter in Petersburg. When she’s not busy working she spent time with her family.