
Doorbells without visible screws may initially seem daunting to tackle, but many modern designs incorporate hidden mounting systems or snap-on covers for a more streamlined and aesthetic appearance. This clever design not only enhances your home’s curb appeal but also offers additional security by concealing mounting mechanisms. You might need to remove your doorbell for various reasons, such as upgrading to a smarter model, conducting necessary maintenance, or troubleshooting any electrical issues that may arise.
Understanding the proper method for removal is crucial to preventing any unnecessary damage to the doorbell unit or the surrounding wall. This comprehensive guide will arm you with the essential knowledge and steps on how to remove a doorbell that has no screws, ensuring you accomplish the task safely and efficiently while preserving the integrity of your home’s entryway.
Identify the Type of Doorbell
Understanding the type of doorbell you have is crucial for a seamless removal process. Here are some common types of doorbells without screws:
- Snap-On Cover Doorbells: These doorbells feature a cover that securely snaps onto the base, hiding the screws beneath it. They are designed for easy removal by locating the seams or notches where the cover can be pried off gently.
- Adhesive-Mounted Doorbells: Ideal for situations where drilling is undesirable, some wireless or smart doorbells utilize strong adhesive strips to adhere to the surface. This makes the removal process straightforward as it doesn’t involve unfastening screws.
- Magnetic or Slide Mounts: Utilizing modern technology, these doorbells attach using magnetic forces or sliding mechanisms, eliminating the need for visible screws. The design allows the doorbell to be slid or pulled off effortlessly, sometimes requiring minimal maneuvering.
To ensure the most effective removal, research your specific doorbell model. Look for resources or official guides online—many companies, such as Ring or Nest, provide comprehensive manuals for their screwless designs. Visually inspect the edges and backside of the doorbell for small gaps or release points, which can help you determine the mounting style and access method.
Remove a Snap-On or Clip-On Cover
Removing a doorbell with a snap-on or clip-on cover involves a few careful steps to ensure you don’t damage the unit or surrounding surface.
Step 1: Inspect for a Release Mechanism
Carefully inspect the doorbell’s sides, bottom, or top for a small notch, slot, or clip. These features are often integrated into the design to allow for easy removal without tools. Manufacturers sometimes include these hidden release points at the edges, which can be slightly recessed or marked by an emblem or line.
Step 2: Use a Flat Tool
Once you’ve located the release mechanism, use a flathead screwdriver, plastic prying tool, or even a credit card to gently insert into the gap. Apply slow, even pressure to begin prying the cover off. The key is to ease the cover away gradually to prevent breakage or snapping.

Step 3: Avoid Excessive Force
Exercise caution, as applying too much force can crack the plastic or damage the internal components of the doorbell. If the cover resists removal, reassess the doorbell for additional tabs or notches you may have missed to ensure easy detachment.
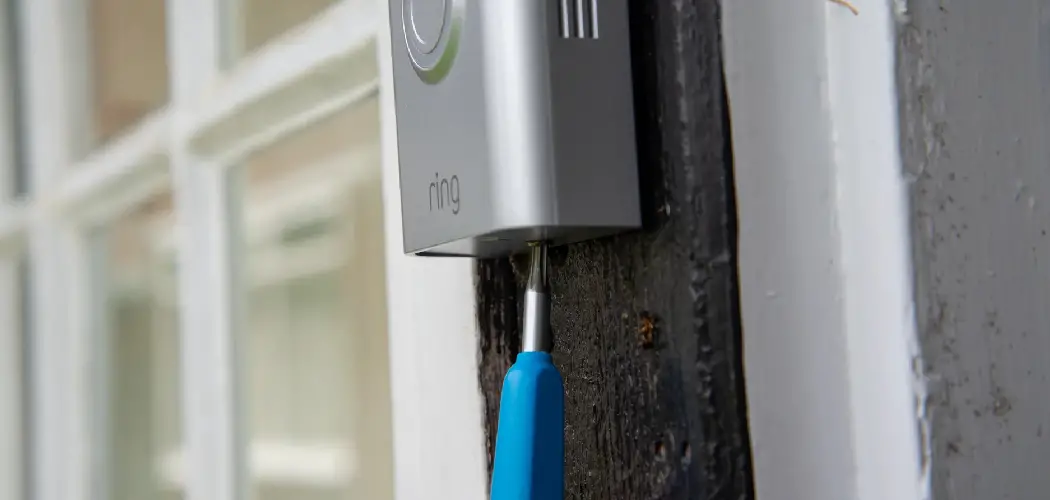
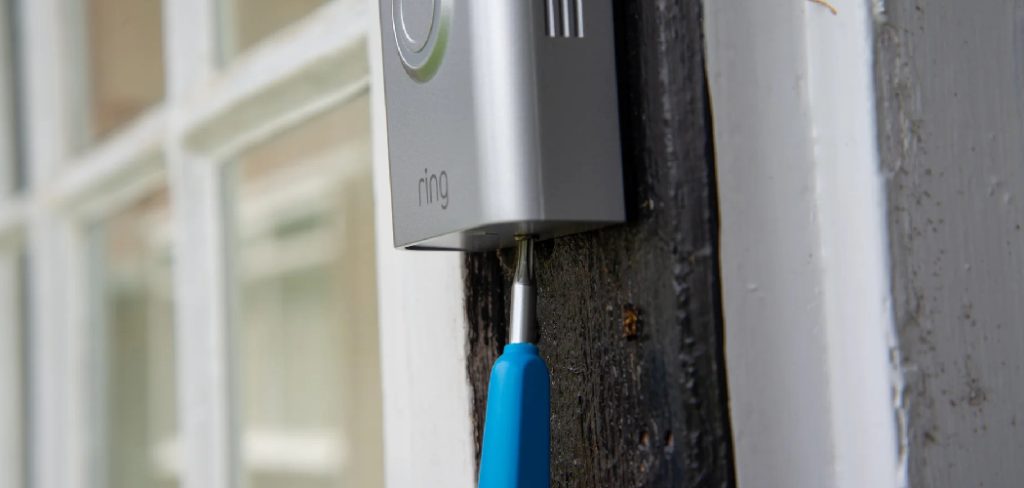
Step 4: Remove Screws Underneath the Cover
With the cover successfully removed, the screws holding the doorbell to the mounting plate will be exposed. Use a screwdriver to unscrew these fasteners, allowing you to fully detach the doorbell from its mounting system and secure the base for further actions or replacements.
How to Remove a Doorbell that Has No Screws: Removing Adhesive-Mounted Doorbells
Removing adhesive-mounted doorbells requires careful handling to prevent damage to both the wall and the doorbell unit. By taking a systematic approach, you ensure the process is efficient and safe.
Step 1: Locate the Adhesive Mount
Adhesive-mounted doorbells rely on strong adhesive strips instead of screws to stay in place. The adhesive is typically found on the back of the doorbell, directly sticking to the wall surface. Ensure you identify the points where the adhesive contacts the wall for precise removal.
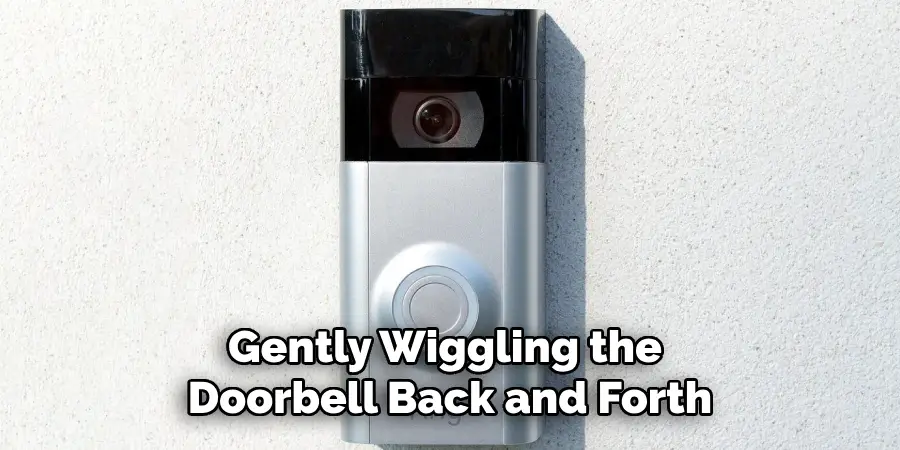
Step 2: Gently Pry the Doorbell Off
Begin by gently wiggling the doorbell back and forth using your hands or a flat tool, such as a plastic card. Slowly apply even pressure to loosen the adhesive bond, taking care not to pull too forcefully, which could damage the wall or the doorbell itself.
Step 3: Use Heat to Loosen Adhesive (Optional)
If the adhesive proves too stubborn, apply a hairdryer or heat gun on a low setting to the area. The warmth will help soften the adhesive, making it easier to detach the doorbell without damaging the wall or the unit.
Step 4: Clean the Residue
Once the doorbell is removed, adhesive residue might remain on the wall. Use a cloth soaked in adhesive remover or rubbing alcohol to thoroughly clean the area, ensuring a smooth surface for future installations.
How to Remove a Doorbell that Has No Screws: Removing Magnetic or Slide-Mounted Doorbells
Removing magnetic or slide-mounted doorbells is a straightforward process if approached carefully. Start by identifying the type of mounting system used.
Step 1: Check for a Sliding Mechanism
Some doorbells, particularly modern smart models, are attached using a sliding mount system. Inspect the installation for grooves or small arrows that indicate the direction in which to slide the doorbell off its base. These indicators help you understand whether you need to slide the doorbell upwards, downwards, or sideways.
Step 2: Slide the Doorbell Off
Once you have determined the sliding direction, gently push the doorbell in that direction. Apply moderate force to disengage it from the mounting bracket. Proper alignment and force will allow the doorbell to slide off effortlessly, ensuring no damage to the mechanism.
Step 3: Look for Magnetic Mounts
In some installations, doorbells are secured using strong magnets. In such cases, carefully pull the doorbell away from the base. Magnetic resistance will be felt, so pull steadily and evenly to prevent abrupt dislodging, which could cause damage.
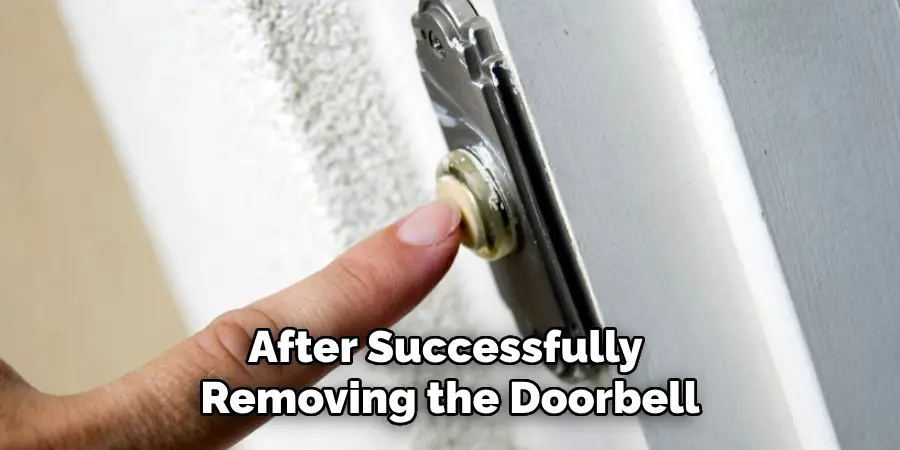
Step 4: Detach Wiring or Power Source
After successfully removing the doorbell, the final step involves disconnecting any wires or removing the batteries if it’s a wireless model. Handle the wiring gently to prevent short circuits or damage, ensuring that any power sources are safely isolated.
Disconnecting the Wiring
Disconnecting the wiring from your doorbell is a crucial step that requires attention to safety and detail. Here’s how to do it effectively.
Step 1: Turn Off the Power to the Doorbell
Before handling any wiring, make sure to turn off the power at the circuit breaker to avoid electric shocks. This ensures your safety while working on the doorbell system.
Step 2: Remove Wiring
Once the power is off, unscrew the wiring terminals attached to the doorbell. Carefully take note of how the wires are connected. Label or remember which wires connect to specific terminals if you plan to reinstall or replace the doorbell. This will facilitate easier reinstallation.
Step 3: Cap Off Wires (If Needed)
If you’re not immediately replacing the doorbell, use wire caps to cover the exposed wires safely. This prevents accidental electrical contact or short circuits and keeps the area safe until future installations are made.
Replacing the Doorbell or Repairing the Area
Step 1: Choose a Replacement
If you’re replacing the doorbell, select a model that is compatible with your current mounting system, whether it’s screw-based, adhesive, or magnetic. This ensures a seamless fit and functionality without the need for additional modifications.
Step 2: Repair Any Wall Damage
Removing adhesive or older doorbells can leave unsightly marks or holes in the wall. To address this, fill any holes with spackle, allowing it to dry before sanding the area smooth. Once sanded, repaint the surface as necessary to restore the wall to its original appearance.
Step 3: Install New Doorbell
Follow the manufacturer’s instructions to install your new doorbell. Make sure that all wiring is securely connected to avoid any electrical issues. Restore power safely, testing the doorbell to confirm it operates correctly and meets all installation requirements.

Conclusion
Removing a doorbell with no visible screws may seem complicated at first, but by identifying and understanding the type of mounting system—such as snap-on, adhesive, or magnetic—you can execute the task safely and effectively. Using the right tools for each system is essential, and proceed with caution. Turn off the power when dealing with wiring to avoid potential hazards. Carefully use gentle force when prying or sliding off the doorbell to prevent damage to both the device and the wall.
As a vital final tip, if you find yourself unsure about “how to remove a doorbell that has no screws” or unable to do so without risk of damage, refer to the manufacturer’s instructions or consider hiring a professional for assistance. Taking meticulous and informed steps will ensure a successful removal process and prevent unnecessary issues.
About
Angela is the chief editor of Indoorense. She began her career as an interior designer before applying her strategic and creative passion to lifestyle and home.
She has close to 15 years of experience in creative writing and online content strategy for housekeeping and cleaning,home decorations as well as other efforts.
She loves her job and has the privilege of working with an extraordinary team. She lives with her husband, two sons, and daughter in Petersburg. When she’s not busy working she spent time with her family.