
Regrouting tile without removing old grout can be an efficient and cost-effective way to refresh the appearance of your tiled surfaces.
Old grout can detract from the overall look of your tiles due to discoloration, mold, or simply the wear and tear of time. Fortunately, regrouting provides a straightforward solution that can be accomplished without the need for extensive labor or specialized tools. This process involves applying new grout over the existing grout after performing some necessary preparation work on the surface.

By following a few essential steps on how to regrout tile without removing old grout, you can achieve a renewed and polished look for your bathroom, kitchen, or any tiled area in your home, enhancing both its aesthetic appeal and longevity.
What Will You Need?
Before you get started, gather the following supplies:
- Grout saw or oscillating tool with grout removal blade
- Masking tape
- Grout cleaner
- New grout (preferably in the same color as your existing grout)
- Grout float
- Squeegee or sponge
- Clean cloth or towel
In addition, it’s recommended to wear safety goggles and gloves to protect yourself from any debris or chemicals.
10 Easy Steps on How to Regrout Tile Without Removing Old Grout
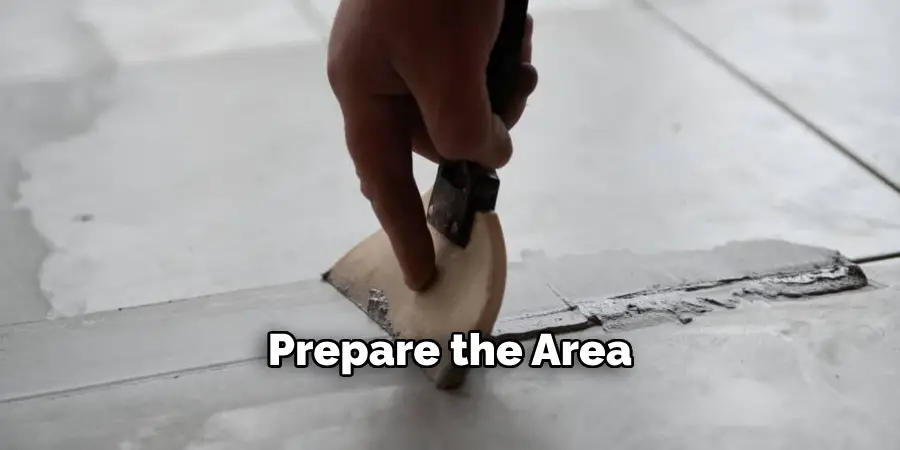
Step 1: Prepare the Area
Before you begin the regrouting process, it’s essential to prepare the workspace to ensure a smooth and efficient job. Start by thoroughly cleaning the tile surface to remove any dirt, soap scum, or grease that may interfere with the new grout’s adhesion. Use a grout cleaner or a mixture of vinegar and water, scrubbing the tiles and grout lines gently but effectively. Once clean, thoroughly dry the area using a clean cloth or towel.
Next, use masking tape to protect the edges of the tiles or adjoining surfaces against accidental scratches from tools during the process. Additionally, inspect the existing grout for any excessively cracked or loose sections; these should be removed using a grout saw or an oscillating tool with a grout removal blade to ensure the best results with the new application. Taking the time for these preparatory steps will contribute significantly to your regrouting project’s appearance and durability.
Step 2: Mix the New Grout
Once the area is prepared, the next step is to mix your new grout. Follow the manufacturer’s instructions for the correct mixing ratio; usually, this involves combining the grout powder with water. Blend it until you achieve a smooth, peanut butter-like consistency. It’s vital to ensure there are no lumps in the mixture, as this can affect the application. Let the grout sit for a few minutes to allow any trapped air bubbles to escape. This will help create an even and consistent look when applied over the old grout.
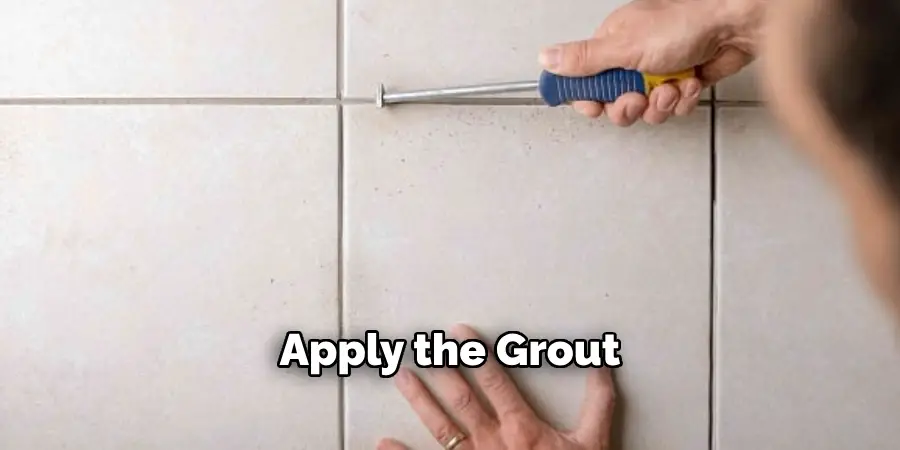
Step 3: Apply the Grout
When the grout is mixed and ready, you can apply it to the tile surface. Scoop a generous amount of fresh grout onto the tool using a grout float. Hold the float at a 45-degree angle to the tiles and gently spread the grout over the tiled area, pressing it firmly into the grout lines. Move the float diagonally across the tiles to ensure the grout is evenly distributed and fully packed into the existing joints.
Work in small sections to maintain control and avoid the grout drying out before you’ve finished applying it. Continue this process until you have covered all the grout lines in the area you are working on, ensuring you fill any voids. Remember, a thorough application in this step will provide a solid bond and a professional-looking finish.
Step 4: Remove Excess Grout
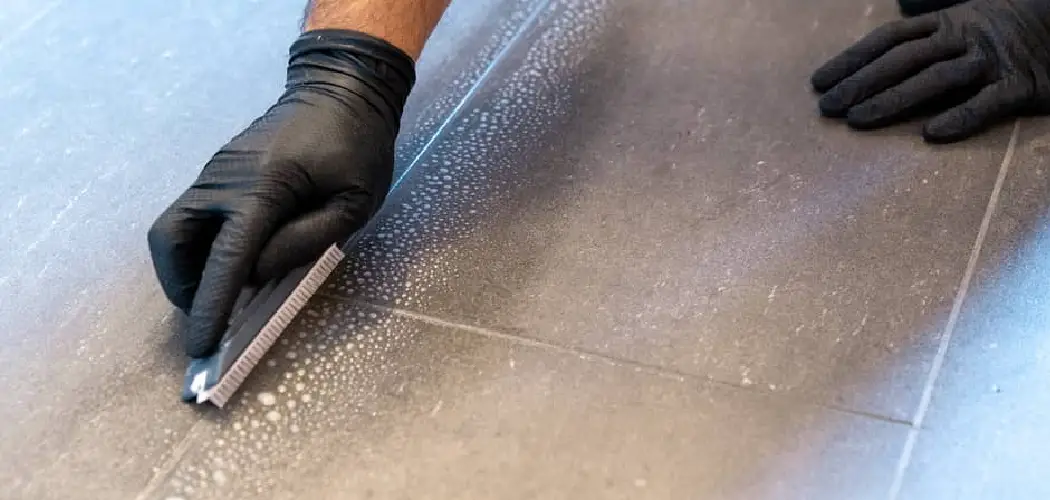
After applying the new grout, removing the excess from the tile surfaces is crucial before it starts to harden. Take a squeegee or a damp sponge and gently wipe across the tiles at a diagonal angle to avoid pulling grout out of the joints. Rinse the sponge frequently in clean water to ensure it doesn’t become too saturated with grout, which can spread a haze over the tiles.
Be sure to remove as much excess grout as possible in this step, as it will simplify the cleaning process later on. Continue working in small sections until the entire tiled area is free of excess grout and the joints are filled evenly. This careful attention improves the finish’s appearance and prevents unnecessary cleanup work afterward.
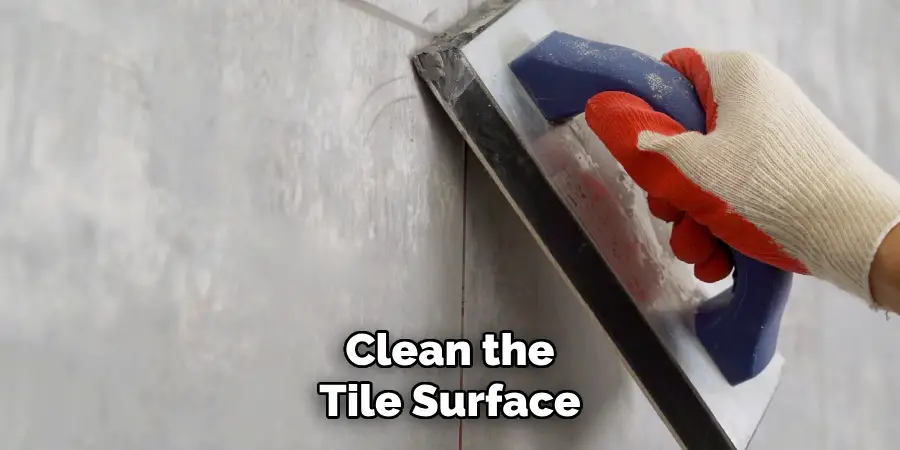
Step 5: Clean the Tile Surface
Once the excess grout has been removed, it’s time to clean the tile surface to reveal a clear and polished finish. After allowing the grout to set slightly, typically about 15-30 minutes, depending on the product’s instructions, use a slightly damp sponge to wipe down the tiles. This step removes the residual grout film or haze and ensures a spotless appearance.
Rinse the sponge frequently with clean water to avoid spreading the grout further. If stubborn haze remains after initial cleaning, consider using a grout haze remover or a mild soap and water solution for further cleansing. Avoid applying too much pressure or using abrasive materials that could damage the tiles. A final pass with a dry, lint-free cloth will help buff the tiles to a gleaming finish, highlighting the rejuvenated appearance of your tiled surface.
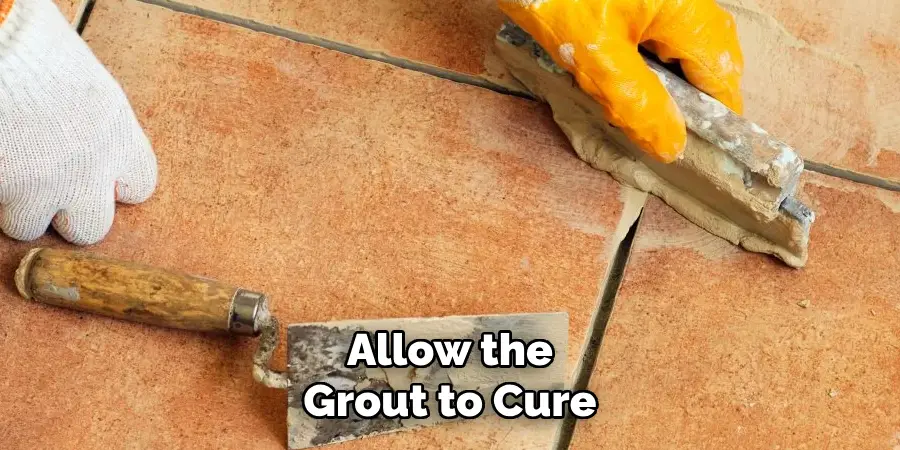
Step 6: Allow the Grout to Cure
Once you’ve completed the application and cleaning stages, allowing the new grout to cure correctly is essential. This typically takes anywhere from 24 to 72 hours, depending on the manufacturer’s instructions and the humidity level in your environment.
During this time, avoid using or exposing the area to water, as this can interfere with the curing process and weaken the grout bond. Maintaining a stable temperature and humidity level can aid in a more effective cure. Once fully cured, inspect the grout lines for any gaps or imperfections and touch up if necessary. Curing is a crucial step that ensures the longevity and durability of your handiwork, providing a neat, professional finish to your regrouting project.
Step 7: Seal the Grout
After the grout has cured completely, the next important step is to seal it to protect against stains and moisture infiltration. Apply the product evenly over the grout lines using a grout sealer, which can typically be found in either spray or applicator bottle form. Follow the manufacturer’s directions closely regarding application methods and drying time. Be careful to only apply the sealer to the grout joints, not the tiled surface, to avoid a glossy or uneven finish.
Sealing the grout is crucial for areas exposed to regular moisture, such as bathrooms and kitchens, as it enhances the grout’s resistance to mold, mildew, and staining. Once the sealer has dried, wipe any excess off the tiles to prevent residue and enjoy your refreshed tiles with the extended lifespan provided by your carefully applied sealant.
Step 8: Regular Maintenance
Regular maintenance is critical to ensure that your regrouted tiles remain in excellent condition. Clean the tiles and grout lines using a mild detergent and a soft brush to prevent dirt buildup and discoloration over time. Avoid harsh chemicals or abrasive tools, which can damage the tiles and grout. Inspect the grout periodically for any signs of wear or damage.
Address any issues promptly by cleaning the affected area and, if necessary, reapplying the sealer or touching up the grout to prevent further deterioration. By incorporating these simple maintenance strategies into your cleaning routine, you can enjoy a pristine tiled surface that retains its beauty and functionality for years.
Step 9: Address Any Repairs Promptly
Over time, even well-maintained grout may need repairs due to natural wear and tear or unexpected damage. If you notice any cracks, chips, or gaps in the grout lines, it’s important to address these promptly to prevent moisture infiltration and further degradation. Begin by cleaning the area thoroughly to remove any dirt or debris. Use a grout removal tool to carefully clear away any damaged sections, being cautious not to disturb the surrounding tiles. After removing the compromised grout, prepare a small batch of new grout according to the manufacturer’s instructions and apply it to the affected area, following the same techniques as outlined in the earlier steps.
Step 10: Enjoy Your Refreshed Space
With the grout repaired and fully cured, you can enjoy your newly refreshed tiled area. Whether it’s a kitchen backsplash, bathroom floor, or shower wall, a well-maintained and freshly grouted surface enhances your space’s aesthetic appeal and adds to its functionality. Take a moment to admire the clean, polished look of the tiles and the renewed vibrancy of your room. By following these steps, you have extended the life of your tiles and ensured a durable finish that will stand up to daily use.
By following these simple steps, you can effectively regrout your tiled surface and achieve professional results that will last.
Conclusion
How to regrout tile without removing old grout can be an efficient and cost-effective way to rejuvenate your tiled surfaces.
The process allows you to refresh the appearance and seal the grout lines while maintaining the integrity of the existing setup. By carefully cleaning the tiles, applying new grout over the old, allowing for proper curing, and sealing the finished lines for protection, you ensure a seamless look and improve durability. Attention to detail in each step—from preparation to final maintenance—ensures that the results are lasting and professional-looking without requiring complete grout removal.
Whether for aesthetic reasons or to boost the protective qualities of your grout, this method offers a practical solution that extends the life and appeal of your tiles, making it a valuable skill for any home improvement enthusiast.
Chech It out to Shower Drain Cover That Is Grouted in
About
Angela is the chief editor of Indoorense. She began her career as an interior designer before applying her strategic and creative passion to lifestyle and home.
She has close to 15 years of experience in creative writing and online content strategy for housekeeping and cleaning,home decorations as well as other efforts.
She loves her job and has the privilege of working with an extraordinary team. She lives with her husband, two sons, and daughter in Petersburg. When she’s not busy working she spent time with her family.