
Reglazing a window is a practical skill that can significantly improve the energy efficiency, appearance, and longevity of your windows.

Over time, the glazing compound that seals the glass panes in their frames can deteriorate, leading to drafts, water leaks, and decreased insulation. Reglazing involves removing the old, brittle glazing compound and replacing it with a fresh layer to secure the glass and enhance the window’s performance.
This process not only helps to restore the window’s aesthetic appeal but also contributes to maintaining a comfortable indoor environment and reducing energy costs. In this guide, we will provide a step-by-step approach for how to reglaze a window.
From gathering the necessary tools and materials to safely removing the old glazing, cleaning the frame, applying new putty, and ensuring a smooth finish, each stage is crucial for achieving professional results.
Whether you’re a seasoned DIY enthusiast or a novice, these instructions will empower you to tackle window reglazing with confidence and precision.
Understanding Window Reglazing
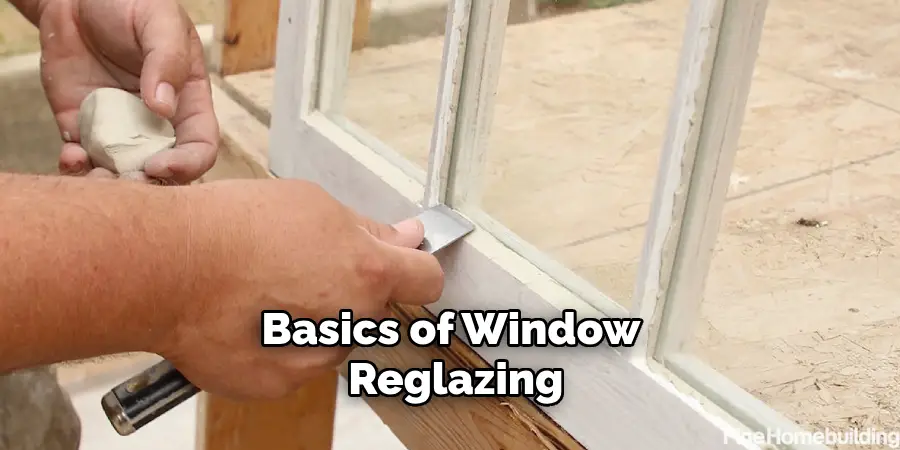
Before diving into the step-by-step process, it’s important to understand the basics of window reglazing. Reglazing is the process of replacing old glazing putty, a type of sealant, that holds the glass panes in place within a window frame. This putty not only secures the glass but also acts as a barrier against moisture and air penetration, contributing to the overall energy efficiency of the building.
The need for reglazing can arise from several factors such as age, weather exposure, and the quality of the original installation. Over time, glazing putty can become brittle and crack, compromising the seal around the glass and allowing air and moisture to infiltrate. This not only detracts from the appearance and performance of the window but can also lead to more serious issues such as wood rot and increased energy bills.
Reglazing is an essential maintenance task for windows, particularly for older or historic properties where preserving the original window frames is preferable. By understanding the importance and process of window reglazing, homeowners can make informed decisions about maintaining their windows, ensuring they remain functional and visually appealing for years to come.
10 Methods How to Reglaze a Window
1. Preparing the Workspace
Before starting the reglazing process, it is essential to prepare your workspace to ensure a smooth and efficient project. Choose a well-ventilated area to work in, as glazing compounds and paint can emit fumes. Lay down a drop cloth or plastic sheet to protect the surrounding surfaces from debris and paint splatters. Gather all the necessary tools and materials, including a putty knife, glazing compound, glass cleaner, paintbrushes, primer, and paint. Having everything organized and within reach will make the process more manageable and reduce interruptions. Proper preparation sets the stage for a successful reglazing job by minimizing mess and ensuring that you have everything you need at hand.
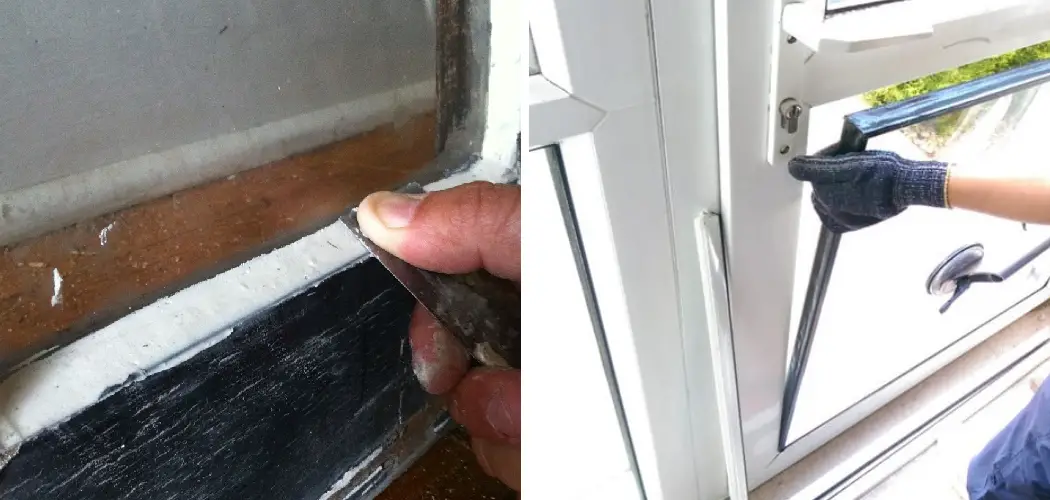
2. Removing the Old Glazing

The first step in the actual reglazing process is to remove the old, deteriorated glazing. Use a putty knife or a specialized glazing tool to carefully scrape away the old glazing compound from around the window pane. Take your time with this step to avoid damaging the glass or the window frame. If the glazing is particularly stubborn, you can soften it by applying a heat gun set to a low temperature. Gently heat the glazing until it becomes pliable, then scrape it away. Removing all of the old glazing compound is crucial because any remnants can prevent the new glazing from adhering properly and create an uneven finish.
3. Cleaning the Window Pane and Frame
Once the old glazing has been removed, thoroughly clean the window pane and the frame. Use a glass cleaner and a lint-free cloth to remove any dirt, dust, or grease from the glass. For the frame, use a mild soap solution and a soft brush or cloth to clean away any residue. Ensure that all surfaces are completely dry before proceeding to the next step. Clean surfaces are essential for the new glazing compound to adhere properly and for achieving a smooth, professional-looking finish. Proper cleaning also helps to identify any damage to the glass or frame that may need to be addressed before reglazing.
4. Applying the Glazing Compound
With the window pane and frame cleaned and prepped, you can begin applying the new glazing compound. Roll the compound into thin, snake-like strips that are about the thickness of a pencil. Press the strips into the window frame where the glass meets the wood, using your fingers or a putty knife to ensure an even application. Work the compound into the corners and ensure that there are no gaps or air bubbles. Once the initial bead of glazing compound is in place, use a glazing tool or a putty knife to smooth it out, creating a clean, even line along the edge of the glass.
5. Tooling the Glazing Compound
Tooling the glazing compound involves shaping and smoothing it to achieve a neat and professional appearance. Hold the putty knife or glazing tool at a slight angle and run it along the bead of glazing compound to create a smooth, angled surface. This not only improves the aesthetic of the window but also helps to shed water away from the glass and frame, reducing the risk of water damage. Take your time to ensure the glazing is evenly applied and that there are no gaps or inconsistencies. If necessary, add more glazing compound and tool it again until you achieve a satisfactory finish.
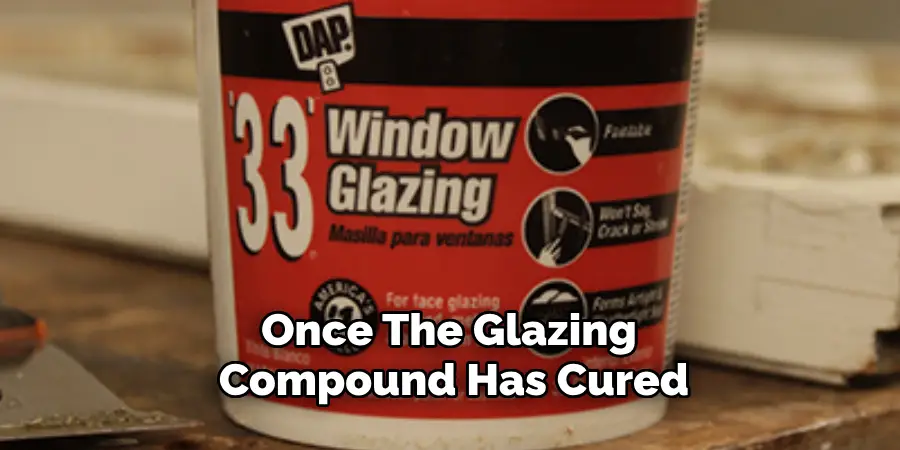
6. Allowing the Glazing Compound to Cure
After applying and tooling the glazing compound, it is essential to allow it to cure properly. Curing times can vary depending on the type of glazing compound used and environmental conditions, but it generally takes at least a week for the compound to harden sufficiently. During this time, protect the window from direct exposure to rain or extreme temperatures, as these can interfere with the curing process. Patience during this step is crucial, as rushing to paint or further handle the window can damage the still-soft glazing compound and compromise the integrity of the seal.
7. Priming the Glazing Compound
Once the glazing compound has cured, it’s time to prime it to prepare for painting. Use a high-quality exterior primer that is compatible with both the glazing compound and the paint you plan to use. Apply a thin, even coat of primer to the glazing compound and the surrounding wood frame, ensuring that you cover all areas where the compound meets the wood. Priming helps to seal the compound, providing a better surface for the paint to adhere to and extending the lifespan of your glazing job.
8. Painting the Window
Painting the window not only enhances its appearance but also provides an additional layer of protection for the glazing compound and the wood frame. Choose a high-quality exterior paint that is designed to withstand the elements. Apply the paint in thin, even coats, using a small brush to ensure you cover the glazing compound and the adjacent wood thoroughly. Be sure to overlap the paint slightly onto the glass to create a seal that helps to prevent moisture from seeping under the glazing compound. Apply at least two coats of paint, allowing each coat to dry completely before applying the next.
9. Inspecting for Gaps and Touch-Ups
After the final coat of paint has dried, inspect the window for any gaps, inconsistencies, or missed spots in the glazing or paint. Pay close attention to the corners and edges where the glazing compound meets the glass and the frame. If you find any gaps or areas that need touch-ups, apply additional glazing compound or paint as needed. Use a fine brush for precise touch-ups to ensure a seamless finish. Inspecting and addressing any minor issues now will help to ensure that your window is properly sealed and protected against the elements, extending its lifespan and maintaining its appearance.
10. Regular Maintenance and Inspection
To keep your reglazed window in top condition, regular maintenance and inspection are essential. Periodically check the glazing compound and paint for any signs of cracking, peeling, or deterioration. Address any issues promptly to prevent further damage and maintain the integrity of the seal. Cleaning the windows regularly and ensuring that the surrounding area is free from debris and moisture will also help to prolong the life of your glazing job.

Conclusion
Reglazing a window involves a series of meticulous steps, each crucial for ensuring a successful and long-lasting result. From preparing your workspace and carefully removing old glazing, to cleaning and applying new glazing compound, each step builds on the previous one to restore the window’s functionality and appearance.
Proper tooling and allowing the glazing compound to cure are essential for creating a durable seal. Priming and painting not only enhance the window’s aesthetics but also protect the glazing and frame from the elements. Thanks for reading, and we hope this has given you some inspiration on how to reglaze a window
About
Angela is the chief editor of Indoorense. She began her career as an interior designer before applying her strategic and creative passion to lifestyle and home.
She has close to 15 years of experience in creative writing and online content strategy for housekeeping and cleaning,home decorations as well as other efforts.
She loves her job and has the privilege of working with an extraordinary team. She lives with her husband, two sons, and daughter in Petersburg. When she’s not busy working she spent time with her family.