
Squishmallows, with their squishy and huggable texture, have become beloved companions for many. Over time, however, these cuddly toys can lose their firmness and fluffiness. If your Squishmallow feels a bit flat or less plush than when you first got it, there’s an easy way to bring it back to its original state.

This guide on how to refluff squishmallows will walk you through simple and effective steps to refluff your Squishmallows, ensuring they stay as soft and comforting as ever.
What is Refluffing?
Refluffing is the process of restoring the fluffiness and firmness of a Squishmallow by redistributing its filling. This helps to maintain its original shape and texture, making it feel just like new again. It’s a simple way to prolong the life of your beloved Squishmallows and ensure they continue to provide comfort for years to come.
What You’ll Need
Your Squishmallow(S):
Make sure you have the Squishmallow(s) that needs to be refluffed. You can do this process with one or multiple Squishmallows at a time.
A Large Open Space:
You’ll need enough room to move around and fluff your Squishmallow without any obstructions.
Your Hands:
Your hands are going to be your best tool for this process, as you’ll use them to manipulate and distribute the filling of your Squishmallow.
Optional Tools:
Some people find it helpful to have additional tools such as a hairdryer (on low heat setting), a brush or comb, and a vacuum cleaner to assist in the process. These tools are not necessary but can be useful for those who have multiple Squishmallows or want to speed up the process.
7 Step-by-step Guidelines on How to Refluff Squishmallows
Step 1: Prepare Your Space
Before you begin the refluffing process, it’s important to prepare your workspace to ensure you have enough room to move around and handle your Squishmallow(s) comfortably. Find a large, clean, and open area where you can lay out your Squishmallow, such as a living room floor or a big table. Remove any obstructions or items that might get in the way.
A clear and organized space will make the refluffing process easier and more efficient. If you’re using optional tools like a hairdryer or vacuum cleaner, make sure they are within reach and ready to use.
Step 2: Identify the Flattened Areas
Once your space is prepared, the next step is to identify the areas of your Squishmallow that need refluffing. Lay your Squishmallow flat and gently press on different parts to find spots that have lost their firmness or feel more compressed than others.
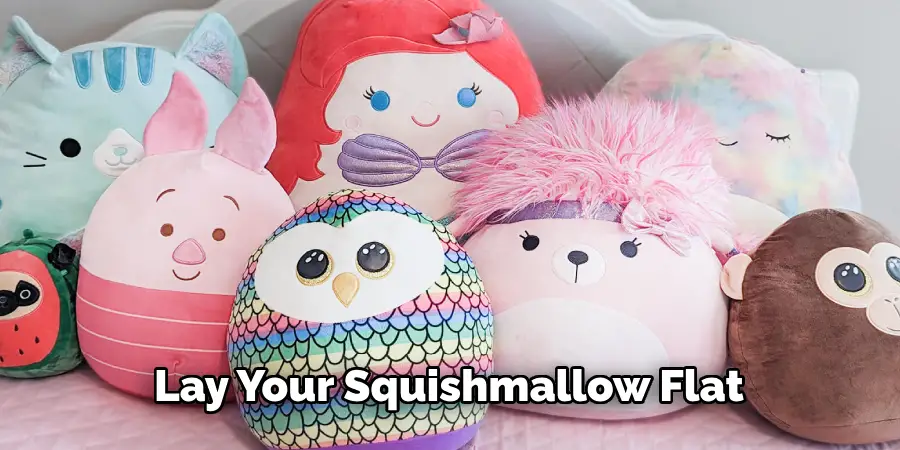
Typically, the areas most prone to flattening are the middle section and the edges where the stuffing may have shifted or become compacted over time.
Make a mental note or mark these areas lightly with a small sticker or piece of tape so you can focus on them during the refluffing process. Identifying these flattened regions is crucial as it allows you to target your efforts effectively, ensuring a uniform re-distribution of the filling.
Step 3: Start Fluffing From the Bottom
Once you’ve identified the flattened areas, it’s time to begin refluffing your Squishmallow. Starting at the bottom of your Squishmallow (feet/legs), gently pinch and pull apart small sections of the stuffing using your fingers. This will help loosen any compacted filling and create space for air to flow through, making your Squishmallow firmer and fluffier.
Continue this process all around the bottom section until you feel that it has regained its original shape and firmness. It’s important to be gentle while pulling and manipulating the stuffing to avoid damaging your Squishmallow.
Step 4: Refluff the Middle Section
After you’ve worked on the bottom section, move on to the middle part of your Squishmallow. Repeat the same process of gently pinching and pulling apart small sections of stuffing until it feels evenly distributed and firm.
As you work on this section, pay close attention to the areas you previously marked as flattened, and give them a little extra fluffing for maximum results. You can use optional tools like a brush or comb to help with this step if you find it easier.
Step 5: Fluff the Head and Arms
Next, move on to the head and arms of your Squishmallow. These areas may also become flattened over time due to frequent hugging and squeezing. Gently pinch and pull apart small sections of stuffing until you feel these areas have regained their original shape and firmness.
If you’re using a hairdryer, this is an excellent time to use it on low-heat settings to help fluff up these areas quickly. Be careful not to hold the dryer too close or use high heat as it can damage your Squishmallow’s fabric.
Step 6: Check for Any Remaining Flattened Areas
After you’ve fluffed all the major sections of your Squishmallow, take a step back and examine it closely. Check for any remaining flattened areas that may need extra attention.
If you find spots that still feel flat or have not regained their original shape, repeat the same process of gently pulling and manipulating the stuffing until they’re evenly distributed and firm.
Step 7: Give Your Squishmallow a Good Shake
As a final step in the refluffing process, give your Squishmallow a gentle but thorough shake. Hold it firmly by the base and give it a few good shakes to help further redistribute the stuffing inside. This shaking will ensure that any remaining compacted sections loosen up and integrate with the rest of the filling, resulting in an evenly fluffy and firm Squishmallow.
Once you’re done, take a moment to enjoy the rejuvenated plushiness of your Squishmallow. With these steps, your Squishmallow should now feel as soft and comforting as ever, ready to provide you with many more moments of joy and comfort.
Following these guidelines on how to refluff squishmallows, you can easily refluff your Squishmallows whenever they need some extra love and care. Remember to be gentle and patient while fluffing, and enjoy the process of bringing new life to your beloved Squishmallows. Have fun!
Post-Refluffing Care and Maintenance
Regular Fluffing:
To keep your Squishmallow in optimal fluffy condition, it’s a good idea to regularly give it a quick fluff. Every couple of weeks, lightly pinch and pull apart sections of the stuffing, just as you did during the initial refluffing process. This will help prevent the stuffing from becoming compacted and maintain your Squishmallow’s shape and firmness.
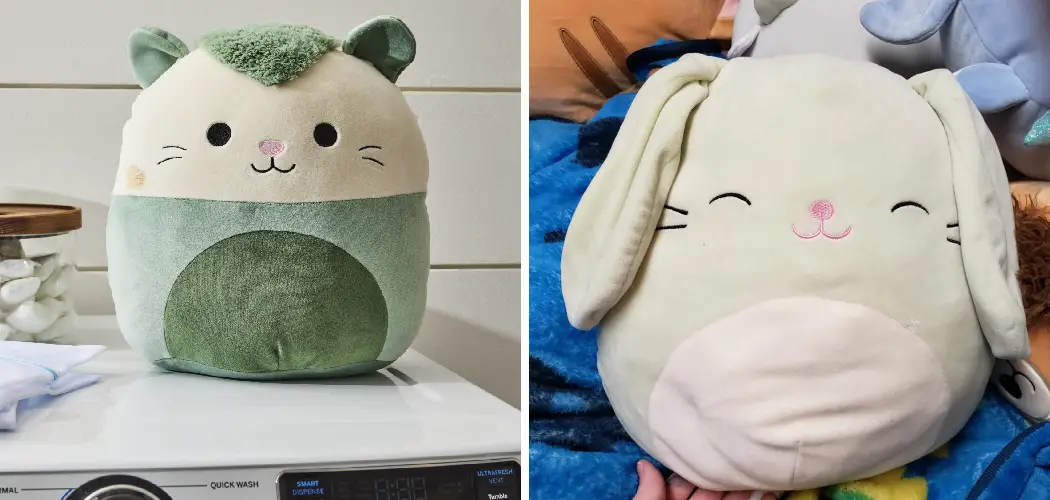
Spot Cleaning:
For minor stains or spills, spot cleaning is the best approach. Use a mild detergent and a clean cloth or sponge. Gently dab the stained area without scrubbing too hard to avoid damaging the fabric. Rinse the area with a damp cloth and let it air dry completely before using your Squishmallow again.
Washing Instructions:
If your Squishmallow needs a thorough cleaning, it’s generally safe to wash it in a washing machine. Place your Squishmallow in a mesh laundry bag to protect it during the wash cycle. Use a gentle cycle with cold water and a mild detergent. Avoid using bleach or fabric softeners, as these can damage the material. After washing, let your Squishmallow air dry completely; avoid using a dryer as the heat can ruin the stuffing.
Storing Your Squishmallow:
When not in use, store your Squishmallow in a cool, dry place away from direct sunlight. Excessive heat and moisture can cause mold growth and damage the fabric. Use a large, breathable storage bag or container to keep your Squishmallow safe and dust-free.
Following these care and maintenance tips will ensure your Squishmallow stays soft, fluffy, and in great condition for years to come. Enjoy the comfort and joy that your well-maintained Squishmallow brings to your life!
Troubleshooting Common Issues
Even with careful maintenance, you may encounter some common issues with your Squishmallow that need troubleshooting. Here are some tips to address these problems:
Lumps and Uneven Stuffing:
If you notice lumps or uneven stuffing after refluffing, gently massage the affected areas. Pinch and knead the lumpy parts to break up any clumps and redistribute the stuffing evenly. If needed, you can add a small amount of new stuffing to balance out the areas that feel sparse.
Tears or Holes in the Fabric:
Over time, your Squishmallow might develop small tears or holes, especially with frequent use. To fix this, you can sew the tear using a needle and thread that matches the fabric color. Use small, tight stitches to close the hole securely. For larger tears, consider using a fabric patch for additional reinforcement.
Persistent Flattened Areas:
Sometimes, certain areas may remain flat despite your fluffing efforts. If this happens, try adding a bit of extra stuffing to those regions. You can purchase stuffing from a craft store and carefully insert it into the flattened sections to restore their shape and firmness.
Odors and Stains that Don’t Come Out:
If your Squishmallow develops odors or stains that don’t come out with spot cleaning, it might be time for a gentle machine wash. Follow the washing instructions mentioned earlier, and consider adding a small amount of baking soda to neutralize odors for stubborn stains; pre-treat the area with a mild stain remover before washing.
Loss of Shape Over Time:
If your Squishmallow loses its original shape over time, you can reshape it by adjusting the stuffing distribution. Focus on fluffing specific sections as needed and give it a good shake to help everything settle back into place. If the loss of shape is severe, consider reinforcing it with a bit more stuffing to achieve the desired look.
By addressing these common issues promptly, you can ensure that your Squishmallow remains in excellent condition and continues to provide comfort and joy. If you find that these troubleshooting steps do not resolve the problem, it may be best to contact the manufacturer for further assistance.
Conclusion
Taking the time to properly care for and maintain your Squishmallow can significantly extend its lifespan and keep it feeling as soft and comforting as the day you first held it. Regular fluffing, appropriate cleaning methods, and mindful storage are essential in preserving the quality of your plush companion.
By addressing common issues promptly and delicately, you can prevent minor problems from becoming major ones, ensuring your Squishmallow remains a source of joy and comfort for years to come.
Remember, the key to a well-maintained Squishmallow is gentle handling and consistent care. Enjoy the enduring cuddles and happiness that your Squishmallow brings into your life! Thanks for reading this article on how to refluff squishmallows.
About
Angela is the chief editor of Indoorense. She began her career as an interior designer before applying her strategic and creative passion to lifestyle and home.
She has close to 15 years of experience in creative writing and online content strategy for housekeeping and cleaning,home decorations as well as other efforts.
She loves her job and has the privilege of working with an extraordinary team. She lives with her husband, two sons, and daughter in Petersburg. When she’s not busy working she spent time with her family.