

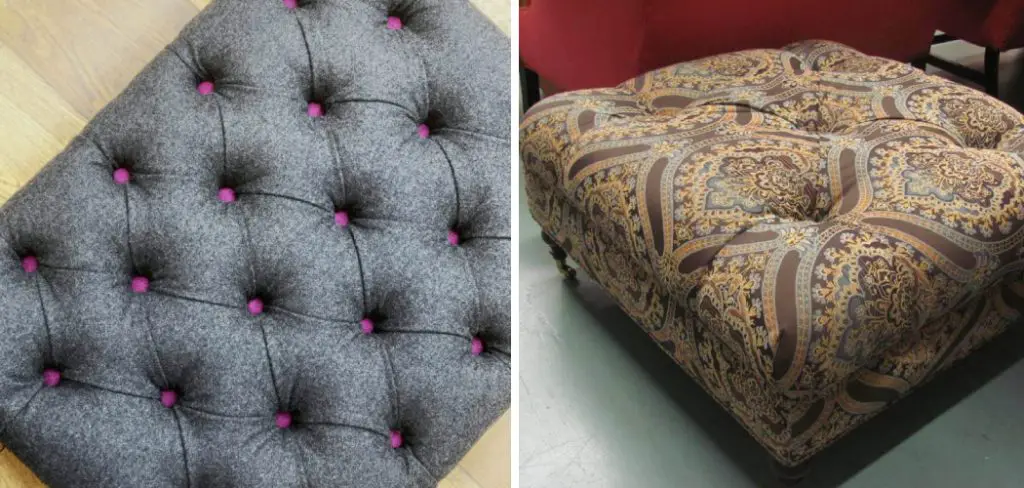
Recovering a footstool with buttons is a simple yet impactful way to refresh your furniture. Whether the fabric is worn out or you’re just looking to update the look, this project allows you to customize your footstool to match your decor. With a variety of fabrics available, you can easily inject new life into a cherished piece, ensuring it complements your home’s aesthetic. However, one unique aspect of this task is maintaining or recreating the button-tufted design, which adds texture and depth to the upholstery.
Button-tufting is an art that requires precision to achieve a polished appearance, presenting a challenge, especially for beginners. Worry not, though; this guide will walk you through the step-by-step process of how to recover a footstool with buttons, from removing the old fabric to reupholstering with a new fabric and securing the buttons. By following these instructions, you’ll transform your footstool into a stylish, personalized accent piece.
Gather Materials and Tools
To successfully recover a footstool with buttons and achieve a professional finish, it’s essential to gather all the necessary materials and tools beforehand. Here’s a comprehensive list to get you started:
Materials:
- New Fabric: Choose an upholstery-grade material for durability. This ensures the fabric will withstand wear and tear over time.
- Button Kit: Needed if you cannot reuse the old buttons or want new matching ones.
- Foam Padding or Batting: Optional if the existing padding is in good condition; helps maintain comfort and support.
- Upholstery Thread or Strong Twine: Essential for securing buttons and providing lasting strength.
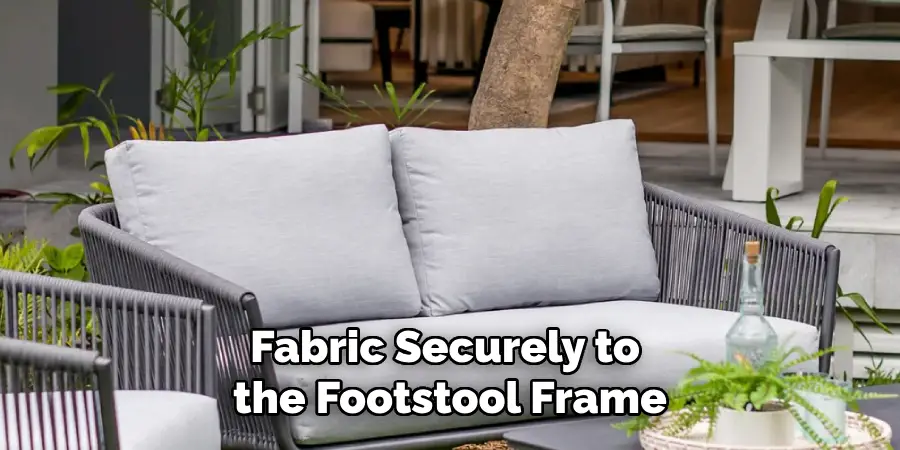
- Staples and Staple Gun: Necessary for attaching fabric securely to the footstool frame.
- Upholstery Needle: Designed for the thick layers involved in this project.
- Scissors or Fabric Shears: Required for cutting fabrics accurately.
- Measuring Tape: This is used to measure the footstool and fabric.
- Pliers: Useful for removing old staples.
Optional Tools:
- Button Cover Kit: Allows for customized buttons matching the new fabric.
- Screwdriver: This may be needed to disassemble any parts of the footstool.
Preparation:
Measure the footstool’s surface area carefully to ensure you purchase enough fabric. Remember to add extra inches around the edges for folding and tucking to maintain neat edges. Consider a fabric choice that matches your home’s design and can endure regular use.
How to Recover a Footstool with Buttons: Remove the Old Fabric and Buttons
Removing the old fabric and buttons is a crucial step in reupholstering. Follow these steps to ensure the footstool is ready for its makeover:
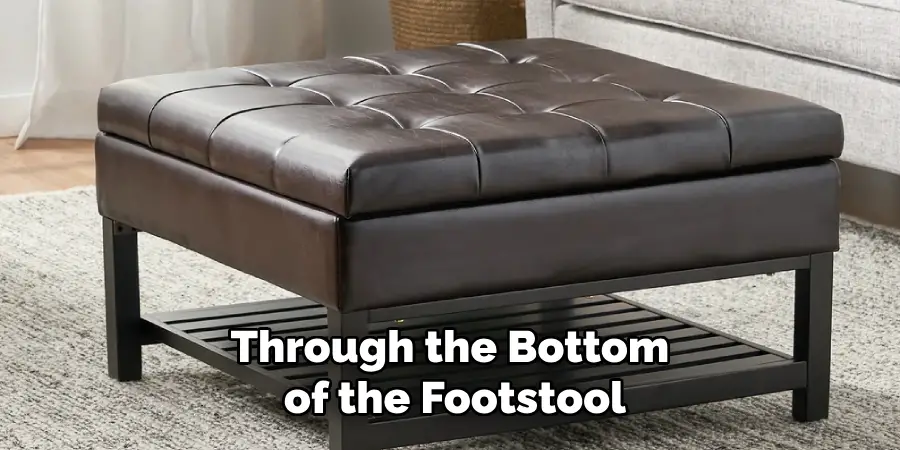
Step 1: Turn the Footstool Over
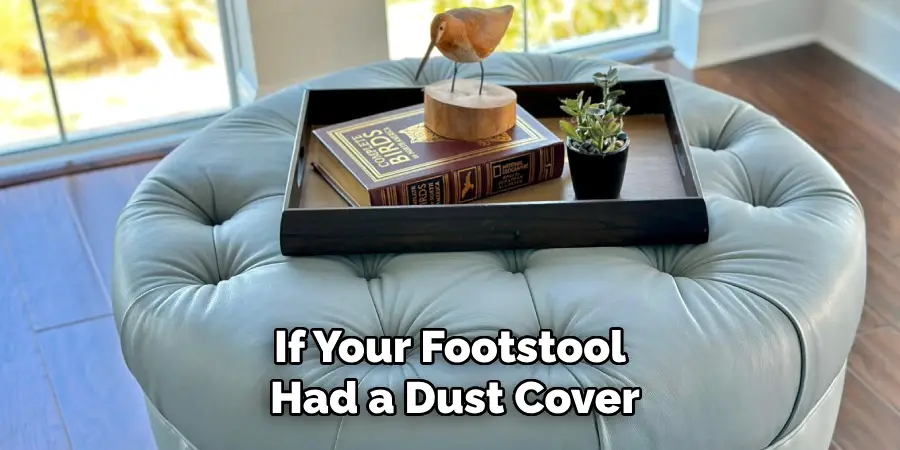
Start by flipping the footstool over to access the underside. If a dust cover or fabric is covering the bottom, remove it carefully. This will expose the staples that need to be removed.
Step 2: Remove Old Staples
Use pliers to carefully extract the staples securing the old fabric. Take your time during this step to avoid damaging the footstool frame. Removing staples slowly and methodically will prevent potential cracks or splinters in the wood.
Step 3: Detach the Buttons
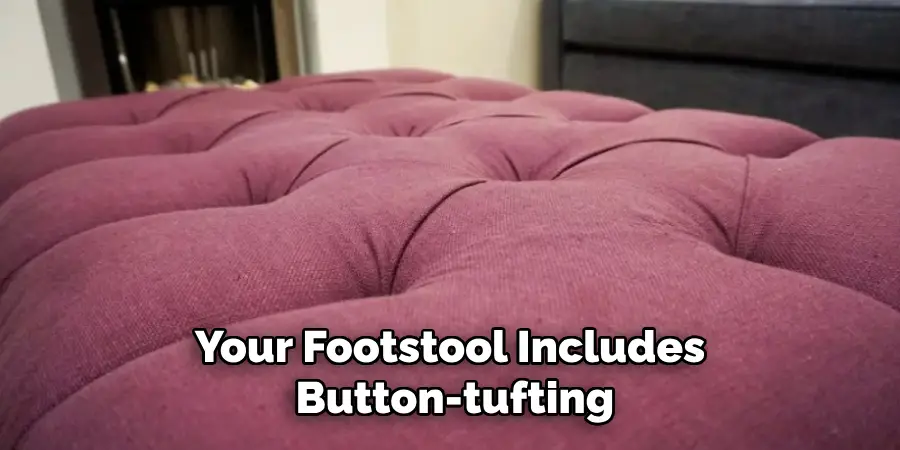
If your footstool includes button-tufting, you’ll see buttons attached to upholstery thread or twine that runs through the foam and secures to the base. To release the buttons, cut the threads or untie them gently. Ensure that all buttons and their connectors are completely removed.
Step 4: Remove Old Fabric
Remove the old fabric from the footstool with all staples and buttons detached. Be cautious during removal, as you can use this fabric as a pattern for cutting your new fabric precisely.
Step 5: Inspect the Padding
Once the fabric is removed, examine the foam padding. If it appears worn out or has lost its shape, replace it with new foam or batting to ensure the footstool maintains a fresh, plump look when reupholstered. Proper inspection and replacement of padding contribute significantly to the comfort and appearance of your finished piece.
Cut and Prepare the New Fabric
To set the stage for a successful reupholstery project, it’s important to thoughtfully cut and prepare your new fabric. Maintaining precision here will ensure a tidy and professional finish.
Step 1: Use the Old Fabric as a Template
Lay out the old fabric on your new material, ensuring it’s flat and wrinkle-free. Carefully trace around the old fabric, adding extra margin for tucking and stapling. This additional fabric is key to securing a snug and secure fit on your footstool.
Step 2: Mark Button Positions
Mark the exact positions of the buttons from your old fabric onto the new one using a fabric marker or chalk. This step is crucial if your footstool includes button-tufting, helping to maintain the tufted design and ensuring even spacing for a symmetrical appearance.
Step 3: Cut the Fabric
With fabric shears, cut along the traced lines, ensuring the edges are clean and consistent. Double-check that sufficient excess material remains around the perimeter for stapling. Accurate cutting is essential to avoid fabric wastage and facilitate a smooth reupholstery process.
Step 4: Prepare Buttons
If opting for new buttons or choosing to cover them with matching fabric, this is the right time. Follow the instructions provided with your button-cover kit, crafting custom buttons that enhance your design.
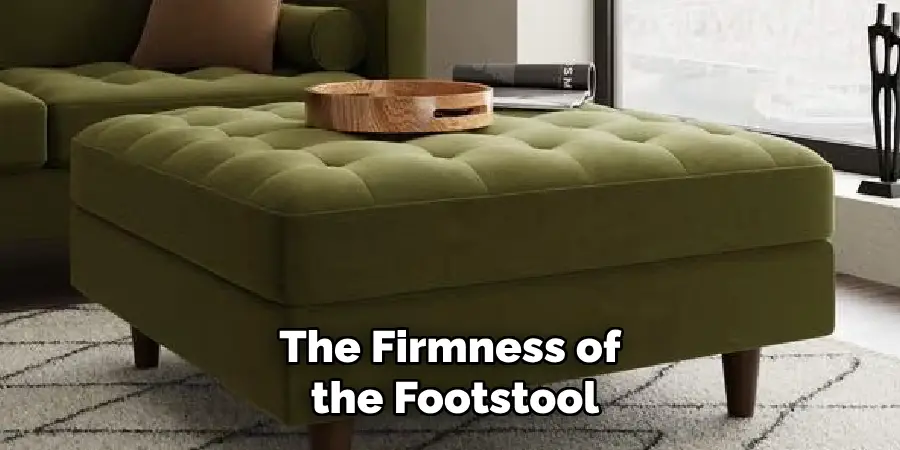
Optional Step: Add Extra Padding
Consider adding layers of batting or foam padding if you wish to increase comfort or alter the firmness of the footstool. Additional cushioning can enhance both aesthetics and comfort, giving your project a tailored finish.
Reupholster the Footstool
Step 1: Position the New Fabric
Lay the new fabric over the footstool, ensuring the button marks align precisely with the pre-existing holes in the padding. This alignment is key to maintaining the original tufted design. Adjust the fabric for a centered and smooth placement, ensuring the pattern, if any, is properly oriented and aesthetically pleasing.
Step 2: Attach the Fabric to the Base
Begin stapling the fabric by selecting one side of the footstool. Pull the fabric taut and staple it to the underside using a staple gun. Proceed to the opposite side, exerting tension on the fabric and stapling continuously to maintain an even finish. Work your way around all four sides, ensuring the fabric remains smooth, taut, and free from any wrinkles or sagging. This methodical approach helps achieve a clean, professional look.
Step 3: Deal with Corners
Address the corners by folding and tucking the fabric carefully. Aim for a crisp and neat corner finish by adjusting folds as needed and trimming any excess fabric that could lead to bunching. Once you are satisfied with the corner appearance, staple the fabric securely to the underside to ensure durability and a polished aesthetic.
Reattach the Buttons
Reattaching the buttons is a meticulous process that brings a touch of elegance to your footstool by reinstating the classic tufted look. Follow these steps to re-secure your buttons elegantly:
Step 1: Thread the Buttons
Using a long upholstery needle and strong upholstery thread, thread your needle with enough thread to traverse the entire footstool and back to the top. Ensure you have ample length to secure the thread properly at both ends, maintaining tension and durability.
Step 2: Create the Button-Tufting
Begin by inserting the needle through the bottom of the footstool, carefully pushing it up through the foam and fabric at one of your pre-marked button locations. Pull the needle through completely, leaving a sufficient thread length at the bottom to secure it once the button is attached.
Step 3: Attach the Button
Upon drawing the needle through the top of the fabric, thread the button neatly onto the needle. Then, guide the needle back down through the same path it emerged from, pulling the thread taut. This action creates a distinctive tufted appearance, adding depth and style to your footstool.
Step 4: Secure the Thread
Firmly tie the thread at the bottom of the footstool. For added security, consider using a staple or knotting the thread around a small piece of wood or fabric to prevent it from pulling through or loosening over time. This step is crucial for ensuring the tufting sustains its form with regular use.
Step 5: Repeat for Each Button
Repeat the threading, tufting, and securing process for each button. Carefully maintain even spacing and consistent tension to achieve a uniform tufting effect across the footstool. This attention to detail enhances your footstool makeover’s visual appeal and longevity.
Final Touches and Inspection
Step 1: Check for Smoothness
Once all buttons are secured and the fabric is stapled, check the footstool’s surface for wrinkles or loose fabric. Adjust as needed by pulling the fabric tighter or restapling loose areas. This ensures the footstool presents a smooth, professional finish, free of imperfections that might detract from its appearance.
Step 2: Replace the Dust Cover
If your footstool had a dust cover on the bottom, replace it by stapling new fabric or the old dust cover back onto the underside of the stool. This step helps to protect the internal structure and gives the footstool a finished look, concealing the underneath mechanics and providing a clean line from top to bottom.
Step 3: Inspect the Button-Tufting
Ensure that all buttons are tight and securely fastened. The tufts should be even and symmetrical, adding visual depth to the footstool. Inspect each button, ensuring none are loose or misaligned, to maintain a cohesive and polished aesthetic that complements the overall design.
Conclusion
Recovering a button-tufted footstool is a rewarding project that can transform an old, worn piece of furniture into a stylish and functional accent. By following the steps outlined in this guide, you have learned how to recover a footstool with buttons, from cutting and attaching fabric to reattaching buttons for a tufted effect. With the right materials and careful attention to detail, your footstool can boast a fresh new look.
Remember, taking your time when positioning the fabric and securing the buttons is key to achieving a professional finish. Always opt for high-quality upholstery fabric and thread for increased durability. Additionally, don’t be afraid to get creative with your fabric selections and button designs to make the footstool uniquely yours. This personal touch not only enhances its aesthetics but also ensures it reflects your individual style.
About
Angela is the chief editor of Indoorense. She began her career as an interior designer before applying her strategic and creative passion to lifestyle and home.
She has close to 15 years of experience in creative writing and online content strategy for housekeeping and cleaning,home decorations as well as other efforts.
She loves her job and has the privilege of working with an extraordinary team. She lives with her husband, two sons, and daughter in Petersburg. When she’s not busy working she spent time with her family.