
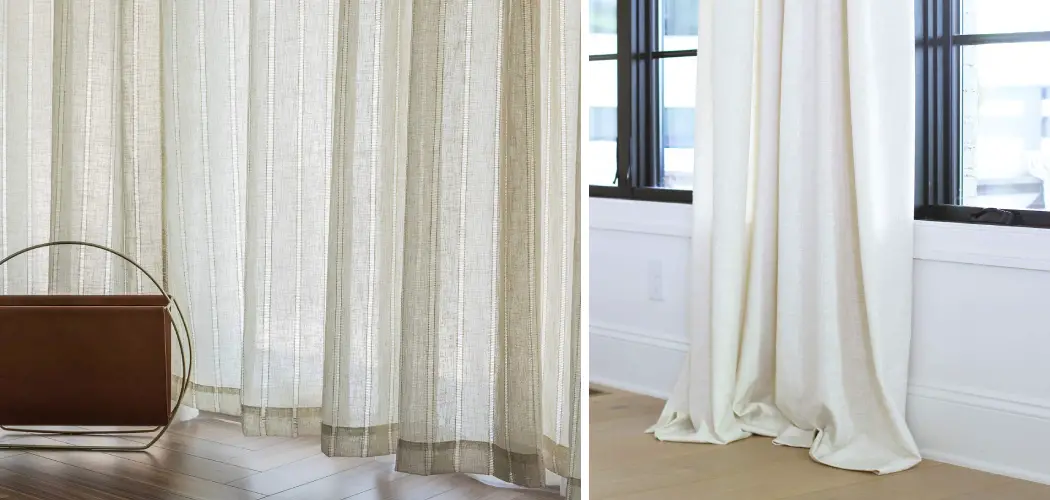
Puddling curtains is a popular technique used in interior design to create an elegant and luxurious look. This method involves allowing the ends of curtains to rest on the floor in gentle folds, adding a touch of sophistication to any room. Not only does puddling offer aesthetic appeal, but it also provides practical benefits like extra insulation and flexibility in styling.
Whether used in formal settings or a casual environment, puddling curtains can transform a space through their dynamic texture and graceful presence.
This guide on how to puddle curtains will walk you through the steps to achieve the perfect puddled look for your curtains, helping you enhance the ambiance of your home.
Why Puddle Curtains?
Before we dive into the process of puddling curtains, let’s understand why it has become such a popular trend in interior design.
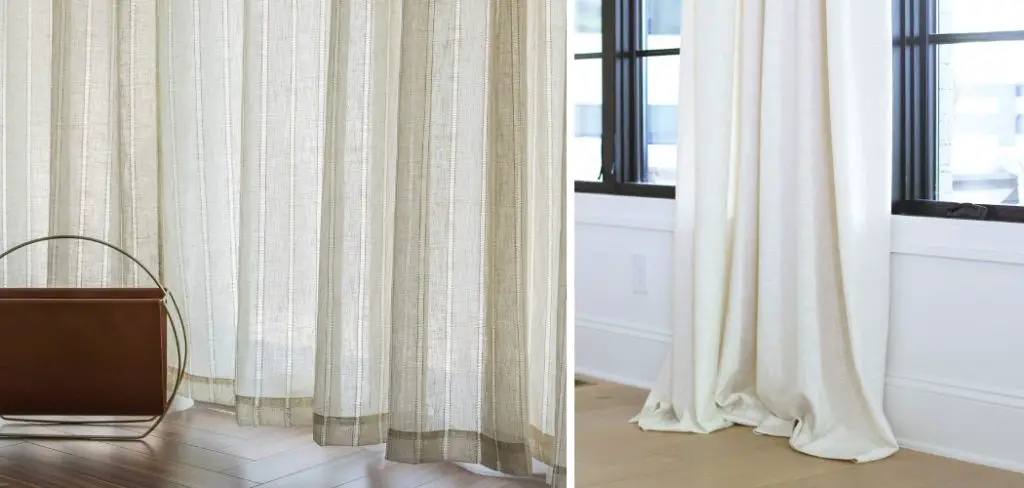
Firstly, puddling adds a touch of opulence to any room. The soft draping of fabric on the floor creates an elegant and luxurious feel, elevating the overall aesthetic of the space.
Secondly, puddling curtains also offer practical benefits. Allowing the fabric to pool on the floor provides extra insulation and helps keep a room warm during colder months. They can also be easily adjusted according to your preference for more or less coverage, making them versatile in styling.
Lastly, puddling curtains create a romantic and whimsical atmosphere. The gentle folds and cascading fabric add texture and movement to a room, creating a cozy and inviting ambiance.
Needed Materials
- Curtains of Your Choice
- Curtain Rod
- Measuring Tape
- Fabric Scissors (Optional)
8 Step-by-step Guidelines on How to Puddle Curtains
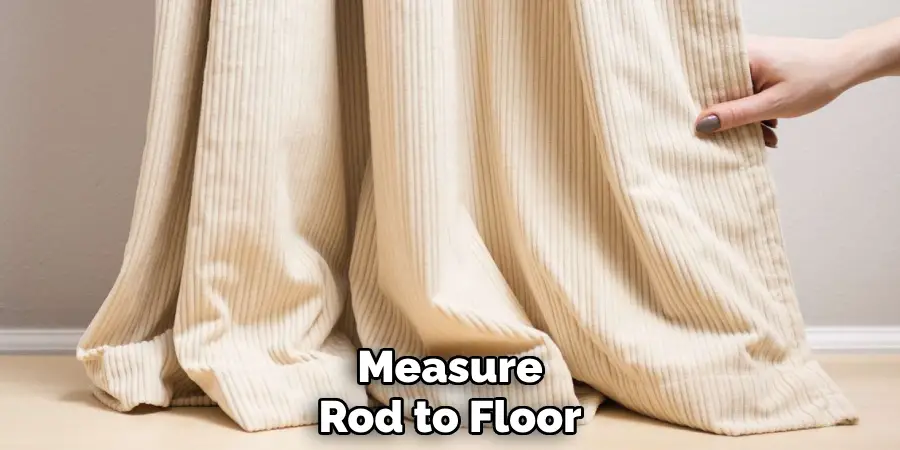
Step 1: Measure the Length of Your Curtains
Begin by determining the ideal length for your puddled curtains. Use a measuring tape to measure from the top of the curtain rod to the floor. Add an additional 4 to 8 inches (or more, depending on your preference) to this measurement to allow the fabric to gather elegantly on the floor. This added length will create the “puddled” effect, enabling the fabric to pool gracefully.
Make sure to consider the thickness and weight of your chosen curtain fabric, as heavier materials may require more length to achieve the desired appearance. Accurate measurements are crucial for achieving a luxurious and polished look.
Step 2: Cut Any Excess Fabric
Once you have determined the ideal length for your puddled curtains, it’s time to trim any excess fabric to ensure they hang perfectly. Using fabric scissors, carefully cut the bottom of each curtain panel to match the measurements you’ve taken. It’s crucial to cut slowly and consistently to maintain a straight edge across the fabric. If you’re unsure, it’s always better to err on the side of caution by trimming less initially, as you can always take a little more off later.
For those not comfortable cutting directly, consider marking the desired length with pins or fabric chalk to guide your cutting process. Remember, precision at this stage sets the foundation for the entire puddling effect, so take your time for a flawless finish.
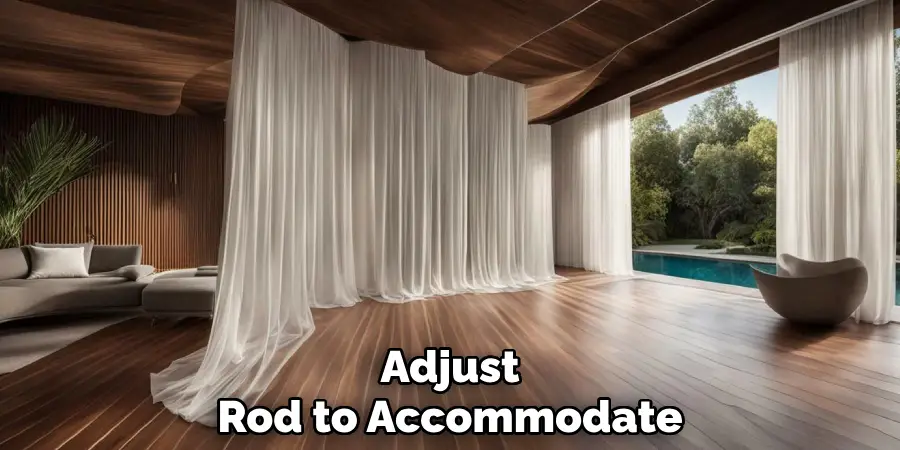
Step 3: Hang Your Curtains
With your curtains now trimmed to the desired length, it’s time to hang them on the curtain rod. Make sure to adjust the rod to accommodate for the additional length you have added for puddling. It’s essential to keep in mind that you will need enough clearance between the curtain and floor while still allowing room for gathering at the bottom.
Double-check that both panels are hanging evenly before moving on to the next step.
Step 4: Create a Hemline
A hemline adds structure and prevents fraying at the bottom of your curtains, especially if you have cut any excess fabric. To create a clean edge, fold up the fabric at the bottom of each curtain panel by approximately 1 inch and iron it in place. For a more polished look, you can also sew the hemline in place. This step helps achieve a neat finish while maintaining the length you have carefully measured.
The hemline acts as a guide for the next step in creating the puddled effect.
Step 5: Gather Fabric at the Bottom
Now it’s time to form the desired “puddles” of fabric at the bottom of your curtains. This step requires you to gather and layer sections of curtain fabric onto itself, creating soft folds on the floor. Remember that this is where your hemline comes into play – use it as a guide for how much fabric you can gather and still maintain an even length across both panels.
Start by gathering small sections of fabric and gently arranging them onto themselves until you achieve a texture that pleases you. You can experiment with different amounts of gathers until you
Step 5: Arrange the Fabric
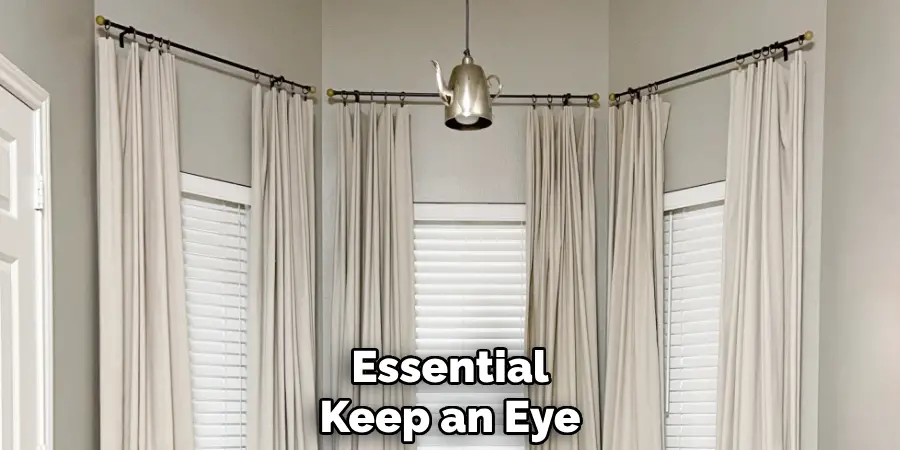
Now comes the fun part – arranging the fabric to create beautiful puddles on your floor. Gently tug and manipulate each curtain panel to gather and drape naturally on top of one another, creating folds as desired. It’s essential to keep an eye on both panels throughout this process to ensure symmetry on either side of your window.
You can use your hands for a more natural-looking result or opt for a more structured gathering by using curtain tie-backs or clips. It all depends on your personal preference and the look you want to achieve.
Step 6: Adjust as Needed
Once you’re satisfied with the puddles formed by your curtains, take a step back and assess the overall look. Make any necessary adjustments to ensure that both panels are symmetrical and that the fabric is evenly distributed across the bottom. You can also make minor tweaks to the hemline if needed at this point.
The great thing about puddling curtains is that there isn’t a specific way they should look – it all depends on your preference and the style of your space. Feel free to play around with different arrangements until you achieve the desired result.
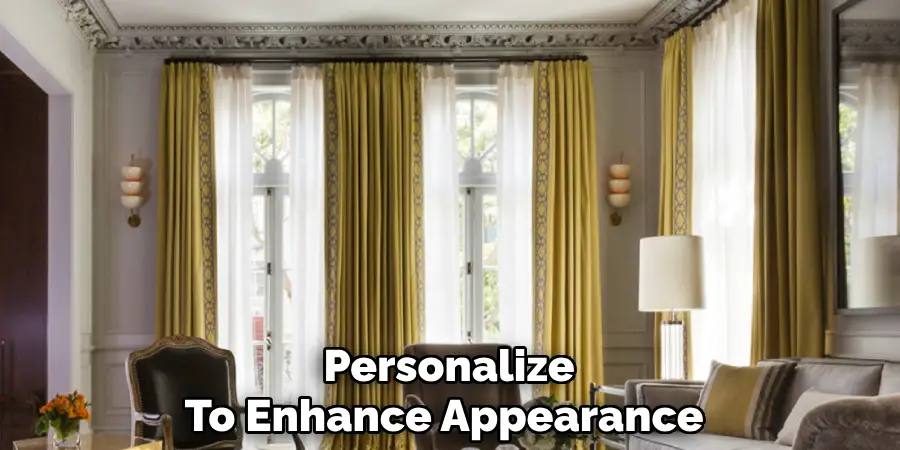
Step 7: Style Your Curtains
With your puddled curtains now in place, it’s time to add some personalized touches to enhance their appearance further. You can experiment with different types of tie-backs, such as ribbons or tassels, to add a touch of elegance or whimsy. You can also incorporate additional layers by using sheer curtains behind your puddled ones for a dreamy and romantic look.
It’s also a great idea to regularly fluff and arrange your curtains to prevent them from becoming too flat and losing their desired “puddled” shape.
Step 8: Enjoy Your Puddled Curtains
Congratulations, you have now successfully created beautiful puddles of fabric on your windows! Sit back and admire the cozy and inviting atmosphere that your new curtains have brought to your space.
Remember, while these are general guidelines for creating puddling curtains, there is no right or wrong way to do it. It all depends on your personal preference and the style of your room. Have fun with the process and enjoy the unique touch that puddled curtains bring to any space. So go ahead and get creative with your curtains to make them a true statement piece in your home. Happy decorating!
Frequently Asked Questions
Q: Can I Achieve the Puddling Effect With Any Type of Curtain Fabric?
A: While any fabric can technically be used for puddled curtains, heavier materials tend to work best as they drape better and create more dramatic folds on the floor. Lighter fabrics may not have enough weight to achieve the desired look.
Q: Do I Need to Puddle My Curtains the Same Way on Both Sides of the Window?
A: No, puddling your curtains doesn’t have to be symmetrical. You can create a more natural and effortless look by arranging the fabric differently on each panel. However, if you prefer a more polished and structured appearance, try to keep the placement of puddles as symmetrical as possible.
Q: How Often Should I Fluff and Rearrange My Puddled Curtains?
A: It’s recommended that you fluff and rearrange your curtains every few days to maintain their desired shape. This will prevent them from becoming too flat or losing their gathered effect. However, feel free to arrange them as often as you like to keep your curtains looking their best. So go ahead and enjoy your beautifully puddled curtains! Happy decorating!
Conclusion
Creating puddled curtains is a delightful way to inject elegance and sophistication into any room. By following the steps outlined in this guide on how to puddle curtains, you can easily achieve a luxurious look that enhances your space’s aesthetic appeal. Remember that the key to successful puddling lies in experimenting with different arrangements and using the right fabric to achieve the desired effect.
Whether you’re aiming for a romantic, whimsical style or a more structured and polished appearance, puddled curtains offer limitless possibilities for personalization. Enjoy the creative process, and let your sense of style shine through as you transform your windows into stunning focal points. Happy decorating!
About
Angela is the chief editor of Indoorense. She began her career as an interior designer before applying her strategic and creative passion to lifestyle and home.
She has close to 15 years of experience in creative writing and online content strategy for housekeeping and cleaning,home decorations as well as other efforts.
She loves her job and has the privilege of working with an extraordinary team. She lives with her husband, two sons, and daughter in Petersburg. When she’s not busy working she spent time with her family.