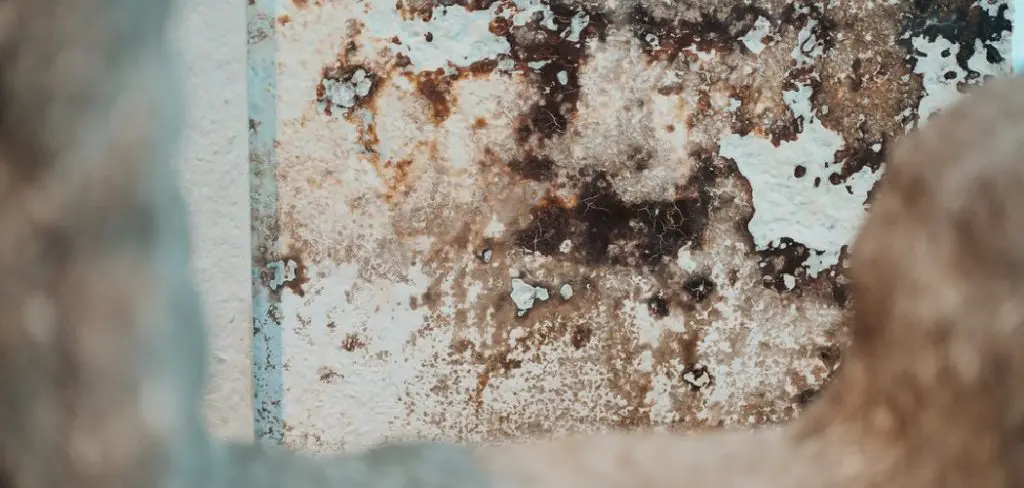
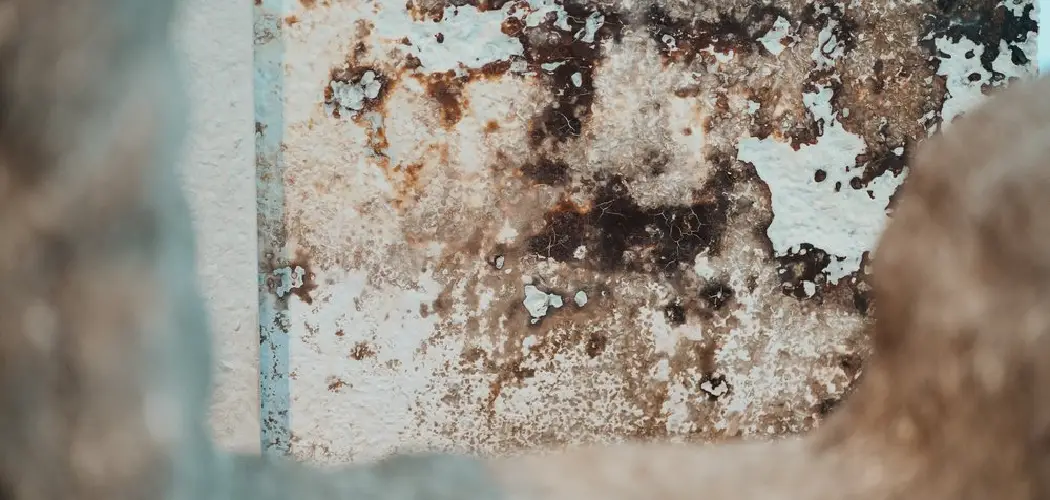
Are you experiencing moist and damp conditions in your house? Moisture seeping into the space through cracks, leaks, or poor ventilation may be the cause.
Moisture accumulation beneath a house can lead to significant structural damage, mold growth, and various health issues for the occupants. Understanding how to effectively prevent moisture from building up in these spaces is crucial for maintaining a healthy and durable home environment. By implementing proactive measures, such as proper drainage systems and ventilation, homeowners can protect their property from the detrimental effects of excess moisture.

This guide on how to prevent moisture under house, will delve into essential strategies and practices that can be adopted to ensure that moisture remains at bay, safeguarding both the structure’s integrity and the wellbeing of those who reside within it.
What Will You Need?
Before you begin implementing preventive measures, you must have the necessary tools and materials to address any issues properly. Some essential items that may be needed include:
- A Moisture Meter: This tool will help you detect and measure moisture levels in different areas under your house.
- Flashlight: To inspect dark and small spaces where moisture may accumulate.
- Protective Gear: When working with mold or other potentially hazardous substances, wear a mask, gloves, and protective clothing.
- Sealants: To seal cracks or gaps where water may be seeping through.
Once you have the necessary tools, it is time to start implementing preventive measures.
10 Easy Steps on How to Prevent Moisture Under House
Step 1. Inspect for Leaks or Cracks:
During the inspection process, thoroughly examine the foundation and walls of your house for any visible leaks or cracks. Utilizing a flashlight, carefully check areas where moisture might enter, paying special attention to corners, joints, and any openings around pipes or cables. Small cracks can be easily overlooked but may grow into more significant problems if addressed. Ensure you record any findings for further analysis.
Use a moisture meter to assess areas where moisture is suspected, even if no visual signs are present. By identifying these potential entry points early, you can seal them effectively and prevent further water ingress, helping protect your home from structural damage and mold growth.
Step 2. Ensure Proper Ventilation:
Proper ventilation is key to preventing moisture build-up under your house. Make sure that vents in the crawl space are unobstructed and sufficient in number to allow for adequate airflow. Regularly clean vents to remove any dirt or debris that might block air circulation. Consider installing additional vents or a crawl space fan to enhance airflow if moisture levels remain high. You might also benefit from using a dehumidifier in areas with high humidity. Maintaining good ventilation, you help reduce condensation and minimize the chances of mold and mildew developing under your house.

Step 3. Install a Vapor Barrier:
A vapor barrier can be instrumental in preventing moisture from the ground from seeping into the space beneath your house. Install a high-quality vapor barrier on the floor of the crawl space to stop moisture from the soil from rising into the air. Begin by clearing the area of any debris and smoothing the ground as much as possible. Unroll the vapor barrier and cut it to fit the space, making sure to overlap the seams by at least 12 inches. Securely tape the seams and edges to ensure a tight seal.
Installing a vapor barrier helps create a moisture-resistant layer, dramatically reducing the chances of mold growth and protecting the structural integrity of your home.
Step 4. Improve Drainage Systems:
Implementing effective drainage systems is crucial for directing water away from your house and reducing moisture beneath it. Start by inspecting the gutters and downspouts, ensuring they are debris-free, and guiding water away from the foundation. Consider extending downspouts further away from the house to prevent water from accumulating near the foundation. In addition, evaluate the grading around your property; the ground should slope away from the house to facilitate proper water runoff. If necessary, incorporate French drains or other drainage solutions to manage water flow effectively.
Step 5. Seal Foundation and Walls:
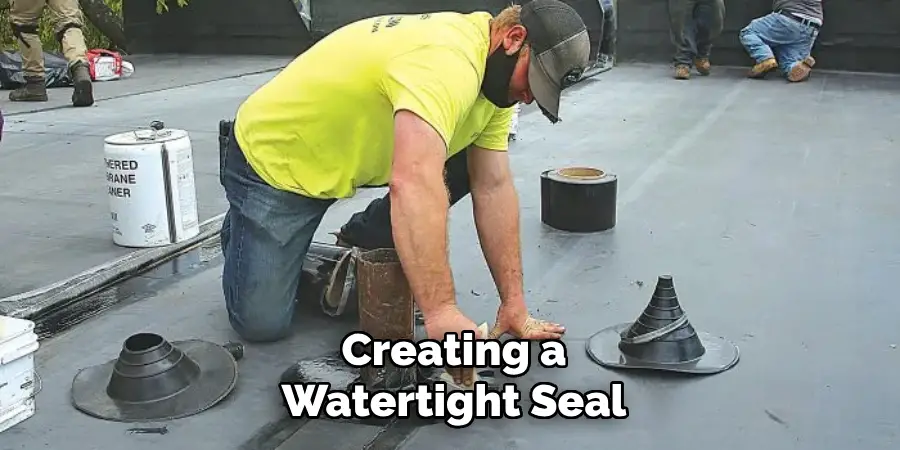
To prevent moisture from entering your home, creating a watertight seal on the foundation and walls is essential. Begin by using a high-quality waterproof sealant on any cracks or gaps that you identified during the inspection process. Pay close attention to areas where different materials meet, such as windows, pipes, and electrical conduits. Apply the sealant generously to ensure a comprehensive barrier against external moisture.

Consider using a flexible waterproof membrane to coat and protect these surfaces for more extensive areas or severe cracks. Regular maintenance and inspection of the sealant will help ensure it remains effective in keeping moisture out, preserving both the structure of your home and its indoor environment’s air quality.
Step 6. Use Dehumidifiers:
Dehumidifiers can be an effective tool for maintaining optimal humidity levels in your house. Place a dehumidifier in the crawl space to extract excess moisture from the air, especially in regions with high humidity. Be sure to select a unit that can handle the space’s size effectively. Regularly empty the unit’s water reservoir and clean its filters for best results as the manufacturer advises.
Additionally, the humidity levels should be monitored consistently, and the dehumidifier settings should be adjusted to maintain an environment where moisture is less likely to contribute to structural or health issues. Proper use of dehumidifiers aids in preventing the conditions that lead to mold growth and other moisture-related problems.
Step 7. Reduce Plant Growth Near Foundation:
Managing vegetation around your home’s foundation is essential for minimizing moisture issues. Plants, especially those with extensive root systems, can interfere with drainage and increase soil moisture levels near your foundation. To address this, ensure that plants, shrubs, or trees are trimmed and maintained safely from the house. Ideally, plant vegetation at least a few feet away from your foundation. Additionally, avoid overwatering your garden or lawn in this vicinity, as excessive irrigation can lead to water accumulation near the house.
Step 8. Regularly Inspect and Maintain the Roof:
The condition of your roof significantly impacts the moisture levels beneath your house. Regular roof inspections and maintenance can help identify and rectify issues that might allow water to enter your home. Look for damaged, missing, or curled shingles that need replacing. Inspect flashing around chimneys, vents, and skylights, ensuring they are securely sealed to prevent leaks. Clean out gutters and downspouts regularly to avoid water overflow and ensure proper drainage. If your roof is aging or in poor condition, consider hiring a professional for a thorough evaluation and potential replacement.

Step 9. Monitor Indoor Humidity Levels:
Keeping an eye on the indoor humidity levels is crucial for maintaining a healthy environment both inside and beneath your home. Invest in a reliable hygrometer to measure the humidity levels regularly in various areas, including significant rooms and crawl spaces. Aim to maintain indoor humidity between 30% and 50% to deter mold and mildew growth. In cases of excessive humidity, consider using additional dehumidifiers or air conditioning to help control moisture levels. Additionally, natural ventilation can be promoted by opening windows and doors when weather permits.
Step 10. Insulate Pipes and Ducts:
Proper insulation of pipes and ducts in the crawl space can prevent condensation, which may otherwise contribute to increased moisture levels. Insulation helps to maintain stable temperatures in pipes and ducts, reducing the likelihood of moisture accumulating on their surfaces. Wrap exposed pipes with appropriately rated insulation material, ensuring all joints and elbows are covered to minimize any areas where condensation might occur. Similarly, insulating ducts that carry warm or cold air should be focused on, as temperature differences can lead to moisture problems if condensation occurs.
By following these steps, you can effectively control moisture in the crawl space under your house and safeguard both your home’s structure and indoor air quality.
5 Things You Should Avoid
- Blocking Ventilation: Ensure that vents and crawl space openings are unobstructed. Proper ventilation is essential for allowing moisture to escape and preventing it from accumulating under the house.
- Improper Grading: Check the slope of the land around your house. If it is sloping towards your foundation, it can cause water to pool and seep into the crawl space.
- Leaking Plumbing: Inspect all plumbing fixtures and pipes regularly for any leaks or signs of damage. Leaky pipes can contribute to high humidity levels and moisture buildup in the crawlspace.
- Poor Drainage System: A poorly designed or clogged drainage system can prevent water from collecting around the foundation and seeping into the crawl space. Regularly check and clean your gutters, downspouts, and drainage pipes to ensure proper water flow from your house.
- Don’t Use Plastic Sheets: While some believe that laying plastic sheets on the ground can act as a vapor barrier, it can trap moisture and contribute to mold growth.

Conclusion
Effectively managing and preventing moisture beneath your home is integral to maintaining its structural integrity and ensuring a healthy living environment.
You can significantly reduce the risk of moisture-related issues by taking a proactive approach, such as installing proper drainage systems, using dehumidifiers, and maintaining a well-insulated and ventilated crawl space. Regular inspections and maintenance of roofing, plumbing, and structural elements fortify your home against water intrusion. By avoiding common pitfalls, such as improper grading and blocked ventilation, and managing vegetation and indoor humidity, homeowners can mitigate potential damage and enhance the durability and safety of their dwellings.
Following these guidelines on how to prevent moisture under house, diligently will help ensure a dry, stable foundation and contribute to your home’s long-term well-being.
Check it out to Remove Window Sill
About
Angela is the chief editor of Indoorense. She began her career as an interior designer before applying her strategic and creative passion to lifestyle and home.
She has close to 15 years of experience in creative writing and online content strategy for housekeeping and cleaning,home decorations as well as other efforts.
She loves her job and has the privilege of working with an extraordinary team. She lives with her husband, two sons, and daughter in Petersburg. When she’s not busy working she spent time with her family.

