

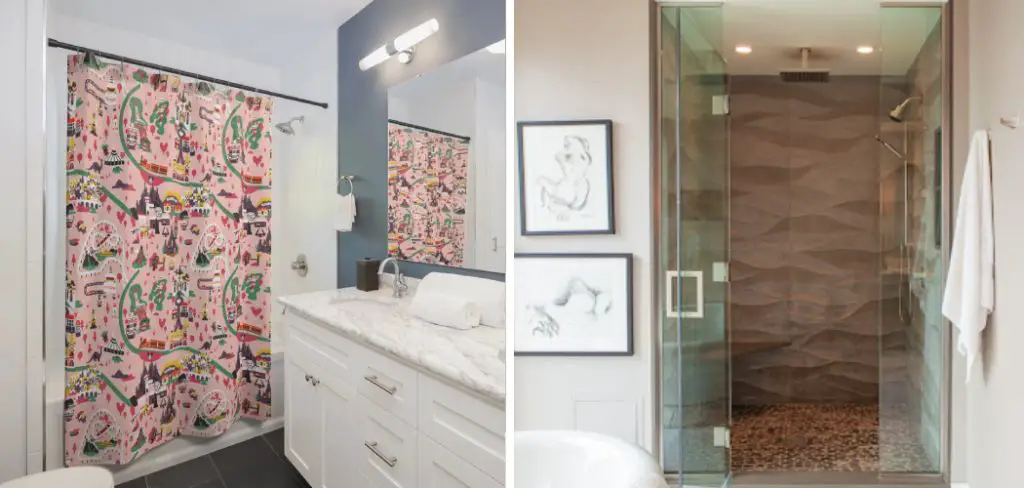
Painting the shower door frame is a straightforward way to revitalize the look of your bathroom without significant renovation. This guide on how to paint shower door frame will walk you through each step of the process, ensuring that even those new to DIY projects can achieve professional results.
By using the right tools and techniques, you can transform a dated-looking frame into a fresh, modern feature. Whether you’re aiming to match a new color scheme or simply refresh the existing finish, this project offers a cost-effective solution to update your space.
Before diving into the task, it’s important to gather all necessary materials and understand the preparatory steps involved.
Why Paint Your Shower Door Frame?
Painting your shower door frame is an excellent way to update the aesthetic of your bathroom without committing to a full-scale remodel. Over time, metal frames can become tarnished or outdated, detracting from the overall look of your bathroom. By applying a fresh coat of paint, you can not only cover up imperfections and blemishes but also bring the door frame into harmony with newer bathroom color schemes and design trends.
Additionally, painting is a cost-effective option that can save you money compared to replacing the entire door frame. Whether you’re preparing to sell your home or simply want to enjoy a more cohesive and appealing bathroom environment, painting the shower door frame is a simple and effective improvement.
Needed Materials
To properly paint your shower door frame, you will need the following materials:
- High-quality Paint Suitable for Metal Surfaces (Choose a Color and Finish That Complements Your Bathroom)
- Primer Specifically Designed for Metal Surfaces
- Fine-grit Sandpaper or Sanding Block
- Painter’s Tape
- Drop Cloths or Plastic Sheeting to Protect Surrounding Areas From Paint Splatters
- Paintbrushes (a Small Angled Brush and a Larger Flat Brush Are Recommended)
- Clean Cloth or Sponge for Wiping Down the Door Frame
- Optional: Paint Thinner or Mineral Spirits (for cleaning the brushes)
8 Step-by-step Guidelines on How to Paint Shower Door Frame
Step 1: Prepare the Area
Before you start painting, it’s crucial to prepare the surrounding area to avoid any accidental drips or damage. Start by laying down drop cloths or plastic sheeting around the shower to protect floors, nearby fixtures, and tiles from paint splatters.
Next, use painter’s tape to mask off any sections adjacent to the shower door frame that should not receive paint, such as glass or wall surfaces. Ensure that the tape is applied tightly along the edges to prevent any paint from seeping through. Finally, open a window or ensure proper ventilation to help with fumes during the painting process and to speed up drying time. This initial step helps create a clean and safe workspace that facilitates the rest of the project.

Step 2: Clean the Shower Door Frame
Before painting, it’s crucial to clean the surface of the door frame thoroughly. Any dust or dirt present on the frame can affect how well the paint adheres and result in an uneven finish. Use a mild detergent and water to scrub away any grime, then rinse with clean water and dry completely.
For metal frames, it’s recommended to use mineral spirits or paint thinner on a cloth or sponge to remove any grease or oils that may prevent proper adhesion.
Step 3: Sand Down the Surface
Once your shower door frame is clean and dry, lightly sand down all surfaces with fine-grit sandpaper or a sanding block. The goal is to create a slightly rough texture on the metal surface, allowing the primer and paint to adhere better. Be sure to wipe away any dust or debris with a clean cloth before moving on to the next step.
The type and amount of sanding needed will depend on the condition and material of your shower door frame. For example, a new aluminum frame may only require a quick scuff, while an older steel frame with peeling paint may need to be sanded down more thoroughly.
Step 4: Apply Primer
Primer is essential for achieving a professional-looking finish when painting metal surfaces. It helps to prevent rust and provides a smooth base to which the topcoat can adhere. Using a small angled brush, apply an even coat of primer to all exposed areas of the shower door frame. Be sure to cover any crevices or hard-to-reach spots.
Allow the primer to dry completely according to the manufacturer’s instructions before moving on to the next step.
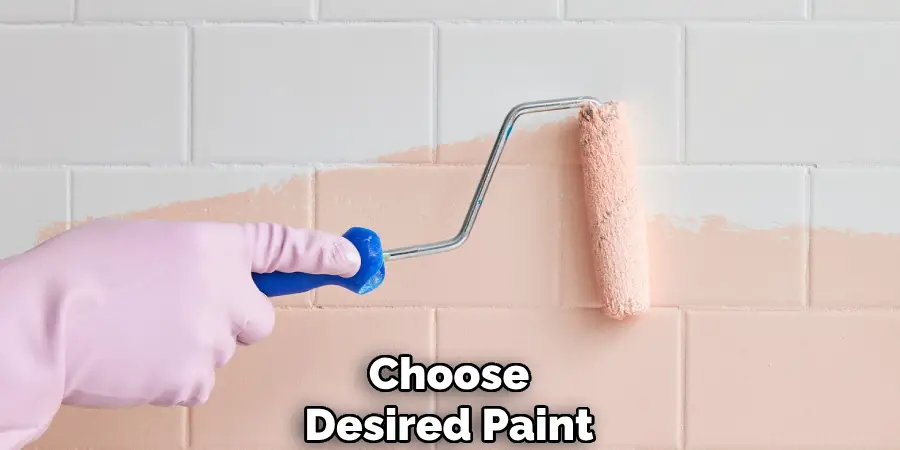
Step 5: Choose and Apply Paint
Once the primer is dry, it’s time to choose your desired paint color and finish. Consider using a high-quality, water-based paint specially formulated for metal surfaces. Use a larger flat brush to apply an even layer of paint over the primed surface, taking care not to leave any brush marks or drips.
To achieve a smooth and professional finish, it may be necessary to apply multiple coats of paint, allowing each coat to dry completely in between.
Step 6: Check for Imperfections and Touch Up as Needed
After the paint has fully dried, inspect the shower door frame closely for any imperfections, such as uneven coverage, paint drips, or brush marks that may have occurred during the application process. Use fine-grit sandpaper to gently smooth any problem areas, being careful not to remove too much paint.
Once the surface is even, apply a touch-up coat of paint where necessary to ensure a uniform finish. Allow the touch-up paint to dry thoroughly. Taking the time to carefully address any inconsistencies will contribute significantly to achieving a high-quality, professional look.
Step 7: Remove Tape and Clean Up
Once the final coat of paint is fully dry, remove the painter’s tape carefully. If any paint has seeped through or stuck to the tape, use a razor blade to gently scrape it off.
Dispose of your drop cloths or plastic sheeting, and clean up any remaining debris from the area. Don’t forget to also properly dispose of used brushes and tools.
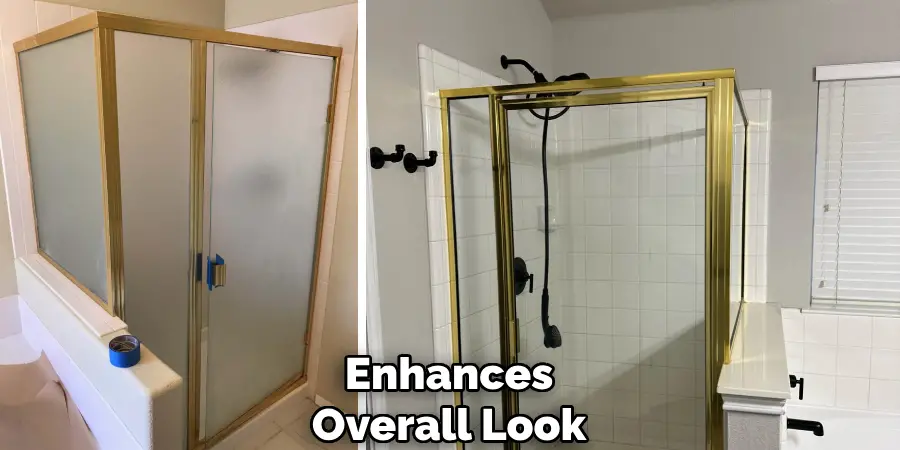
Step 8: Enjoy Your Newly Painted Shower Door Frame!
With your shower door frame now freshly painted, take a step back and admire its updated appearance. Not only does painting your shower door frame improve its aesthetic, but it can also add value to your home. The final product should be a smooth and even finish that enhances the overall look of your bathroom.
Following these step-by-step guidelines on how to paint shower door frame will help you achieve a professional-looking result and ensure that your newly painted shower door frame remains looking beautiful for years to come. So, gather your materials and get ready to transform your bathroom with this simple yet effective improvement project!
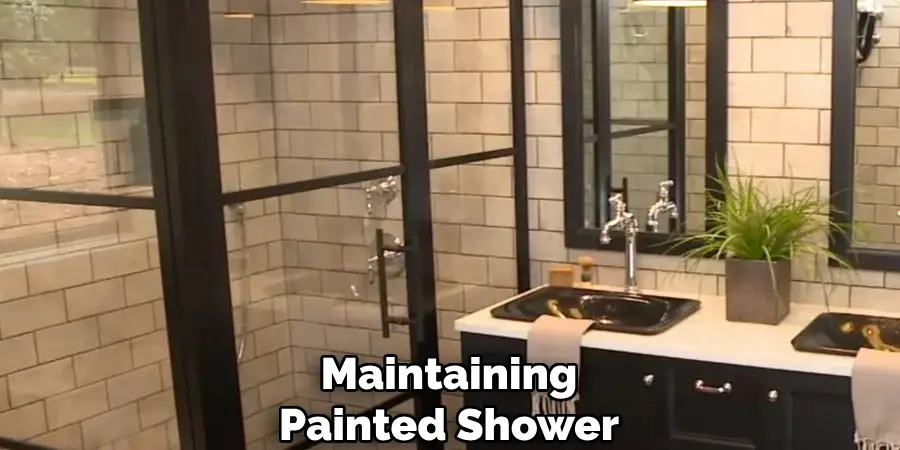
Tips for Maintaining a Painted Shower Door Frame
- Wipe down regularly with a mild cleaner to prevent the buildup of dirt and grime.
- Use caution when hanging or removing towels or other items from the shower door, as excessive friction can damage the paint.
- Avoid using an abrasive cleaner or scrub brushes on the painted surface.
- If any chips or scratches occur, touch them up with a small amount of paint to prevent rusting.
- Repaint every few years as needed to maintain a fresh and updated look.
- Consider using a clear coat sealer to protect the painted surface from moisture and extend its lifespan.
- Be sure to properly ventilate your bathroom during and after showering to prevent excess moisture buildup, which can damage the paint over time.
By following these tips and regularly maintaining your painted shower door frame, you can ensure that it remains looking beautiful for years to come.
Frequently Asked Questions
Q: Can I Paint My Shower Door Frame Without Removing It?
A: Yes, it is possible to paint a shower door frame without removing it. However, this may require more time and effort to properly prep and protect the surrounding area from overspray. It is recommended to remove the door frame if possible for easier and more thorough painting.
Q: Can I Use Regular Paint on a Shower Door Frame?
A: No, it is not recommended to use regular paint on a shower door frame as it may not adhere properly and can peel or chip over time. Instead, opt for a high-quality, water-based paint specifically formulated for metal surfaces.
Q: How Long Does it Take for Painted Shower Door Frames to Dry?
A: The drying time will depend on the type of paint used and environmental conditions. Generally, it can take anywhere from 1-2 hours for primer to dry and 4-6 hours between coats of paint. It is best to follow the manufacturer’s instructions for specific drying times.
Q: Can I Paint My Shower Door Frame a Different Color?
A: Yes, you can paint your shower door frame any color you desire. Just be sure to properly prep and prime the surface before applying the new paint color to ensure optimal adhesion and longevity of the finish. So why not have some fun and experiment with a bold new color for your bathroom?
Conclusion
Painting your shower door frame is a rewarding DIY project that can dramatically enhance the appearance of your bathroom. By following a careful step-by-step guide on how to paint shower door frame, you can achieve a professional finish that not only refreshes the look of your space but also adds value to your home. Remember, meticulous preparation, the right tools, and patience are key to success.
Regular maintenance will ensure that the paint stays vibrant and intact, preventing rust and deterioration. Embrace this simple home improvement task and enjoy the satisfaction of transforming your surroundings with your own hands.
About
Angela is the chief editor of Indoorense. She began her career as an interior designer before applying her strategic and creative passion to lifestyle and home.
She has close to 15 years of experience in creative writing and online content strategy for housekeeping and cleaning,home decorations as well as other efforts.
She loves her job and has the privilege of working with an extraordinary team. She lives with her husband, two sons, and daughter in Petersburg. When she’s not busy working she spent time with her family.