
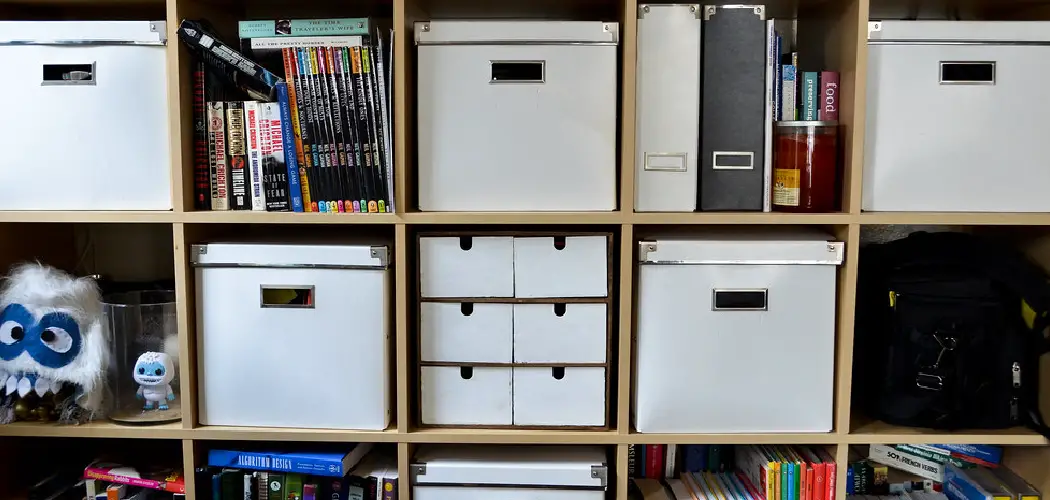
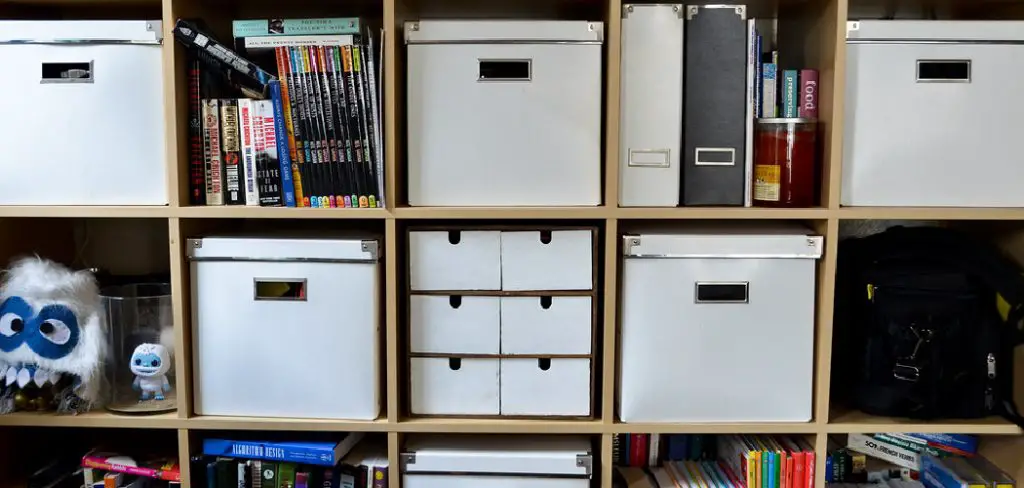
KALLAX is one of IKEA’s most beloved shelving units, praised for its adaptability and functionality. Its minimalist design seamlessly fits into various room configurations, whether as a room divider, storage unit, or display case. However, to truly make it your own, learning how to paint KALLAX can significantly elevate its appeal and help it blend with diverse home decor styles. This article will guide you through the process of transforming your KALLAX unit with paint. We will cover everything from gathering materials to detailed preparation steps, the best painting techniques, and the essential finishing touches. By the end, you’ll have a personalized piece that complements your unique taste and home design.
Gather Your Materials
Before embarking on the project of painting your KALLAX unit, gathering all the necessary materials and tools for a successful transformation is essential.
1. Required Materials
To achieve a professional-looking finish, start with these items:
- Sandpaper: Both fine-grit and medium-grit are required for smoothening surfaces and edges.
- Primer: Opt for a bonding or shellac-based primer to ensure better KALLAX melamine surface adhesion.
- Paint: Depending on your preferred application method and finish, you can choose from acrylic, latex, or spray paint, each tailored for wood surfaces.
- Paintbrushes or Rollers: These are essential for applying the paint evenly across various surfaces.
- Painter’s Tape: Use it to mask off areas you don’t wish to paint, keeping edges crisp and clean.
- Drop Cloths or Newspapers: Spread these to protect your work area from accidental spills or splatters.
- Clear Sealer (optional): Provides an added layer of protection to the painted finish if desired.
2. Optional Tools
Consider these tools for enhanced results:
- Spray Paint: Offers a smoother, faster application, particularly on flat surfaces.
- Paint Sprayer: Ideal for covering large areas uniformly.
- Foam Rollers: Ensures a bubble-free application that is perfect for even finishes.
Additionally, consider the aesthetic you wish to achieve; select a finish type—matte, satin, or gloss—that aligns with your desired look and complements your decor style.
Prepare the KALLAX Unit
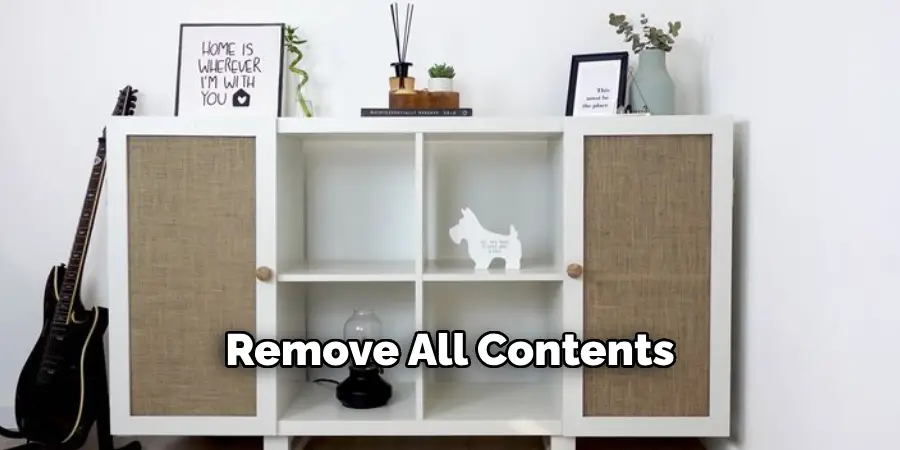
1. Remove All Contents
Begin by emptying the KALLAX unit completely. This ensures that you achieve an even paint job without any obstructions. Having a clear workspace is crucial, so remove all books, decorative items, or storage bins from the unit. Consider using a temporary storage box or a separate area to keep these items organized and out of the way while you focus on painting.
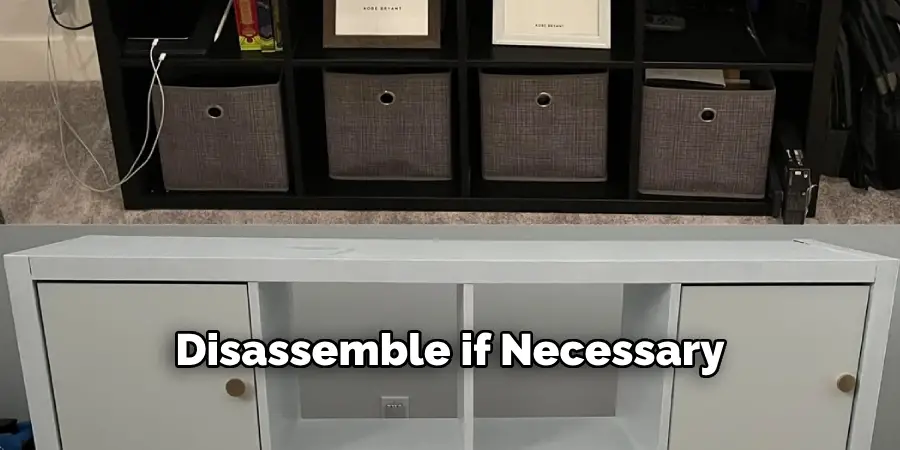
2. Disassemble if Necessary
For larger KALLAX units, it might be advantageous to disassemble the unit to facilitate easier painting. Removing shelves or backs can allow you to reach every nook and cranny more efficiently. As you disassemble, keep all screws and components organized by placing them in labeled bags or small containers to prevent any parts from going missing during the process.
3. Clean the Surface
Proper cleaning is essential for paint to adhere well. Wipe down all surfaces of the KALLAX with a solution of mild soap and water to eliminate any dust, dirt, or grease. Be sure to use a soft cloth or sponge to avoid scratching the surface. After cleaning, allow the unit to dry completely before moving on to the next step in the process.
4. Sand the Surface
Sanding helps create a better surface for primer and paint adhesion. Use medium-grit sandpaper to lightly sand the entire surface, paying particular attention to corners, edges, and any glossy finishes that might resist paint. The goal is to create a slightly roughened texture for the primer to grip onto.
5. Tape Off Areas
Before jumping to painting, use painter’s tape to mask off any areas you don’t wish to paint, such as edges, hardware, or any design features. Ensuring the tape is applied smoothly without any creases is important to prevent paint from bleeding underneath, which helps maintain clean, crisp lines in your finished work.
How to Paint Kallax: Prime the KALLAX
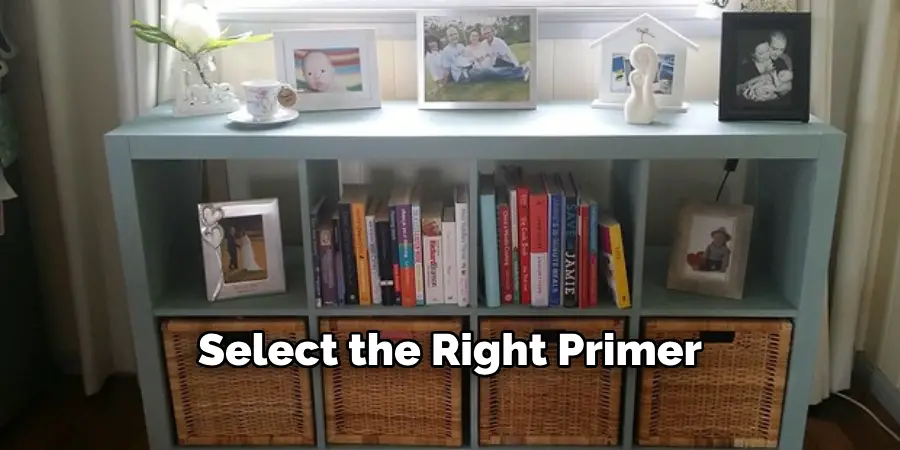
1. Select the Right Primer
Priming is critical when painting a KALLAX unit, especially since its surfaces are typically made of melamine, which doesn’t naturally allow paint to adhere well. Using a suitable primer ensures that the paint bonds effectively, promoting durability and a professional finish. For this purpose, opt for a high-quality bonding primer or a shellac-based primer, both designed to stick to slick surfaces like melamine. These primers create a solid base layer that ensures the paint applies evenly and lasts longer without chipping.
2. Apply the Primer
Once you’ve selected the right primer, it’s time to apply it uniformly across the entire surface of the KALLAX. Begin with a clean, dry unit and use a paintbrush, roller, or spray for application. Brushes or rollers are ideal for applying primer on flat surfaces and edges, while a spray can achieve a smoother finish on larger areas. Ensure you apply thin, even coats to prevent drips or streaks, as these can affect the final appearance of the paint. Take care to cover all sanded areas, corners, and edges for thorough adhesion.
3. Allow for Drying Time
After applying the primer, it’s crucial to let it dry completely before moving on to painting. Follow the manufacturer’s instructions for drying times; generally, it might take a few hours. During this period, inspect the surface for any rough spots that might have developed and sand them lightly if necessary. A completely dry and smooth primer base is essential for achieving a flawless paint application in the next steps.
How to Paint Kallax: Paint Process
1. Choose Your Paint
When painting a KALLAX unit, selecting the right type of paint is crucial for achieving a durable and appealing finish. Acrylic paint is known for its flexibility and ease of use, making it suitable for KALLAX surfaces, while latex paint offers a water-based option that dries quickly and emits fewer fumes, which is ideal for indoor projects. Spray paint can provide a smooth, professional-looking finish, particularly on larger and flatter surfaces, though it requires good ventilation and precise application techniques. In regards to color, choose shades that complement your existing decor. Neutral tones can seamlessly blend into most settings, while bold colors can create a statement piece.
2. Apply the First Coat
Start with the first coat of paint by using a high-quality brush, roller, or spray, depending on your choice of paint. For a smooth and even finish, apply the paint in thin, uniform strokes, beginning with the larger, flatter surfaces before moving to the edges and corners. Work meticulously in sections to ensure thorough and consistent coverage throughout. Pay particular attention to hard-to-reach areas, opting for a smaller brush or angled tool to access those spots without oversaturating or missing patches.
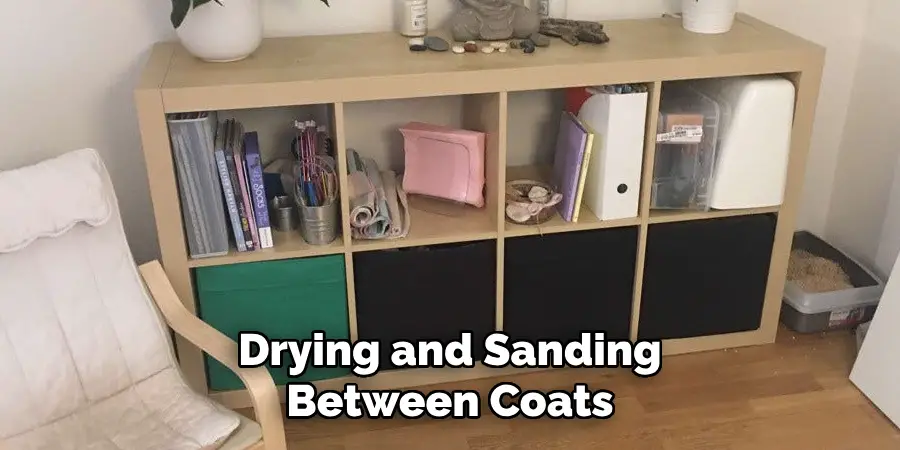
3. Drying and Sanding Between Coats
It’s essential to let each coat of paint dry completely before applying the next one. Refer to the paint manufacturer’s guidelines for recommended drying times. Once the first coat is dry, lightly sand the surface with fine-grit sandpaper to remove any imperfections and ensure a smooth subsequent layer. Sanding between coats enhances the finish and aids in paint adhesion, making the final result more resilient and polished.
4. Apply Additional Coats
Apply two to three coats of paint for optimal coverage and a rich finish. Each additional coat should be applied similarly to the first, with careful attention to even strokes and comprehensive coverage. The final coat is particularly important, as it determines the aesthetic quality of the surface; take your time to apply it evenly, ensuring no runs or drips detract from your hard work. Always allow adequate drying time after the last coat before reassembling and using the unit.
Finishing Touches
1. Clear Sealant Application
Applying a clear sealant to your painted KALLAX is vital in protecting your hard work. Sealants guard against scratches and everyday wear, ensuring the vibrant colors and smooth finish stand the test of time. Depending on your desired aesthetic, there are several sealant finishes to consider: matte offers a subtle, non-reflective look; satin provides a soft sheen with a bit more luster, while gloss delivers a vivid, high-shine appearance. Choose the sealant type that best complements your decor style while offering robust protection.
2. Reassemble and Style
Once the sealant has cured, you can begin reassembling any parts of the KALLAX that were disassembled during the painting process. Follow your initial steps in reverse order to ensure each piece is securely in place. To elevate the look of your newly refreshed unit, consider styling it with an assortment of decorative items such as elegant vases, framed photos, or curated books. Storage boxes are also an excellent choice for maintaining a tidier, more organized appearance while adding a touch of personal flair to the unit.
3. Regular Maintenance
Proper maintenance of your painted KALLAX will prolong its beauty and functionality. Regular dusting with a soft, dry cloth will keep the surfaces clean. For more thorough cleaning, use gentle cleaning products free from harsh chemicals to avoid damaging the paint. Avoid abrasive scrubbing tools that could scratch or chip the painted finish. With careful care and maintenance, your KALLAX will remain a stunning addition to your space.
Conclusion
Embarking on a project to learn how to paint KALLAX units rejuvenates your furniture and profoundly transforms your living space. By following the detailed steps—selecting the right primer and paint, applying them with attention to detail, drying properly, and finalizing with a protective sealant—you’re set to achieve a vibrant, customized look for your KALLAX. This DIY endeavor allows you to express personal style and adapt the unit to complement any decor. The process is satisfying, yielding a refreshed and stylish piece that enhances your home aesthetics.
About
Angela is the chief editor of Indoorense. She began her career as an interior designer before applying her strategic and creative passion to lifestyle and home.
She has close to 15 years of experience in creative writing and online content strategy for housekeeping and cleaning,home decorations as well as other efforts.
She loves her job and has the privilege of working with an extraordinary team. She lives with her husband, two sons, and daughter in Petersburg. When she’s not busy working she spent time with her family.