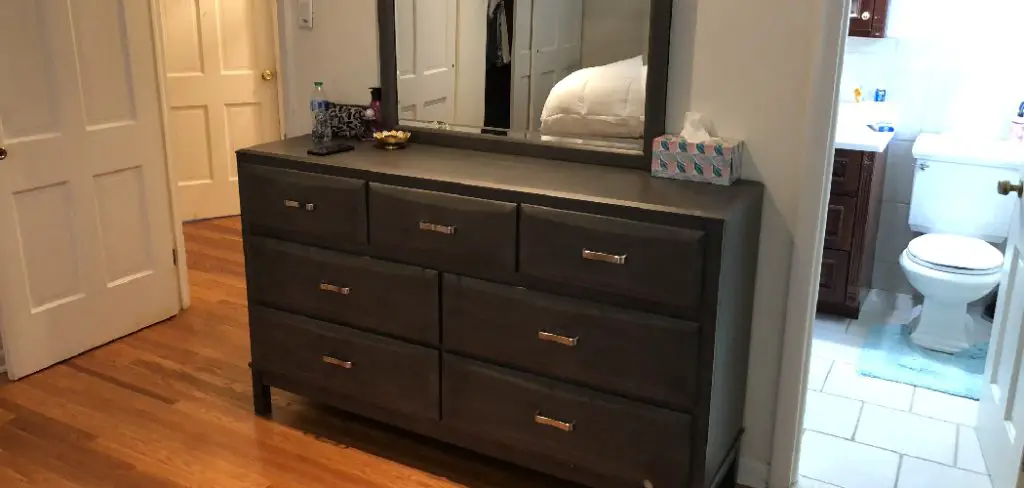
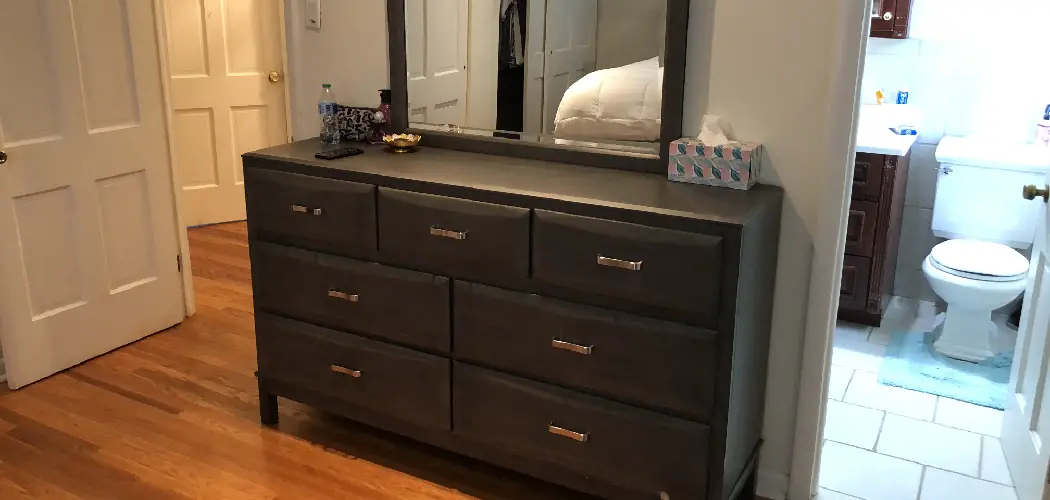
Are you someone who loves to work with your hands and create beautiful things? Do you enjoy giving new life to old furniture? If so, then painting an Ikea Hemnes dresser can be a fun and rewarding project for you!

How to paint Ikea Hemnes dresser can be a fantastic way to customize your furniture and add a personal touch to your home’s decor. Whether you aim to refresh its appearance or match a new color scheme, a fresh coat of paint can bring new life to this functional piece. The process involves several key steps, from preparing the surface and choosing the right paint to applying the finish for a lasting effect.
With the right tools and techniques, even a novice can transform a plain Ikea dresser into a unique and stylish piece that reflects their aesthetic preferences.
What Will You Need?
To successfully paint your Ikea Hemnes dresser, you’ll need the following:
- Sandpaper (medium and fine grit)
- Cleaning supplies such as mild soap, water, and a clean cloth
- Primer
- Paint (latex or oil-based)
- Paintbrushes (a mix of sizes for detailed work and larger surfaces)
- Painter’s tape
- Protective finish (polyurethane or wax)
In addition to these supplies, you may also want to invest in a drop cloth to protect your workspace and some disposable gloves to keep your hands clean.
9 Easy Steps on How to Paint Ikea Hemnes Dresser
Step 1: Disassemble the Dresser
To begin your project, the first step is to disassemble the dresser. Start by removing all the drawers and taking off any hardware, such as knobs or handles, setting them aside in a safe place to prevent any loss. This step ensures that each part of the dresser is accessible and can be painted thoroughly, allowing for a more professional-looking finish. If there are detachable pieces, such as decorative trims or panels, carefully remove those as well.

Remember to label each part, especially if there are many pieces, to make reassembly easier. Taking the dresser apart provides better access to all surfaces and helps you avoid accidental drips and uneven paint application on awkward angles and hard-to-reach areas. This preparation sets a solid foundation for your painting project and significantly impacts the quality of the final result.
Step 2: Sand the Surfaces
After disassembling the dresser, the next crucial step is to sand all the surfaces you plan to paint. Start with medium-grit sandpaper to remove the sheen from the Hemnes dresser’s surface, ensuring better adhesion for the primer and paint. Sanding helps to smooth out any scratches or imperfections that may have accumulated over time. Once you’ve completed the initial sanding, switch to fine-grit sandpaper to create an even smoother surface, leading to a more polished finish. Be sure to sand along the wood grain to avoid making any new scratches.
After sanding, thoroughly clean the dresser’s surfaces with mild soap and water to remove dust and debris. Let it dry completely before moving on to the next step. Meticulous sanding is critical to achieving a high-quality finish and sets the stage for a longer-lasting paint job.
Step 3: Apply Primer
The next step is to apply a primer with the surfaces now smooth and prepared. Primer is essential as it helps the paint adhere better to the dresser and provides a uniform base for paint application. Choose a primer appropriate for the type of paint you plan to use, whether latex or oil-based. Using a paintbrush or roller, apply a thin, even coat of primer to all surfaces that will be painted. Be sure to reach into crevices and corners to cover the entire area, but avoid overloading your brush to prevent drips.

Allow the primer to dry according to the manufacturer’s instructions—typically a few hours—to ensure it forms a solid base. Proper primer application not only enhances the final appearance of the paint but also lengthens its durability.
Step 4: Choose the Right Paint
After the primer has dried thoroughly, it’s time to select the right paint for your Ikea Hemnes dresser. When choosing paint, consider whether you prefer a latex or oil-based option, as both have their benefits. Latex paint is easy to clean with soap and water, dries quickly, and emits fewer odors, making it a popular choice for indoor projects. Oil-based paint is known for its durability and smoother finish but requires mineral spirits for cleanup and has a longer drying time. Consider the overall look you want—whether it’s a matte, satin, or glossy finish—as this will dictate the type of paint you select.
Remember to choose a color that complements your existing decor or adds a bold, new element to your space. Before painting the dresser, give the paint a good mix to ensure consistent color throughout. With the right paint choice, your dresser will look aesthetically pleasing and stand the test of time.
Step 5: Paint the First Coat
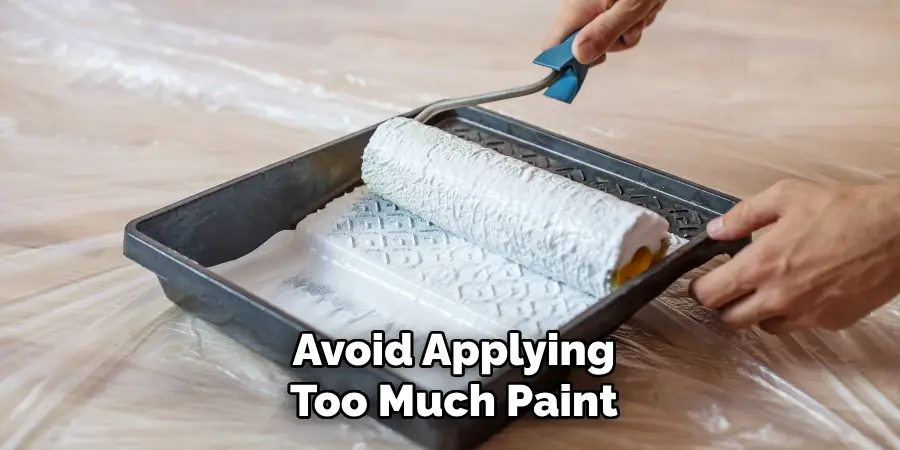
Begin painting your Ikea Hemnes dresser by applying the first coat of paint. Using a high-quality brush or roller, start with light, even strokes, following the wood grain to achieve a smooth and consistent finish. Avoid applying too much paint on the brush to prevent drips and streaks. Begin with the larger surfaces, such as the top and sides, then move on to detailed or smaller areas like trims or edges. Allow the paint to dry completely by the manufacturer’s guidelines before deciding if a second coat is necessary.

Depending on the type and color of paint used, as well as the original color of the dresser, additional coats may be needed to achieve full coverage and the desired depth of color. Patience in this step ensures a more professional and finished appearance, setting the groundwork for a beautifully transformed piece.
Step 6: Inspect and Lightly Sand
After thoroughly drying the first coat, carefully inspect the surface for imperfections, such as drips, streaks, or uneven coverage. Use fine-grit sandpaper to lightly sand the painted surfaces, focusing on areas that may feel rough or seem uneven. This light sanding will help smooth the surface, remove inconsistencies, and promote better adhesion for the second coat. Be sure to sand gently to avoid removing too much paint. Once satisfied with the smoothness, wipe down the surface with a clean cloth to remove any sanding dust before proceeding to the next coat.
Step 7: Apply the Second Coat
With the surface prepped and imperfections addressed, it’s time to apply the second coat of paint. Using your brush or roller, apply the paint in thin, even layers, following the wood grain for a uniform finish. This second coat will enhance the color depth and ensure complete coverage, providing a more vibrant and lasting appearance. Pay attention to achieving a consistent application, and avoid any excess paint to prevent drips or uneven textures. Once again, begin with the larger surfaces and work towards the smaller details. Allow the second coat to dry thoroughly, checking with the manufacturer’s instructions for the appropriate drying time.
Step 8: Reassemble the Dresser
Once the second coat of paint has dried completely, it’s time to reassemble your Ikea Hemnes dresser. Begin by carefully attaching any removed components, such as drawers, doors, and hardware. Make sure each piece is securely in place and functions smoothly. If you opt to replace any hardware, this is the moment to install the new knobs or handles, which can further enhance the updated look of your dresser. Ensure all screws and fittings are correctly tightened to guarantee stability. This final reassembly step marks the completion of your project, allowing you to enjoy the refreshed and personalized look of your transformed furniture piece.

Step 9: Apply Protective Finish
To further preserve the paint job and enhance the durability of your newly transformed Ikea Hemnes dresser, it’s essential to apply a protective finish. A clear topcoat, such as polyurethane or polycrylic, can protect against scratches, stains, and everyday wear. Choose the finish based on your desired sheen—matte, satin, or glossy—and its compatibility with the paint type used. Gently stir the topcoat before application, and use a clean, high-quality brush or foam applicator to apply a smooth, even layer across the painted surfaces. It’s essential to maintain thin layers to avoid bubbles or streaks.
Allow the finish to dry according to the manufacturer’s instructions, which may require a well-ventilated area free from dust and debris. Consider applying multiple coats and lightly sanding between each layer if recommended for added protection.
By following these straightforward steps, you can quickly transform your Ikea Hemnes dresser into a customized and stylish piece of furniture.
Conclusion
How to paint Ikea Hemnes dresser is a rewarding project that allows individuals to express their creativity while personalizing their furniture to match their unique style.
Following these detailed steps ensures that each stage of the painting process—from preparation to final touches—is executed with precision and care. Selecting suitable materials, such as primer and paint, along with proper techniques like sanding and applying a protective finish, guarantees a professional result that enhances your dresser’s functionality and aesthetic appeal. This DIY transformation rejuvenates an old or plain piece of furniture and adds a personal touch to your home decor.
With adequate preparation, patience, and attention to detail, your Ikea Hemnes dresser can become a standout piece that showcases your taste and flair.
Check it out to Paint Stairway Railings
About
Angela is the chief editor of Indoorense. She began her career as an interior designer before applying her strategic and creative passion to lifestyle and home.
She has close to 15 years of experience in creative writing and online content strategy for housekeeping and cleaning,home decorations as well as other efforts.
She loves her job and has the privilege of working with an extraordinary team. She lives with her husband, two sons, and daughter in Petersburg. When she’s not busy working she spent time with her family.

