

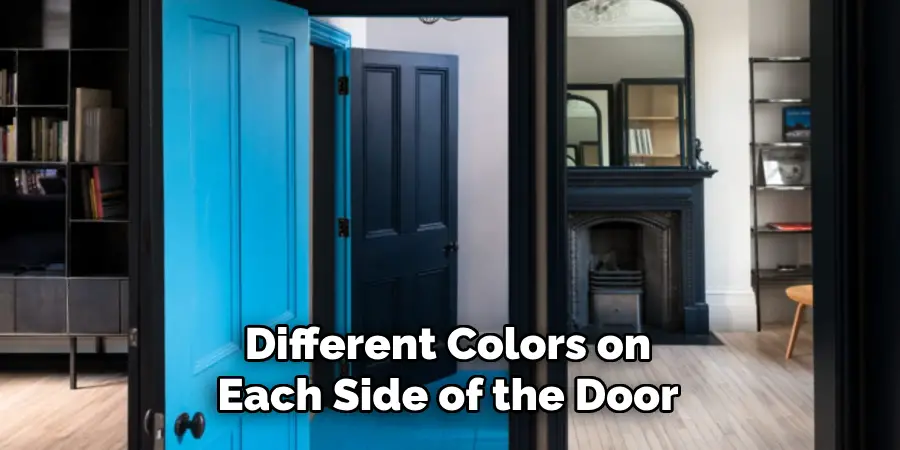
Painting cabinet doors on both sides is an effective way to increase the lifespan of your cabinets. Not only does it give them a longer life and better look, but it also allows you to use different colors or designs on either side. Plus, if one side becomes damaged, you can quickly switch to the other without replacing any hardware or materials.
Painting cabinet doors on both sides is an excellent way to enhance the look of your kitchen cabinets without replacing them completely. It’s more cost-effective than replacing the entire door and can be done in a fraction of the time.
Best of all, painting both sides of your cabinet doors allows for a unique two-tone look that will give your kitchen a modern and stylish feel. In this blog post, You will learn how to paint cabinet doors on both sides.
Step-by-step Instructions for How to Paint Cabinet Doors on Both Sides
Step 1: Inspect the Cabinet Doors
Before beginning, inspect the cabinet doors for any damage or wear and tear. If there are any dents, cracks, chips, or scratches on the door’s surface, these must be taken care of first. Sand down rough patches and fill in holes with wood filler to create as smooth a surface as possible before painting.
Step 2: Remove Doors from Hinges
Once the cabinet doors have been inspected, remove them from their hinges with a screwdriver. This will make it easier to paint both sides of the door without worrying about painting over any hardware or hinges. It’s essential to clean the cabinet doors before painting. Using a damp cloth, gently wipe the surface of each door. Remove any dust or dirt that may have built up on them.
Step 3: Sand Down Cabinet Doors
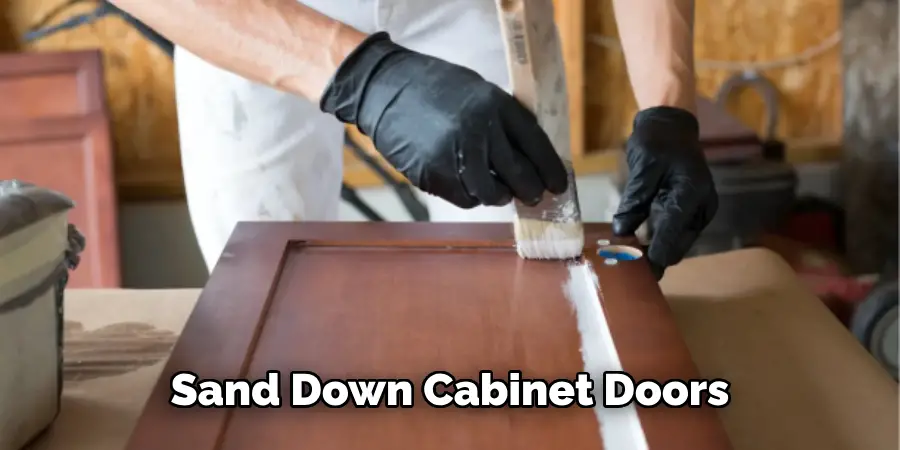
Once you’ve cleaned off the cabinet doors, use sandpaper to smooth out any rough edges or patches. This will help the paint adhere to the surface, creating a more even finish. Next, you’ll need to apply primer to the cabinet doors. Make sure to use an appropriate primer for your chosen type of oil- or water-based paint. Once applied, let the primer dry for 2-3 hours before adding additional layers.
Step 4: Applying Paint to Cabinet Doors
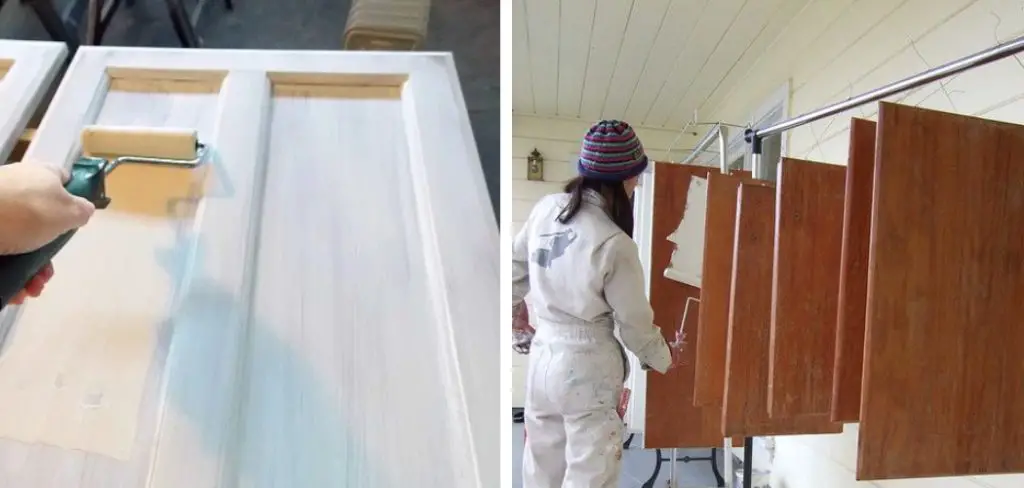
Now it’s time to apply the paint to the cabinet doors! If you are using spray paint, use even, sweeping motions and keep your arm at a distance as you spray each door. If you use a brush, use long strokes, and don’t try to cover the whole door in one go. Allow the paint to dry for 1-2 hours.
Step 5: Applying the Second Coat of Paint
Once the first layer of paint has dried completely, it’s time to add a second coat. Again, make sure to use even strokes when applying the paint. This will help create an even, professional-looking finish.
Allow the second layer of paint to dry completely before continuing. Once the second layer of paint has dried, sand it down with fine-grit sandpaper. This will help to remove any imperfections in the paint and create a smooth finish. After this, apply a top coat to seal the paint and ensure it lasts longer.
Step 6: Re-Installing Cabinet Doors
Once you’ve completed all of the steps above, it’s time to re-install your cabinet doors. Simply re-attach the doors to their hinges and ensure they are securely placed before closing them.
Sit back and admire your newly painted cabinet doors, knowing you have completed the job with quality and precision. Now that your cabinet doors are painted consider making other upgrades around your home. Plenty of ways to spruce up a space, from painting walls and floors to adding new furniture or artwork. You can create the perfect look for your home with a little imagination.
Precautions for How to Paint Cabinet Doors on Both Sides
- Make sure the area you are painting is well-ventilated, and use a dust mask to protect yourself from harmful fumes or particles.
- Be sure to wear protective gloves when handling paint cans and brushes.
- Wear safety goggles when sanding cabinet doors and other surfaces to avoid getting any debris into your eyes.
- When sanding cabinet doors, do it gently to avoid damaging or warping the wood grain.
- Clean off any dust generated by sanding before you begin to paint.
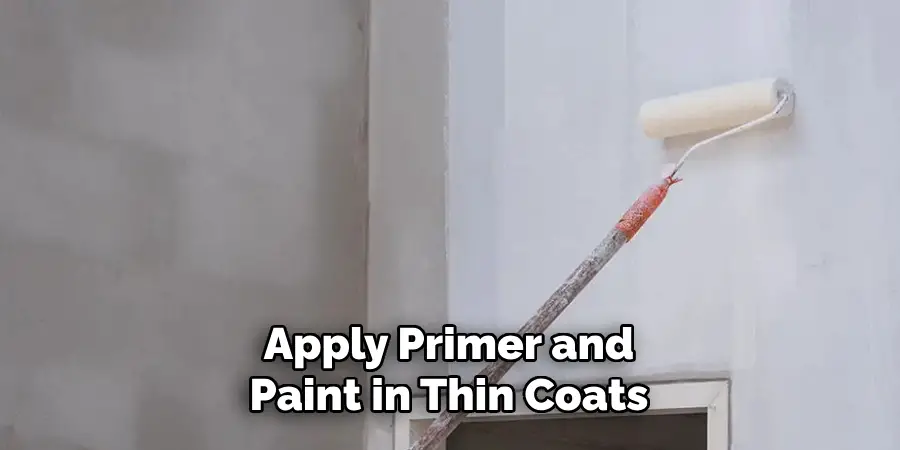
- Apply primer and paint in thin coats and allow plenty of drying between coats.
- Use a sealant on top of your paint job to protect the painted surface and ensure a glossy finish.
How Long Should Each Coat of Paint Dry Before Applying the Next Layer?
It is important to allow each layer of paint to dry completely before adding the next coat. Generally, you should wait at least four hours between coats. If you are working with enamel paint, it can take up to 12-24 hours to fully dry.
To ensure your cabinet door looks its best, it’s always best to follow the manufacturer’s instructions and allow each layer of paint to dry for the recommended amount of time.
How Do You Clean Up Any Drips or Smudges After Painting?
Once you’ve finished painting your cabinet doors, cleaning up any drips, smudges, or other imperfections is important. Before they can dry and become permanent, take a damp cloth and gently wipe away the paint.
If you find that the rag is leaving behind streaks of paint, then use a little bit of acetone or nail polish remover to help clean up the mess. Before you begin, read any instructions that come with the acetone or nail polish remover, as it can be a bit harsh on surfaces.
What is the Best Way to Finish Your Cabinet Doors With a Professional Look?
Painting both sides of your cabinet doors is the best way to achieve a professional finish. This painting technique ensures that all edges and surfaces are coated with paint, giving your cabinets a more polished look. Additionally, this method allows you to experiment with different colors on each side of the door for an added creative touch.
If you decide to paint both sides of the cabinet door, it is important to consider what type of paint you will use. Water-based paints will provide a smoother finish and are preferred for interior doors; however, an oil-based paint may be more suitable if your cabinets are located outdoors or in a humid area. Once you have determined which type of paint to use, follow these steps to get started:
- Prepare the surface of the cabinet doors by lightly sanding it, and then wipe them down with a damp cloth.
- Apply primer to the door surfaces, covering all edges and corners evenly. Allow it to dry completely before proceeding.
- Apply your desired paint color in thin coats when the primer is dry. Allow each coat to dry completely before applying the next.
- Once you have finished painting both sides of the door, check for any areas that may need touch-ups or additional layers of paint.
- Finally, finish your cabinet doors with a protective topcoat for added shine and durability.
Painting both sides of your cabinet doors is a great way to update the look of your room while giving it a clean and professional finish. You can create beautiful cabinets that will last years with careful preparation and the right paint.
How Can You Protect Your Painted Areas From Dust and Dirt?
When painting cabinet doors, it is important to consider how the area will be protected from dust and dirt after your project is complete. If left unprotected, these elements can damage the painted surface of your cabinets, resulting in discoloration or chipping paint.
Fortunately, there are several ways that you can protect your painted surfaces from wear and tear. One of the best solutions is to apply a clear coat or sealer over the paint after drying it. This helps to form an additional barrier against dust and dirt, allowing you to keep your cabinet doors looking good for longer.
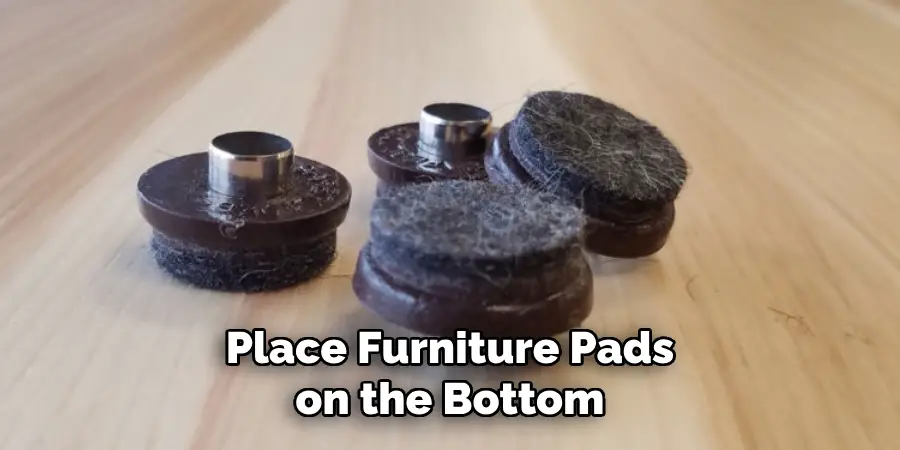
Another option is to place furniture pads on the bottom corners of your cabinets. These pads are designed with a special material that catches dirt and particles before reaching the painted area.
Occasionally vacuum or dust around the furniture pads to keep them clean and effective. Finally, you should also consider how often you open and close your cabinet doors. Keep them closed as much as possible so that dirt does not accumulate on the hinges or handles when not in use.
Conclusion
There are some cons to painting cabinet doors on both sides. The first one is the time and effort it takes to paint two sides of the door. You will have to invest more time prepping, priming, and painting each side of the door than if you had just painted one side.
In conclusion, painting cabinet doors on both sides is a great way to give your kitchen or bathroom a fresh and modern look. It’s not as challenging as it seems, but you do need to take special care to get the best possible results.
By sanding, priming, and applying two coats of paint, you can create beautiful cabinet doors that will last for years. Painting your cabinet doors can be fun and rewarding with the right tools and materials. I hope reading this post has helped you learn how to paint cabinet doors on both sides. Make sure the safety precautions are carried out in the order listed.
About
Angela is the chief editor of Indoorense. She began her career as an interior designer before applying her strategic and creative passion to lifestyle and home.
She has close to 15 years of experience in creative writing and online content strategy for housekeeping and cleaning,home decorations as well as other efforts.
She loves her job and has the privilege of working with an extraordinary team. She lives with her husband, two sons, and daughter in Petersburg. When she’s not busy working she spent time with her family.