

Painting a refrigerator may seem like an intimidating task, but did you know it’s actually quite easy to give your old fridge a revamp? If rust has started to appear on the outside of your trusty kitchen companion, don’t despair — just break out the paint supplies and get ready for some serious transformation.
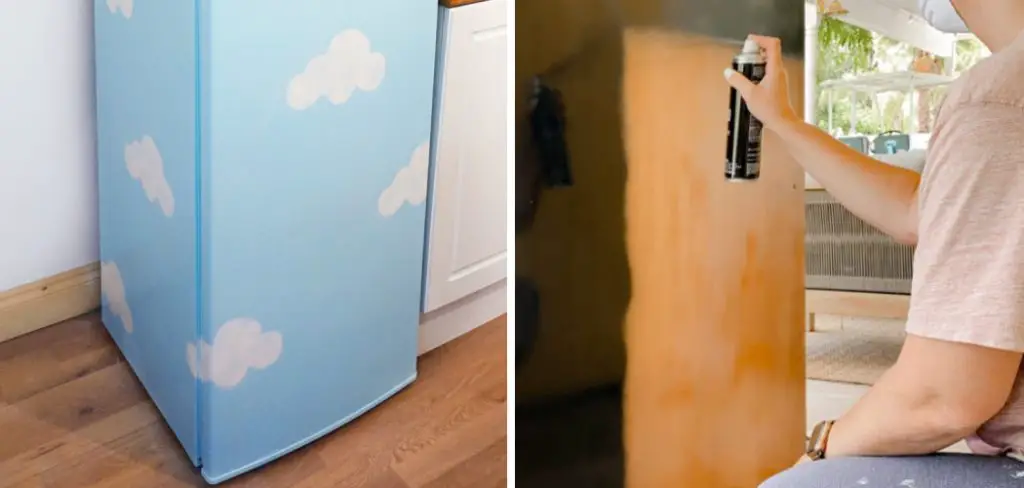
With the right prep work and quick-drying paint, you can take your rusty appliance from drab to fab in a few hours! Follow these simple steps on how to paint a refrigerator with rust and discover how this project is truly within reach.
Needed Tools and Materials
Given below is a list of resources that you will need to accomplish the task:
Sandpaper or Steel Wool:
Before you begin painting your fridge, it’s essential to remove any rust or peeling paint from the surface. Sandpaper or steel wool will help you gently smooth out the rough spots and create a clean canvas for your paint.
Primer:
Once you have sanded down any rough areas, it’s time to apply a primer. This step is crucial as it serves as a barrier between the rust and the new paint, preventing it from seeping through. Choose a primer that is specifically designed for metal surfaces.
Rust-Oleum Appliance Epoxy:
This quick-drying enamel spray is perfect for painting refrigerators with rust. It’s durable and heat-resistant, making it ideal for appliances that are subject to wear and tear in the kitchen. Choose a color that matches your kitchen décor or go bold with a pop of color.
Painter’s Tape:
To protect any areas you don’t want to get paint on, use painter’s tape to cover them up. This might include handles, hinges, and around the edges of the fridge.
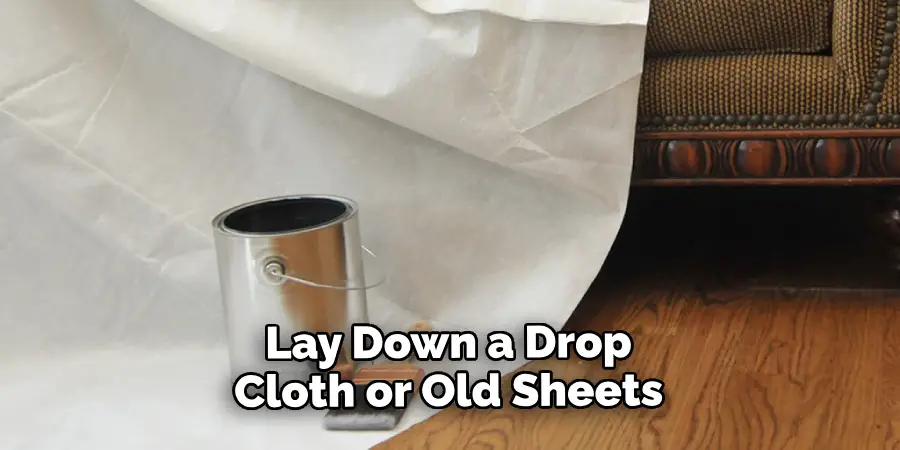
Drop Cloth:
Paint can be messy, so lay down a drop cloth or old sheets to protect your floor from any drips or spills.
9 Easy Step-by-step Guidelines on How to Paint a Refrigerator With Rust
Step 1: Clean the Surface
Start by cleaning the outside of your refrigerator with a mixture of warm water and soap. This will remove any dirt, grime, or grease that may prevent the paint from adhering properly. It’s best to use a degreaser for tougher stains. You can also use a vinegar and water solution for a more natural option.
Step 2: Dry the Surface
Using a clean cloth, dry off your fridge thoroughly. Any remaining moisture can interfere with the adhesion of the paint. It’s best to wait a few hours before proceeding with the next step. You can also use a hairdryer on a low setting to speed up the process. But make sure the surface is completely dry before moving on.
Step 3: Sand Down Any Rust Spots
If your refrigerator has any rust spots, use sandpaper or steel wool to lightly sand them down. Be gentle and don’t remove too much of the surface material, as this can cause unevenness once you apply the paint. However, make sure you remove all the rust and get a smooth surface.
Step 4: Tape Off Any Areas You Don’t Want to Paint
Use painter’s tape to cover any areas you don’t want to paint. This might include handles, hinges, or around the edges of the fridge. This will help protect them from getting any paint on them accidentally. It’s important to make sure the tape is tightly secured and there are no gaps where paint can seep through. But be careful not to tape off too much, as you want the paint to cover the entire surface of your fridge.
Step 5: Apply Primer
Now it’s time to apply a thin layer of primer. Make sure you shake the can well before using it. Hold the can at least 12 inches away from the surface and spray in a steady back-and-forth motion. Don’t worry about getting full coverage on the first coat, as you will apply multiple coats.
Step 6: Wait for the Primer to Dry
Leave the primer to dry for at least an hour or according to the manufacturer’s instructions. You can use this time to clean up your workspace and make sure everything is ready for the next step. It’s important to wait for the primer to dry completely before proceeding.
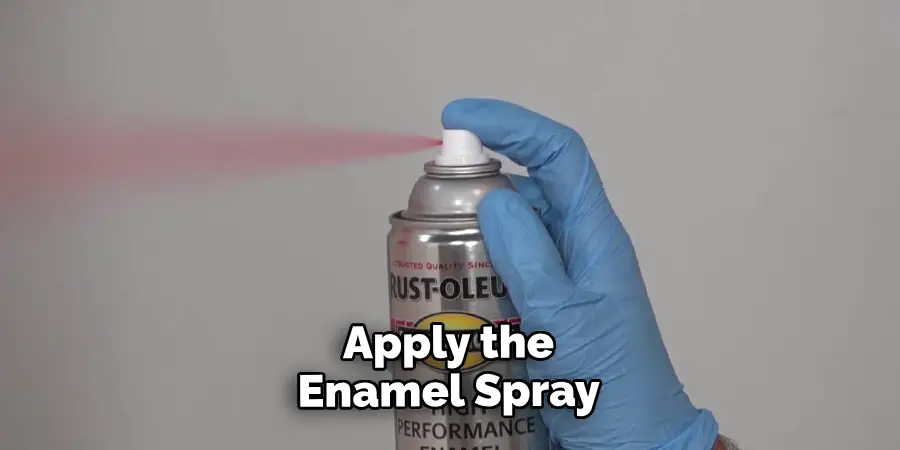
Step 7: Apply Rust-Oleum Appliance Epoxy
Once the primer is fully dry, it’s time to apply the enamel spray. Again, make sure you shake the can well before using it and hold it about 12 inches away from the surface. Begin spraying in a back-and-forth motion, slightly overlapping each pass to ensure full coverage. The first coat may look thin, but don’t worry as you will apply multiple coats.
Step 8: Apply Additional Coats
After the first coat has dried, check for any areas that need touch-ups and apply another coat if necessary. It’s recommended to apply at least two coats of Rust-Oleum Appliance Epoxy for a smooth finish. It’s also essential to wait for each coat to dry before applying the next one. You can also lightly sand down any bumps or imperfections between coats if needed.
Step 9: Let the Paint Cure
After applying the final coat, carefully remove the painter’s tape while the paint is still wet. You don’t want to risk peeling off any of the paint with the tape once it has dried. Leave your fridge to dry and cure for at least 24 hours before using it again. And voila! You now have a shiny, rust-free fridge that looks like new.
Following these simple steps on how to paint a refrigerator with rust can save you from having to buy a new appliance, and it’s an excellent way to give your kitchen a budget-friendly makeover.
Just make sure you choose the right materials and take your time for the best results. Happy painting! So, don’t let that rust get you down – grab some paint and transform your fridge
Additional Tips
- Always Paint in a Well-ventilated Area to Avoid Inhaling Fumes.
- Wipe Down Your Fridge With a Damp Cloth Before Painting to Remove Any Dust or Debris.
- If Using Spray Paint, Cover Nearby Items and Surfaces to Protect Them From Overspray.
- Consider Adding a Clear Topcoat for Extra Protection and Shine.
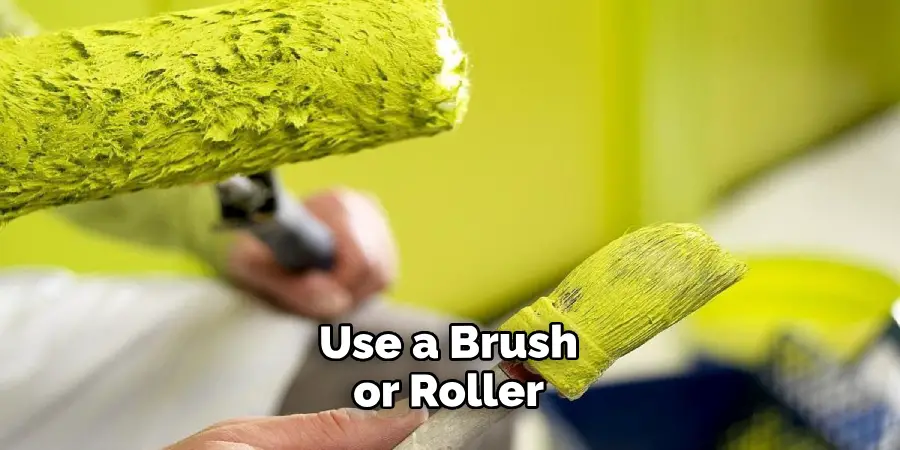
- Use a Brush or Roller for a Smoother Finish, but Be Prepared for More Cleanup and Longer Drying Time.
- Don’t Try to Rush the Process by Applying Thick Coats of Paint. It’s Better to Apply Multiple Thin Coats for a More Even Finish.
- If You’re Painting an Older Fridge With Textured Surfaces, Consider Using a Brush or Roller Instead of Spray Paint for Better Coverage.
- Experiment With Different Colors and Patterns to Give Your Fridge a Unique Look.
- Don’t Forget to Let the Paint Fully Cure Before Stocking Up Your Fridge With Food. This Can Take Up to Seven Days, So Plan Accordingly.
So if you have a rusty refrigerator that needs some love, don’t hesitate to try painting it with rust-resistant paint. It’s an easy and budget-friendly way to make your fridge look like new again.
Frequently Asked Questions
Q1: Is It Necessary to Sand Down Rust Spots Before Painting?
A: Yes, it’s important to remove any rust before painting to ensure a smooth and long-lasting finish. Sanding down the rust spots also helps improve the adhesion of the paint.
Q2: Can I Use Regular Paint for My Refrigerator?
A: It’s not recommended to use regular household paint on your fridge. Rust-Oleum Appliance Epoxy is specifically formulated for appliances and provides better durability and resistance to moisture and temperature changes.
Q3: How Many Coats of Paint Should I Apply?
A: It’s recommended to apply at least two coats for optimal coverage and protection against rust. However, you can apply more coats if needed to achieve the desired finish.
Conclusion
It’s no surprise that painting your refrigerator with Rust paint can be a difficult project. But following the steps we reviewed today, you’re on your way to rust-proofing and brightening up any kitchen! Painting an appliance can be intimidating, but now that you know the basics of assurance prep, you can confidently tackle the project. Be sure to use the right supplies and carefully follow the directions for each step in order to ensure successful results.
If you don’t feel comfortable completing this job yourself, however, then it’s always best to call on a professional painter or contractor.
Now it’s time for you to get out there and show off your amazing new refrigerator makeover! All that’s left is for you to take pictures and post them online so your friends and family can admire your work. So what are you waiting for? Grab your Rust paint, protect yourself from harmful fumes with a mask and get started on the transformation! Thanks for reading this article on how to paint a refrigerator with rust.
About
Angela is the chief editor of Indoorense. She began her career as an interior designer before applying her strategic and creative passion to lifestyle and home.
She has close to 15 years of experience in creative writing and online content strategy for housekeeping and cleaning,home decorations as well as other efforts.
She loves her job and has the privilege of working with an extraordinary team. She lives with her husband, two sons, and daughter in Petersburg. When she’s not busy working she spent time with her family.