
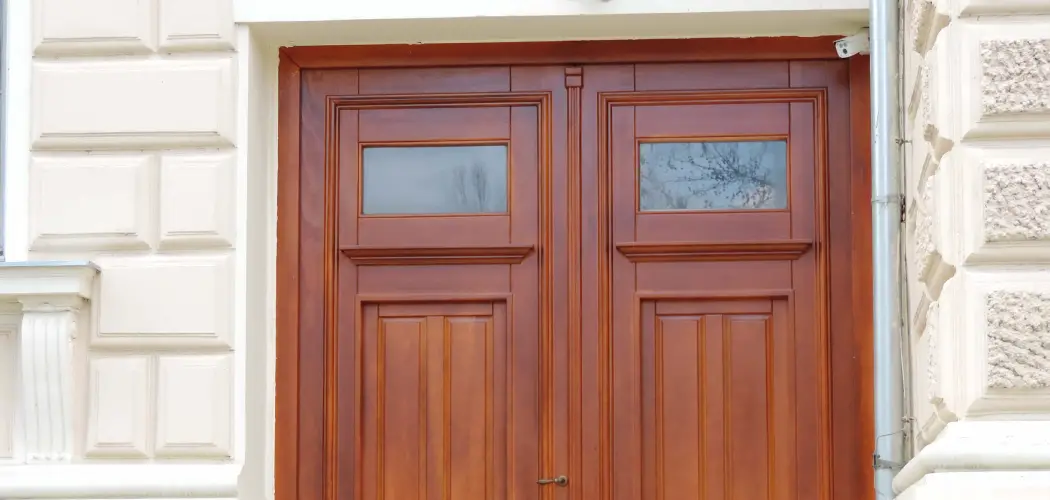
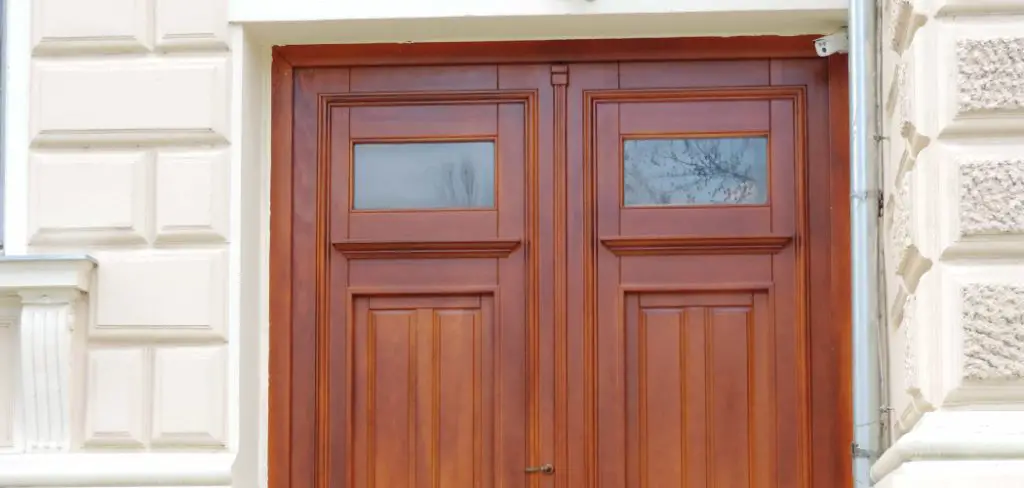
Painting a front door to look like wood is a fantastic way to enhance the entrance of your home, adding warmth and character without the cost and maintenance of real wood. Whether you’re aiming for a classic oak, rich mahogany, or sleek grain pattern, this technique can elevate the curb appeal of your house.
With a combination of skillful painting and the right materials, you can transform any standard door into a masterpiece that mimics the richness of genuine wood, creating an inviting impression for all who enter.
In this blog post on how to paint a front door to look like wood, we’ll take you through the step-by-step process and provide tips for achieving a beautiful finish.
Benefits of Painting a Front Door to Look Like Wood
Before we dive into the how-to, let’s quickly outline why painting your front door to look like wood is an excellent option for your home:
Cost-effective:
This method is a budget-friendly alternative to purchasing and installing a new wooden door. It requires minimal materials, and you can easily achieve the look of wood without breaking the bank.
Low Maintenance:
Wooden doors require regular maintenance to retain their beauty, including refinishing or repainting every few years. By painting your door to look like wood, you eliminate the need for this upkeep, saving time and money in the long run.
Versatility:
Painting your front door to look like wood allows for more design versatility. You can choose from various colors and finishes, giving you more options than traditional wooden doors.
Materials Needed
To complete this project successfully, gather the following materials:
Sandpaper (120- and 220-grit)
To ensure a smooth surface for painting, sand the door with 120-grit sandpaper first, then follow up with 220-grit.
Tack cloth:
Use this to wipe down the door after sanding to remove any dust or debris.
Primer:
Choose a quality primer suitable for your door’s material (wood, metal, etc.).
Paintbrushes:
Use high-quality brushes in various sizes to get into all the nooks and crannies of the door.
Wood grain tool:
This tool creates realistic wood grain patterns on painted surfaces.
Acrylic paint:
Select acrylic paint in shades of brown and black to create the wood effect.
8 Step-by-step Guidelines on How to Paint a Front Door to Look Like Wood
Step 1: Prepare the Door
Begin by removing the door from its hinges to ensure thorough and even painting. Place it on a pair of saw horses or a stable surface. Start by sanding the entire surface of the door using 120-grit sandpaper to remove any existing paint or finish. This step will help create an even and porous surface for the primer to adhere properly.
After sanding, use 220-grit sandpaper to refine the surface, ensuring it is smooth and free of any rough patches. Once sanding is complete, use a tack cloth to eliminate all dust and debris left on the door. This preparation is crucial as it sets the foundation for a flawless paint job that will mimic the appearance of real wood.

Step 2: Prime the Door
Once the door is thoroughly prepared and clean, it’s time to apply the primer. Select a high-quality primer appropriate for your door’s material, whether wood, metal, or fiberglass. Start by using a paintbrush or roller to apply an even coat of primer across the entire surface of the door. Be sure to cover all areas, including the edges, to ensure maximum adhesion of the topcoat.
Allow the primer to dry according to the manufacturer’s instructions, which usually takes a few hours. Priming is essential as it provides a solid base for the acrylic paint to adhere to and enhances the overall finish, which is critical for achieving a realistic wood appearance.
Step 3: Mix the Acrylic Paint
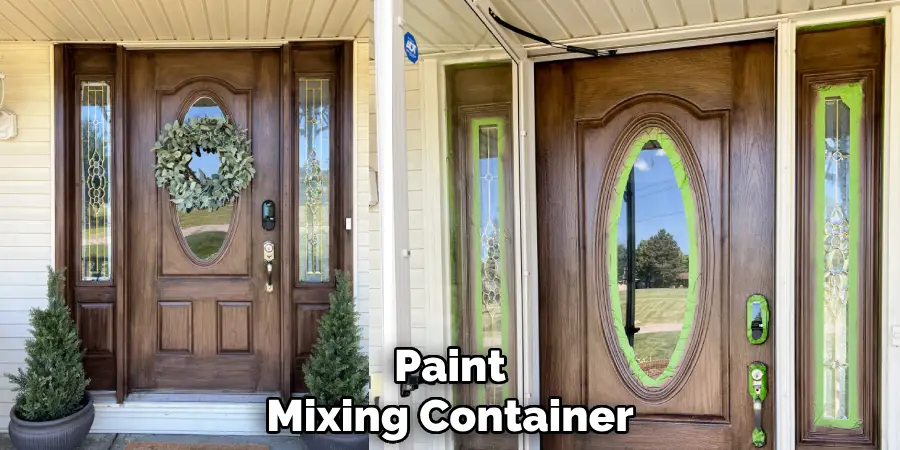
To create a realistic wood effect, begin by selecting acrylic paint in shades of brown. You may choose a couple of different shades, such as a lighter and a darker brown, to add depth and variation. In a paint tray or mixing container, pour a generous amount of the lighter brown paint. Gradually add small amounts of black paint to slightly darken the tone, ensuring you achieve a color that resembles natural wood.
Mix thoroughly until the shade is consistent. If desired, you can also add a small amount of water to thin the paint slightly, allowing for smoother application and easier blending. It’s essential to test your mixed paint on a scrap piece of material to ensure it closely replicates the wood color you desire. This step ensures that the subsequent layers of paint will effectively mimic the rich, authentic look of wood on your door.
Step 4: Apply the Base Coat
Using a paintbrush, start applying the base coat of your mixed acrylic paint to the door. Work in small sections and ensure even coverage. You can use long strokes to mimic wood grain or a stippling technique for added texture.
It’s also helpful to refer to reference images of real wood grains for guidance and inspiration as you work. Continue until the entire door is coated, overlapping each section slightly for a seamless appearance.
Step 5: Create Wood Grain Patterns
Once the base coat has dried, it’s time to add wood grain patterns using a wood grain tool. Dip the tool into your darker shade of brown paint and drag it along the surface of the door, following the direction of the wood grain. You can also use a small brush to add more detailed effects or knots in the wood.
Continue this process until you achieve a realistic and natural-looking wood grain pattern across the entire door.
Step 6: Add Further Detail
After establishing the primary wood grain patterns, you can enhance the realism by adding further details and tonal variations. Use a fine-tipped brush to introduce additional darker streaks or shadowing, focusing on areas where natural imperfections, such as knots or grain, might appear on real wood. Utilize a lighter shade of paint to highlight prominent grain or raised parts, adding dimension and depth to the wood effect.
This subtle detailing will contribute to a more intricate and authentic appearance. Once completed, ensure that all newly added details are well-blended with the surrounding areas for a cohesive look. Allow the paint to dry thoroughly before proceeding to the next step.
Step 7: Apply a Protective Finish
When the final paint coat is dry, you can add a protective finish to help preserve your painted wood effect and provide additional durability. You can choose from various finishes, such as polyurethane or polycrylic, depending on your preference.
Use a clean brush to apply an even layer across the entire door and let it dry completely before reattaching the door back onto its hinges.
Step 8: Reinstall and Enjoy Your New Front Door!
After reinstalling the door onto its hinges, stand back and admire your work! Your front door now has a beautiful wood appearance that adds charm and character to your home’s exterior. Not only does it look realistic, but it also has the added benefits of being durable and resistant to wear and tear. With proper maintenance and care, your painted front door will continue to enhance your home’s curb appeal for years to come.
Following these step-by-step guidelines on how to paint a front door to look like wood, you can transform any plain front door into a stunning wood-like feature that adds warmth and beauty to your home. So why wait? Grab your paintbrushes, select your desired shades of brown, and get started on this fun and rewarding DIY project today!

Additional Tips and Tricks
- Don’t be afraid to experiment with different shades and techniques to achieve your desired wood effect.
- Use reference images or real wood samples as a guide for creating realistic grain patterns and variations.
- Sanding and priming are crucial steps that should not be skipped for a high-quality finish.
- Allow ample drying time between each step to prevent smudging or blending of colors.
- Practice on a small, inconspicuous area first before tackling the entire door to build confidence and perfect your technique.
With these additional tips on how to paint a front door to look like wood, you can take your front door painting skills to the next level and create an even more realistic wood effect. Enjoy your beautifully transformed front door and impress your guests with your DIY prowess! Also, don’t forget to share your results with us on social media using.
Conclusion
In conclusion, painting a front door to look like wood is an excellent way to update the appearance of your home without the costly expense of a new door. By following these step-by-step guidelines and using quality materials, you can achieve a stunning wood effect that adds warmth and character to your home’s exterior. With patience and attention to detail, you’ll have a front door that looks just like real wood in no time! So go ahead,
About
Angela is the chief editor of Indoorense. She began her career as an interior designer before applying her strategic and creative passion to lifestyle and home.
She has close to 15 years of experience in creative writing and online content strategy for housekeeping and cleaning,home decorations as well as other efforts.
She loves her job and has the privilege of working with an extraordinary team. She lives with her husband, two sons, and daughter in Petersburg. When she’s not busy working she spent time with her family.