

Are you tired of trying to move furniture from Ikea and having it fall apart? With a few simple tips, you can learn how to move IKEA furniture safely and easily. Whether you’re moving into a new home or just rearranging your current one, these steps will help make the process smooth and stress-free.
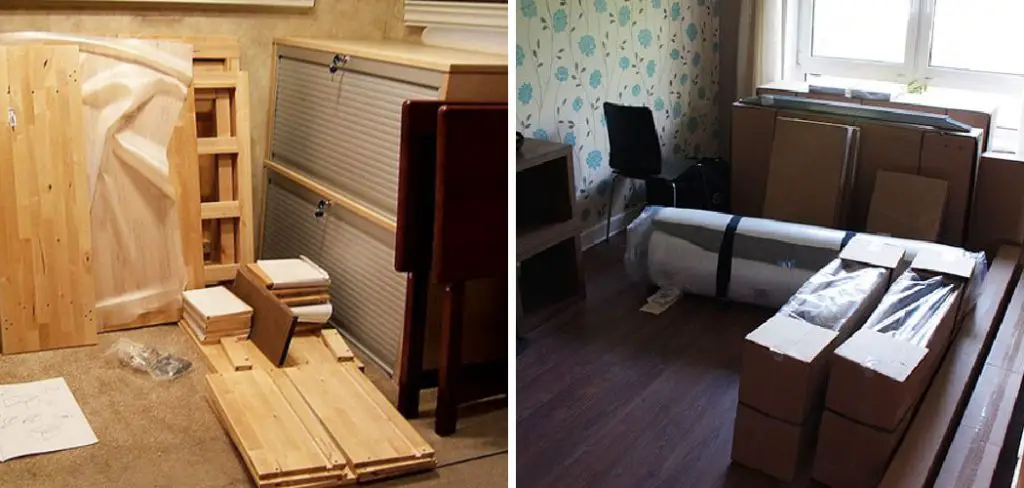
Moving Ikea furniture can be a daunting task due to its modular nature and the complexity involved in disassembling and reassembling it. However, with the right approach and some careful planning, you can ensure your furniture is moved safely and efficiently. This guide will walk you through the essential steps, from preparation and disassembly to packing and reassembly, to make your moving process as smooth as possible.
Whether you are relocating to a new home or simply rearranging your space, following these instructions will help protect your Ikea furniture and make the transition hassle-free.
What Will You Need?
Before you begin your move, gathering all the necessary tools and supplies is important to ensure a successful and safe process. Here are some items you will need:
- Basic hand tools such as a screwdriver, hammer, and pliers.
- Packing materials like bubble wrap, packing paper, and moving blankets.
- Furniture sliders or coasters for easy movement on floors.
- Plastic bags or small containers for storing screws and hardware.
- A dolly or hand truck for heavy items.
Once you have all the necessary supplies, it’s time to start preparing your furniture for the move.
10 Easy Steps on How to Move IKEA Furniture
Step 1: Clean and Empty Your Furniture
Before you start disassembling your Ikea furniture, cleaning and emptying it is crucial. Remove all items from shelves, drawers, and cabinets to prevent any damage or additional weight during the move. Wipe down surfaces to eliminate dust and dirt, which can affect the stability and cleanliness of your furniture once reassembled. Emptying and cleaning your furniture makes it lighter and easier to handle and helps protect your belongings during moving.
Step 2: Take Photos for Reference
Before you begin disassembling your Ikea furniture, take detailed photos of each piece. Capture images of the assembled item from multiple angles, as well as close-ups of specific connections and hardware. These reference photos will be invaluable when it comes time to reassemble your furniture, helping you remember the correct placement of each part and ensuring that everything fits together properly. Taking photos beforehand can save you much time and frustration during the reassembly process.
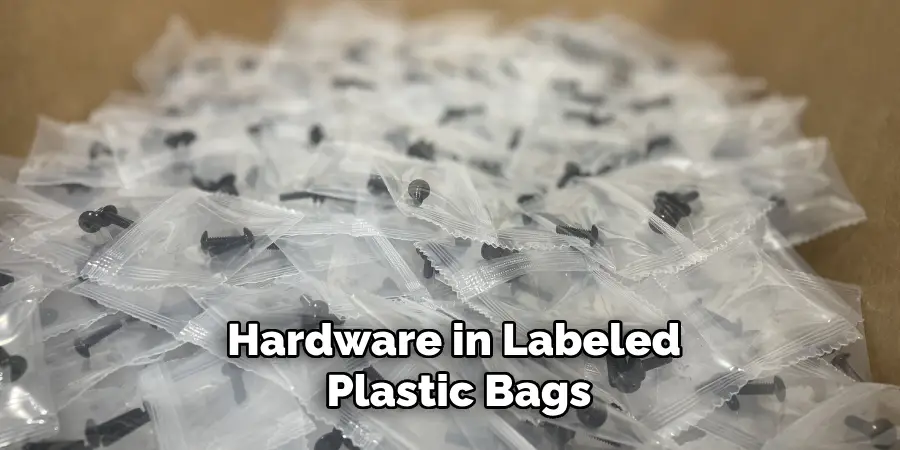
Step 3: Label and Organize Hardware

As you disassemble your Ikea furniture, it is essential to label and organize all the screws, bolts, and other hardware pieces. Use plastic bags or small containers to store these items, and label each one according to the part of the furniture it came from. For instance, you can write “shelf screws” or “drawer handles” on the bags. This methodical approach will make it easier to find the correct pieces when you reassemble your furniture, avoiding any confusion or lost parts. Keeping everything neatly organized will save you time and ensure a smooth reassembly process.
Step 4: Disassemble Furniture Carefully
Start disassembling your Ikea furniture by following the reverse order of its assembly instructions. Refer to the photos you took earlier and any assembly manuals you have kept. Begin with removable parts such as shelves, drawers, and doors before moving to the mainframe and structure of the furniture. Use appropriate tools, such as a screwdriver or a drill with the correct bit, to avoid stripping screws or damaging pieces. Work slowly and methodically to ensure that you do not apply excessive force, which could break or warp the components. Stow disassembled parts neatly to avoid creating a mess, and group similar items together for easier reassembly later.
Step 5: Protect Fragile Parts
Once you have disassembled your furniture, protecting the fragile parts is important to prevent damage during the move. Wrap delicate pieces, like glass shelves or mirrors, in bubble wrap or packing paper. Secure the wrapping with tape to ensure it stays in place. For larger items, such as wooden panels and frames, use moving blankets or padded furniture covers to provide a layer of protection. This extra precaution will help cushion the items and prevent scratches, dents, and other damage during transport.
Step 6: Pack Hardware and Small Parts Separately
Pack all hardware and smaller components separately from the larger furniture pieces to ensure that you do not lose any small or essential parts during the move. Place screws, bolts, and other hardware in labeled plastic bags or containers, then store these together in a designated box. Including a copy of any assembly instructions, along with your reference photos, in this box can be extremely helpful. Keeping all small parts organized and in one place will simplify the reassembly process and reduce the risk of losing important components.
Step 7: Use Furniture Sliders or Dollies
Use furniture sliders or dollies to safely move larger pieces of disassembled furniture without damaging your floors. Place sliders under the legs or corners of your furniture to glide them smoothly across hard floors and carpets without scratching or denting the surface. A dolly or hand truck can support heavier items and make the transfer much easier. Utilizing these tools will help prevent injury and ensure the safe movement of your furniture.
Step 8: Load Strategically
When loading your furniture into a moving vehicle, it’s crucial to place items strategically to maximize space and ensure their safety during transit. Start by loading the heaviest and largest items first, positioning them against the walls of the moving truck for stability.
Use moving straps or ropes to secure these items and prevent them from shifting. Place lighter and smaller items on top of or around the larger pieces, filling in any gaps to prevent movement.
Step 9: Transport with Care
You should drive carefully while transporting your Ikea furniture to avoid sudden stops and sharp turns that could shift your load. Smooth, steady driving will help keep your items secure and prevent damage. If you’re hiring professional movers, ensure they know the fragile nature of your disassembled furniture and have the experience to handle it correctly.
Step 10: Reassemble with Patience

Upon arrival at your new home or space, reassemble your Ikea furniture carefully. Refer to your photos and any saved assembly instructions, and use the labeled hardware to reconstruct each piece. Start with the primary structure before attaching any removable parts, such as shelves, drawers, and doors.
Double-check each connection for stability and ensure that all screws and bolts are tightened correctly. Taking the time to reassemble your furniture properly will help restore its original integrity and function.
By following these steps, you can safely and efficiently disassemble and move your Ikea furniture without any damage or difficulties.
5 Additional Tips and Tricks
- Use Original Packaging: If you still have the original boxes and packaging materials from your IKEA furniture, use them. They are designed to protect the components and make the moving process smoother.
- Protect the Edges: Use bubble wrap, moving blankets, or furniture pads to cover the edges and corners of your furniture. This will prevent nicks and scratches during transit.
- Plan the Layout in Advance: Before you start moving, take measurements of your new space and plan where your furniture will go. This will help you decide the order in which to move items and ensure everything fits well in your new home.
- Check for Disassembly Instructions: Some IKEA furniture can be easily disassembled for easier moving. Check the manual or online instructions for disassembly tips and steps.
- Use Furniture Sliders: Furniture sliders are small discs that you can place under the legs of your heavy furniture. They make sliding them across the floor easier without scratching or damaging them.
These additional tips and tricks will make your IKEA furniture moving experience even smoother and stress-free.
5 Things You Should Avoid
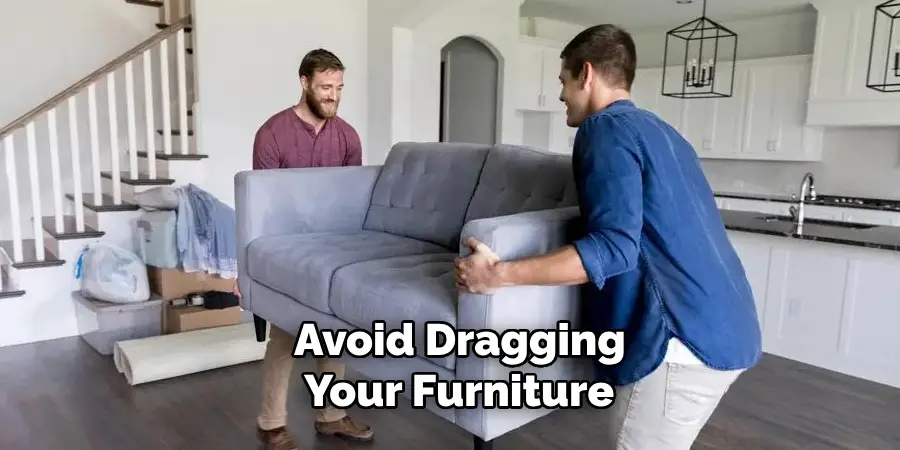
- Dragging Furniture: Avoid dragging your furniture across the floor. This can damage both the furniture and the flooring. Always lift the furniture or use sliders to move it safely.
- Skipping Disassembly: Don’t skip disassembly for larger items. Not taking apart bigger pieces of furniture can make them more challenging to move and increase the risk of damage or injury.
- Rushing the Process: Moving requires careful planning and patience. Rushing through the process can lead to mistakes, such as missing screws, improper handling, or forgetting steps that ensure a safe move.
- Neglecting to Label Parts: When disassembling items, don’t neglect to label all the parts and keep screws and small items in labeled bags. This will make reassembly much easier and prevent parts from getting lost.
- Ignoring Weight Limits: Avoid overloading boxes or pushing the weight limits of your furniture. This can lead to breakages or make handling the items safely during the move difficult.
Avoiding these common mistakes will help ensure that your IKEA furniture arrives at your new home in great condition.
Conclusion
How to move IKEA furniture requires thoughtful preparation and careful execution to ensure all pieces arrive safely and in good condition.
By leveraging original packaging, protecting edges, planning your layout in advance, checking for disassembly instructions, and using furniture sliders, you can make the moving process more manageable and less stressful.
Equally important is avoiding common pitfalls such as dragging furniture, skipping disassembly, rushing the process, neglecting to label parts, and ignoring weight limits.
Taking these precautions will save you time, money, and potential frustration, ensuring that your IKEA furniture continues to serve you well in your new home. Proper planning and mindfulness are the keys to a smooth transition.
About
Angela is the chief editor of Indoorense. She began her career as an interior designer before applying her strategic and creative passion to lifestyle and home.
She has close to 15 years of experience in creative writing and online content strategy for housekeeping and cleaning,home decorations as well as other efforts.
She loves her job and has the privilege of working with an extraordinary team. She lives with her husband, two sons, and daughter in Petersburg. When she’s not busy working she spent time with her family.