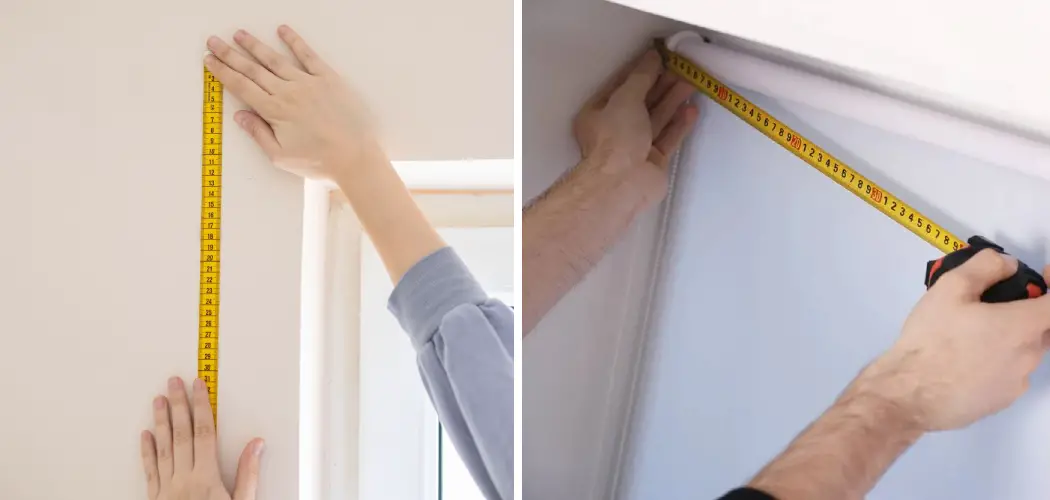
When it comes to dressing up your windows with elegant and timeless Roman shades, accurate measurements are key to ensuring a perfect fit and a polished look. Whether you’re planning to purchase ready-made Roman shades or opting for custom-made ones, knowing how to measure your windows correctly is crucial.
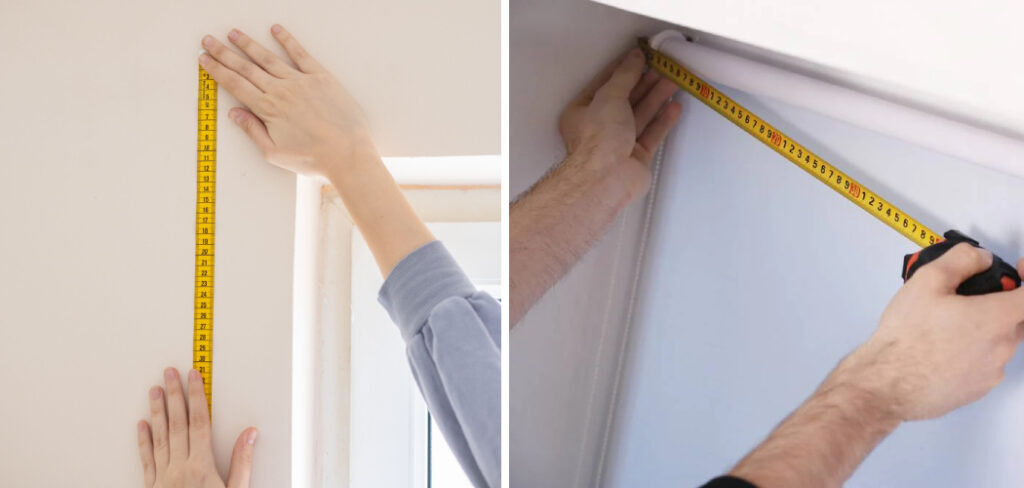
In this article, we will guide you through the step-by-step process of how to measure windows for roman shades, taking into account the necessary dimensions and considerations. From measuring the width and height of your windows to accounting for any obstructions or decorative molding, we’ll provide you with the essential knowledge to achieve a seamless and tailored fit for your Roman shades.
By following these measurements accurately, you’ll be well on your way to creating a stylish and functional window treatment that complements your interior decor while allowing you to control the amount of light and privacy in your space.
Why Proper Window Measurement Is Crucial for Roman Shades
Properly measuring your windows for roman shades is essential if you want to maximize the aesthetic and functional benefits of this classic window covering. Not only do improperly measured shades look off-kilter, but they also can affect the function of how you operate the blinds each day.
When it comes to window measurements, there are two main areas that need to be taken into account. First, you’ll need to determine the width of your window opening. Second, you will need to measure the height from where you want your shade to sit when it is closed. Both measurements should be in inches and they should be accurate; even a slight miscalculation can make a difference with how roman shades look and function.
When measuring for width, you should always use the exact inside dimension of your window frame or casing. For example, if your window frame measures 44-inches wide on the inside edge, then this is the measurement you will use for ordering your roman shade.
Benefits and Versatility of Roman Shades
Roman shades are an excellent choice for any window in the home or office. They offer many benefits, such as providing privacy and insulation from the elements, while also being stylish and easy to install. Roman shades come in a variety of colors, sizes, and materials that make them versatile enough to fit any décor.

Additionally, they can be raised or lowered to adjust the amount of light entering a room. Roman shades are also easy to clean and maintain, making them a practical choice for any window covering needs.
One of the most important parts of shopping for roman shades is finding the right size for your windows. Not all windows are alike in shape and size, so it’s important to measure accurately before you purchase the perfect shade. Fortunately, measuring your windows for Roman shades is a relatively easy process and can be done in just a few steps. Knowing the right measurements will ensure that you get the perfect fit for your windows and make installation much simpler.
With the benefits of privacy, insulation, style, and ease of use and maintenance, it’s no wonder why Roman shades remain one of the most popular window treatments on the market today. Whether you’re shopping for an entire home or just one room, their versatility makes them a great option to consider when choosing the best window covering solution for your space.
With accurate measurements, you can easily find the perfect shade that fits perfectly with your decorating scheme without any guesswork involved!
10 Steps How to Measure Windows for Roman Shades
Step 1: Gather the Necessary Tools
Before you begin measuring, gather the tools you’ll need, such as a metal tape measure, a pencil, a notepad, and a step ladder or stool. However, if the window is too high for you to comfortably reach, you may need to enlist help from a friend or family member. Once you have the tools you need, you’ll be ready to measure your window. To make sure your measurements are accurate, measure the window twice.
Step 2: Determine the Mounting Type
Decide whether you want an inside mount or an outside mount for your Roman shades. Inside mounts fit within the window frame, while outside mounts are installed outside the frame. Outside mounts are usually used when the window is not deep enough for an inside mount or to cover additional wall space.
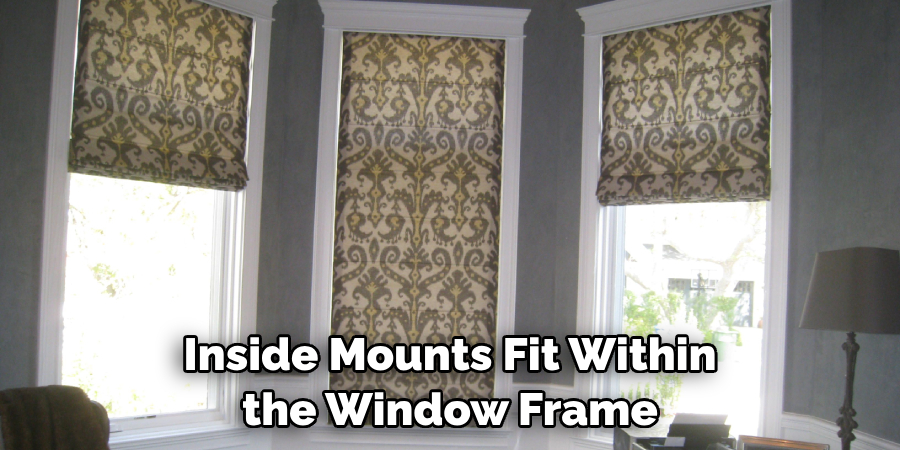
When measuring for an inside mount, measure from the top of the window frame to the bottom. Measure in three places and record the shortest length. For outside mounts, measure the full height of the window from top to bottom. Measure in three places and record the largest length.
Step 3: Measure for an Inside Mount
If you’ve chosen an inside mount, measure the width and height of the window opening. Measure in three places for width: at the top, middle, and bottom. Record the narrowest measurement. For height, measure from the top of the opening to the sill in three places: left, middle, and right. Note down the longest measurement. Then, make sure to deduct 1/2 inch from both the width and height measurements. This will give you some room for installation and movement.
Step 4: Measure for an Outside Mount
For an outside mount, measure the desired width and height of the Roman shades. Decide how much overlap you want on each side and above the window. Add the overlap to the width and height to get the final measurements. Make sure to measure the window size and write it down.
For example, if you want an outside mount of 6 inches on each side and 8 inches above, add 12 inches to the width and 16 inches to the height. The final measurement would be the window size plus 12 inches for the width and 16 inches for the height.
Step 5: Consider Obstructions
Take note of any obstructions like handles, cranks, or window locks that might interfere with the Roman shades. Measure the distance from the window frame to these obstructions and make a note of it.
Most Roman shades require a minimum of two inches of clearance from the obstruction. If the distance is less than two inches, you will need to order a custom size. This will ensure that your Roman shades fit correctly and do not interfere with the obstruction.
Step 6: Account for Decorative Molding
If your window has decorative molding, measure the depth and height of the molding. This will help determine how much space you have for mounting the Roman shades. To ensure a proper fit, add an extra 1/4 inch to account for the room needed to mount the hardware.
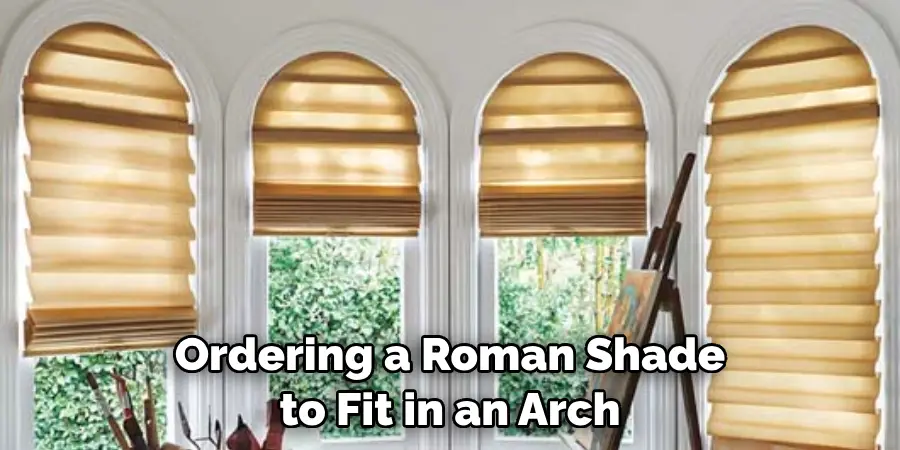
Subtract this measurement from the width of your window frame. If you are ordering a Roman shade to fit in an arch or eyebrow-shaped window, measure from the top of the arch or eyebrow and add an extra 1/4 inch.
Step 7: Check for Levelness
Using a level, ensure that the window frame is level both horizontally and vertically. Uneven frames can affect the measurements and the overall appearance of the Roman shades. Adjust the frame if necessary and double-check the measurements to ensure accuracy.
Step 8: Verify the Measurements
Double-check all the measurements you’ve taken to ensure accuracy. It’s crucial to have precise measurements to ensure the Roman shades fit perfectly. Measure twice, cut once! If you have any doubts about your measurements or the installation process, contact a professional window treatment installer. They will be able to provide assistance and make sure the process goes as smoothly as possible.
Step 9: Consult the Manufacturer’s Guidelines
If you’re purchasing ready-made Roman shades, refer to the manufacturer’s guidelines for specific measuring instructions. Some manufacturers may have specific requirements or allowances for their products. Be sure to read the instructions carefully and follow them when measuring your windows. You may need to make adjustments to ensure a proper fit.
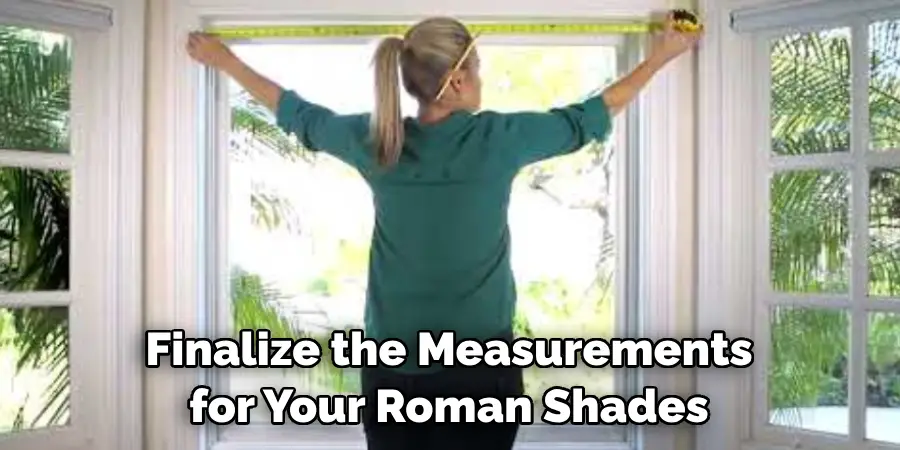
Step 10: Finalize your Measurements
Based on the gathered information and considering the type of mount you’ve chosen, finalize the measurements for your Roman shades. Keep these measurements handy when ordering or shopping for the shades.
By following these step-by-step instructions, you’ll be well-equipped to measure your windows accurately for Roman shades. Taking precise measurements ensures a seamless and tailored fit, allowing you to enjoy the beauty and functionality of these classic window treatments.
Conclusion
Congrats! You’ve now learned the basics for how to measure windows for Roman shades, so you can start your new project. Keep in mind that while it may seem intimidating at first, measuring windows for Roman shades is actually a relatively simple task.
Measure twice, cut once – this is one of the best pieces of advice you can live by when measuring and installing any window coverings. Be sure to double-check your measurements using a professional-level measurement tool to ensure that your project turns out perfectly. Additionally, don’t forget to budget adequately and order all of the necessary tools and supplies upfront from a qualified vendor before starting.
When you’re confident that you have everything needed for the job, simply follow the steps outlined in this article and you’ll be enjoying beautiful Roman shades in no time! So what are you waiting for? Start measuring your windows for Roman shades today with confidence!
About
Angela is the chief editor of Indoorense. She began her career as an interior designer before applying her strategic and creative passion to lifestyle and home.
She has close to 15 years of experience in creative writing and online content strategy for housekeeping and cleaning,home decorations as well as other efforts.
She loves her job and has the privilege of working with an extraordinary team. She lives with her husband, two sons, and daughter in Petersburg. When she’s not busy working she spent time with her family.

