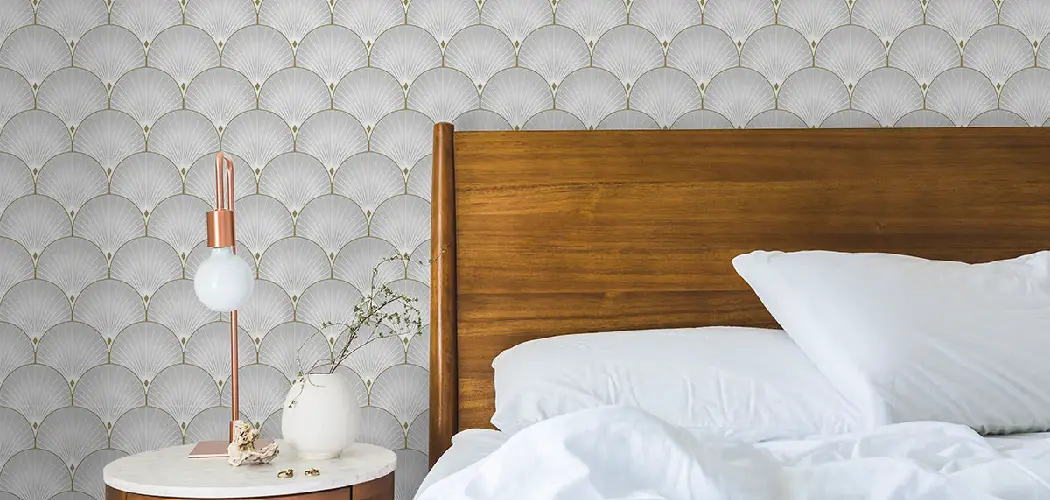
Are you planning to add new wallpaper to your room? Wallpapering can be a fun and creative way to give your room a new look. However, one of the most challenging tasks is matching wallpaper patterns.
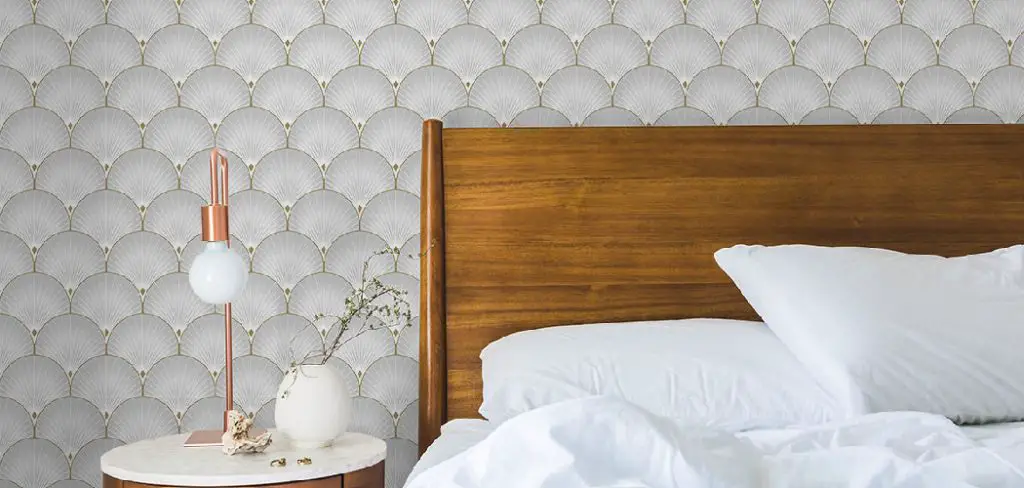
How to match wallpaper patterns can transform a space, adding depth, personality, and cohesion to any room. Whether you’re opting for bold geometric designs or subtle floral motifs, understanding how to align patterns effectively is crucial for achieving a professional-looking finish.
This guide will walk you through the steps and considerations necessary for success, including choosing the right pattern repeat and understanding the impact of different designs on room dimensions and atmosphere. Proper preparation and careful attention to detail will ensure a seamless and visually appealing result, bringing your walls to life with style and precision.
What Will You Need?
Before you begin, gathering all the necessary tools and materials is essential. Here are some of the things you’ll need:
- Wallpaper: Choose high-quality wallpaper with a large enough pattern repeat for your space.
- Measuring Tape: You’ll need this to determine your room’s dimensions accurately.
- Level Tool: This will help you ensure that your first strip is straight.
- Pencil and Scissors: These basic tools are essential for marking and cutting your wallpaper.
- Adhesive and Brush/Roller: Depending on the type of wallpaper you choose, you’ll need either pre-mixed adhesive or paste for application. A brush or roller will also be necessary to apply the glue evenly.
- Sponge: This will help smooth out any air bubbles or excess adhesive on the surface of your wallpaper.
- Craft Knife: You’ll need this to trim any excess wallpaper around outlets and fixtures neatly.
Once you have all your materials ready, it’s time to match those patterns!
9 Easy Steps on How to Match Wallpaper Patterns
Step 1. Prepare the Wall:
Make sure the wall is clean, dry, and smooth. Begin by removing any existing wallpaper, which can be done with a scraper and a wallpaper removal solution for stubborn areas. If the wall has paint, inspect it for cracks or peeling areas, and sand these down to create an even surface. Cleaning the wall to remove dust and debris is crucial, so wash it with a mild detergent and allow sufficient time to dry completely.
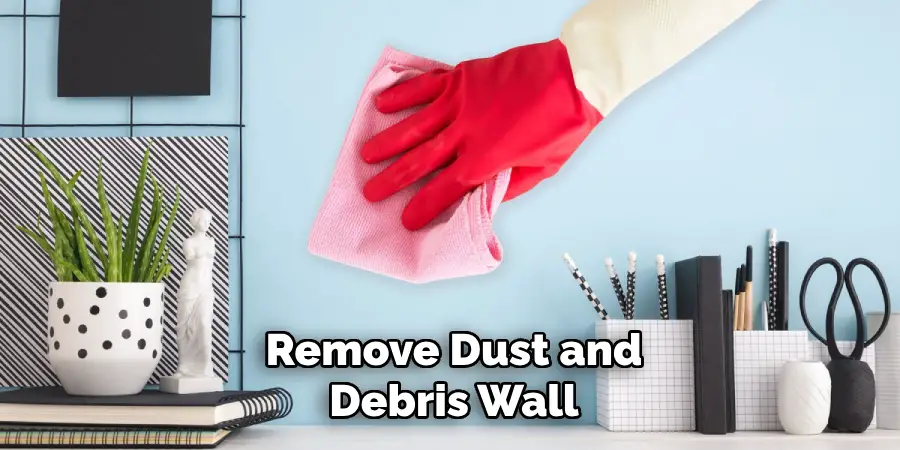
Any imperfections like holes or cracks should be filled with spackle or patching compound and sanded down once dry. Priming the wall with a primer-sealer improves adhesion for your new wallpaper and creates a uniform surface, especially if there are color or texture disparities.
Step 2. Measure and Cut the Wallpaper:
Using your measuring tape, carefully measure the wall height and add extra inches at the top and bottom to allow for adjustments. Roll out the wallpaper and, using a pencil, mark your measurements on the back. Make sure to align the pattern correctly, especially if the wallpaper has a repeating design that needs to match when multiple strips are applied. Cut the first strip with scissors, following the pencil marks for precision. Repeat this process for additional strips, ensuring each piece is carefully measured and cut to maintain consistency throughout the room. Maintaining accuracy during this step is crucial as it sets the foundation for successful pattern alignment in subsequent steps.
Step 3. Align the First Strip:
Begin by aligning the first strip of wallpaper with the starting corner of your wall. Use the level tool to ensure it’s perfectly vertical, as this first strip will set the tone for the entire room’s wallpapering. Take your time in ensuring the pattern is aligned correctly and that any focal points or central elements in the design are positioned where you want them to be. Once satisfied with the alignment, apply adhesive to the back of the strip (if it is not pre-pasted) and carefully press the wallpaper onto the wall.
Starting from the top, smooth out air bubbles and ensure adhesion using a sponge or squeegee. Always work from the middle outwards to avoid creases. Adjust any misalignments quickly while the adhesive is still wet. Trim the excess wallpaper at the ceiling and baseboard using a sharp craft knife for a clean finish.
Step 4. Apply Additional Strips:
Once the first strip is in place, align the following piece by matching the pattern precisely with the first. Start applying the second strip next to the first, ensuring that the edges meet without overlapping. Use the pattern as a guide to align the wallpaper correctly, paying attention to any complex design elements that may require careful alignment. Smooth the strip onto the wall starting from the top, moving downward, and from the center outwards to eliminate any air bubbles or creases.
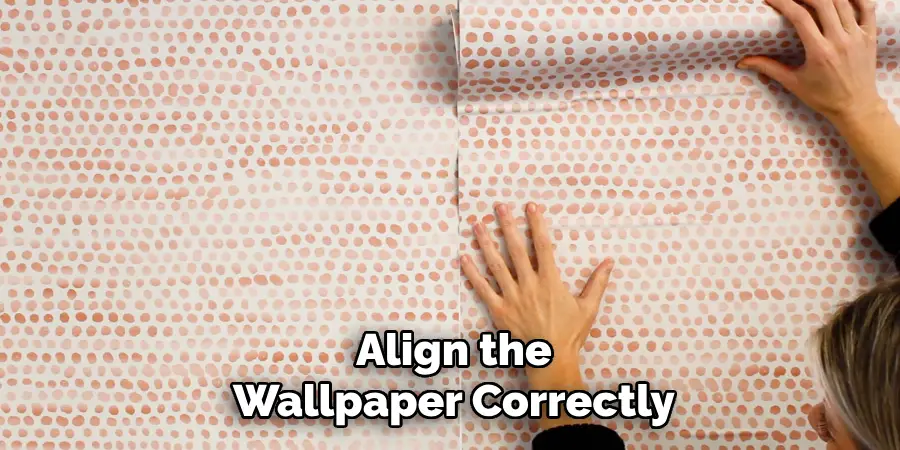
Check that the vertical lines remain straight as you proceed, using the level tool as necessary. Adjust the strip swiftly while the adhesive is still wet to achieve perfect alignment. Trim any excess wallpaper at the edges for a neat finish, and continue with subsequent strips following this same process until the entire room is covered.
Step 5. Smooth and Secure:
After successfully applying each strip, it’s crucial to thoroughly smooth the wallpaper to ensure it adheres correctly and looks flawless. Using a wallpaper brush or a plastic smoother, gently press down on the surface, starting from the center of the strip and moving outward toward the edges. This technique helps eliminate any trapped air bubbles and aids in securing the wallpaper firmly to the wall. Be gentle to avoid damaging or stretching the wallpaper. Pay extra attention to the seams where two strips meet to ensure they lie flat and are barely visible.
If any adhesive seeps out, promptly wipe it away with a damp sponge to prevent staining. Continuously inspect the wallpaper for any bubbling or lifting edges, making adjustments as needed while the adhesive remains pliable. A perfectly smoothed wallpaper sets a professional tone for the entire room.
Step 6. Trim Excess Wallpaper:
Once all the wallpaper strips are securely in place, the next step is to trim any excess material around the edges for a clean and polished look. Carefully use a sharp craft knife or razor blade to cut along the edges of the ceiling, baseboards, and around any fixtures or outlets. Keeping the knife blade at a slight angle helps achieve a precise and snug fit against the wall, ensuring no visible gaps. For areas surrounding intricate shapes or designs, take your time and make minor, controlled cuts to maintain accuracy and preserve the integrity of the wallpaper pattern.
Use a straight edge or ruler as a guide to keep the cuts straight and even. After trimming, inspect the corners and edges to confirm they’re neatly finished, making any additional adjustments to perfect the installation.
Step 7. Final Touches and Maintenance:
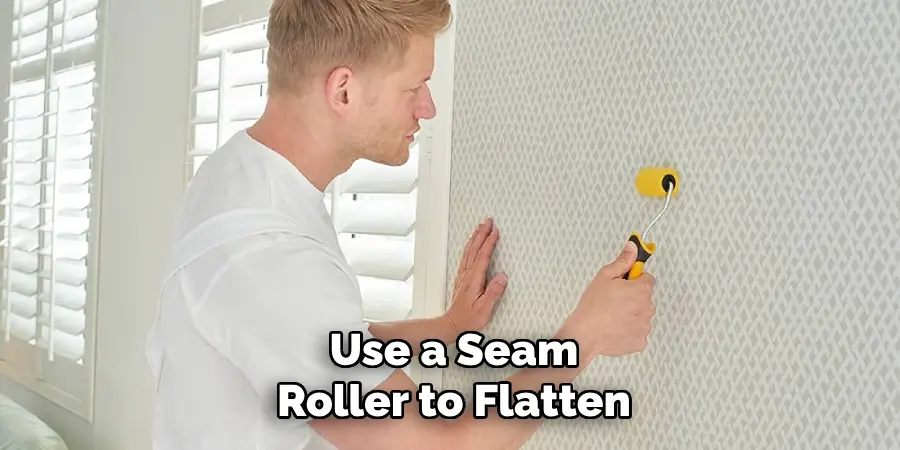
After the wallpaper installation is completed, take the time to check the entire area for any final imperfections. Examine the seams and ensure they are secure and seamlessly aligned. Use a seam roller to flatten and secure the edges, if necessary. Once satisfied with the job, consider applying a protective top coat if the wallpaper is in a high-traffic area, as this can help extend its durability and make it easier to clean. Regularly dust the wallpaper using a dry, soft cloth to maintain its appearance. Refer to the manufacturer’s cleaning instructions for any accidental stains or marks to avoid damage.
Step 8. Clean Up and Organize Your Workspace:
After completing the wallpapering process, dedicate some time to tidy your workspace. Gather all the tools used, such as scissors, craft knives, and levels, and clean them before storing them in their designated places. Dispose of any leftover wallpaper scraps responsibly, recycling where possible. Wipe down any surfaces that may have been splashed with adhesive or water, and remove any protective coverings used to shield floors and furniture.
Assess the room to ensure all fixtures and furniture are returned to their proper positions, and perform a final walkthrough to appreciate the transformative effect of your newly wallpapered walls. A clean and organized workspace showcases your work’s beauty and prepares you for your next DIY project.
Step 9. Enjoy Your New Space:
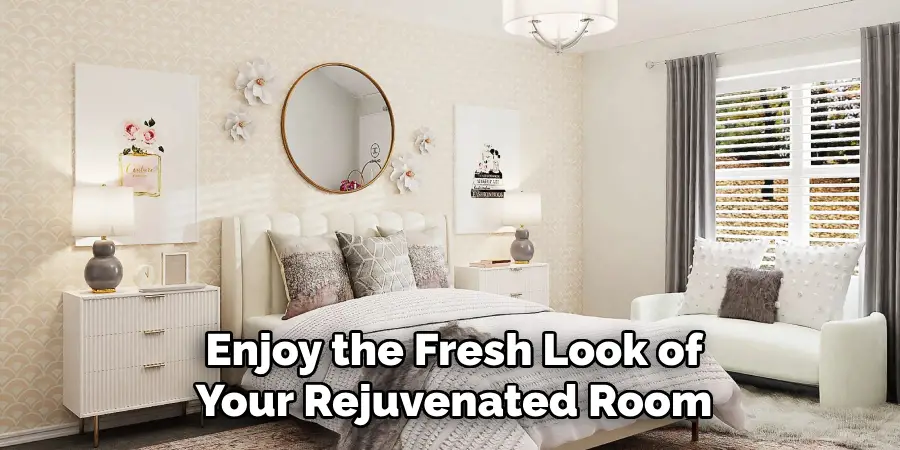
With the wallpapering complete and your workspace tidied, it’s time to enjoy the fresh look of your rejuvenated room. Take a moment to admire the seamless patterns and ambiance your thoughtfully chosen design created. Relish in the accomplishment of having completed a DIY project that adds personality and charm to your home. Allow the new decor to inspire you, whether for relaxation, creativity, or making cherished memories with family and friends. A successfully wallpapered room enhances your living space and reflects your personal style and the effort you put into creating a harmonious environment.
By following these steps and planning and executing the wallpapering process carefully, you can achieve professional results that elevate your home’s interior design.
Conclusion
How to match wallpaper patterns requires precision, patience, and attention to detail. Key to this process is understanding the design and crafting an alignment strategy that addresses the unique intricacies of the pattern.
Proper preparation, including accurately measuring and cutting strips, ensures patterns remain consistent and seamless throughout the application. The wallpaper can become a coherent extension of your room’s aesthetic by diligently following technical steps such as aligning edges without overlap, smoothing air bubbles, and paying close attention to trimming.
Ultimately, mastering the art of pattern matching transforms what might seem daunting into an opportunity to enhance your living space with expertly styled walls that speak to individuality and finesse.
Check it out to Turn Off Owlet Sock to Wash
About
Angela is the chief editor of Indoorense. She began her career as an interior designer before applying her strategic and creative passion to lifestyle and home.
She has close to 15 years of experience in creative writing and online content strategy for housekeeping and cleaning,home decorations as well as other efforts.
She loves her job and has the privilege of working with an extraordinary team. She lives with her husband, two sons, and daughter in Petersburg. When she’s not busy working she spent time with her family.

