
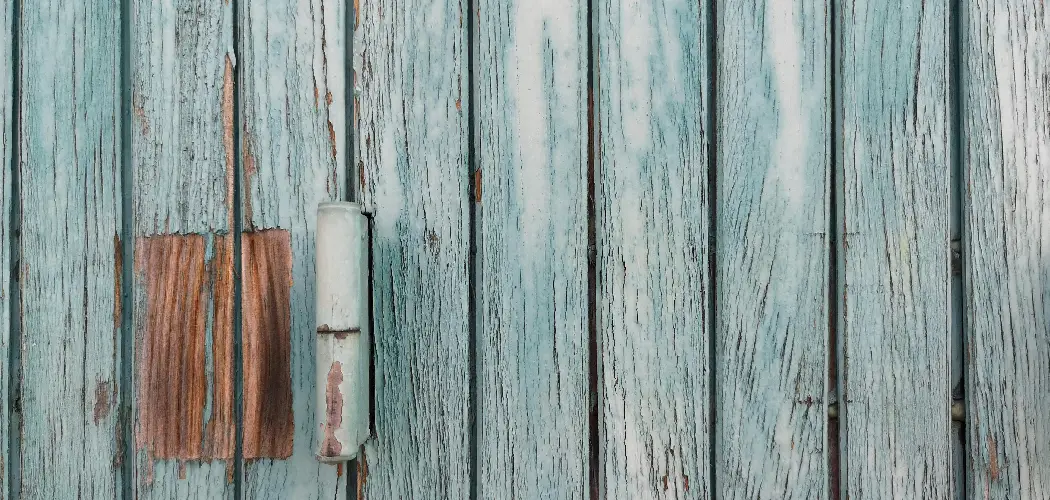
The “aged and faded” look has become increasingly popular in home décor, particularly for those embracing vintage, rustic, or farmhouse styles. This aesthetic provides charm, character, and a sense of history to modern spaces, offering a lived-in feel that newly minted items can’t replicate. One of the key elements in achieving this look is transforming white paint into an old and worn finish. Whether you’re working with furniture, cabinetry, or décor items, several methods exist to create this effect. Techniques such as distressing, sanding, and applying antique finishes are common approaches to make white paint look aged and timeworn.

This guide will provide you with easy, step-by-step techniques on how to make white paint look old and faded, allowing you to turn freshly painted pieces into stunning, antique-looking masterpieces. Whether you’re a seasoned DIY enthusiast or a beginner looking to explore creative decorating solutions, this guide covers you.
Materials and Tools Needed
Paint and Surface Preparation
- White Paint: For this technique, choose from chalk paint, latex, or acrylic paint. Each type of paint offers different finishes and ease of use. Chalk paint is popular for its matte finish, while latex is durable and easy to clean. Acrylic paint offers versatility and quick drying time.
- An Item to Paint: Select your piece carefully—furniture like tables or chairs, picture frames, or cabinetry can all be transformed. Consider the piece’s current finish and style to ensure the final result fits your vision.
- Optional Base Coat: Applying a base coat in a darker color, such as grey or brown, can create depth under the white paint, enhancing the aged appearance.
Distressing and Aging Tools
- Sandpaper or Sanding Block: Use medium grit for heavy distressing and fine grit for a subtle, worn look.
- Steel Wool: Ideal for adding fine detailing and wear marks to enhance texture.
- Paintbrushes or Sponge Brushes: Essential for applying paint and finishes evenly.
Aging and Finishing Products
- Wax (Clear or Dark): Use to achieve an antique, matte finish, adding an authentic aged look.
- Glaze or Stain (Optional): For those who want a more pronounced aged effect.
- Water: Useful for diluting paint or glaze, creating a softer fade.
Optional Embellishments
- Dry Brush: Apply minimal paint to introduce texture.
- Cloth or Rag: For wiping off excess paint or glaze during aging, achieving the desired faded appearance.

Prepping the Surface for Painting
Cleaning the Surface
Begin by thoroughly cleaning the surface of your furniture or object to remove any dust, dirt, or grease. This step is crucial to ensure a smooth and durable finish. Use a damp cloth or a mild soap solution to clean wood surfaces effectively, removing any grime or residues that could interfere with the paint’s adherence. Avoid using harsh chemicals that might damage the surface. Let the piece dry completely before painting, as moisture can affect the paint’s application and finish.
Sanding for a Base Texture
If you’re working with a glossy or finished surface, it’s important to lightly sand it to remove the sheen and give the paint something to grip onto. This is especially vital for wood furniture or objects with existing varnish. Choose medium-grit sandpaper for this task, as it effectively scuffs the surface without causing damage. For heavily finished surfaces, you may need to sand more thoroughly to create an adequate key for the paint. After sanding, wipe down the piece with a clean cloth to remove all the dust particles, ensuring a pristine surface ready for painting.
Applying a Base Coat (Optional)
To create more depth and contrast in your finished piece, consider applying a base coat in a darker color before the white paint. This step is optional but can help achieve a more dramatic and authentic worn look. Popular base coat colors include grey, brown, or black, which will subtly show through once you sand or distress the white layer. Choose your base coat color based on how much contrast you desire and how it complements the final look you envision. Allow the base coat to dry completely before moving on to the white paint, ensuring that each layer is fully cured for optimal results.

How to Make White Paint Look Old and Faded: Painting and Creating a Faded Look
Applying the White Paint
Begin by using a paintbrush or sponge brush to evenly apply a coat of white paint over the surface of your item. Chalk paint is an excellent choice for achieving an aged look due to its matte finish and easy-to-distress nature. Apply the paint in a light coat, ensuring not to lay it on too thick, as this will aid in the distressing process later. Once the entire surface is covered, allow the first coat to dry thoroughly, which typically takes 1 to 2 hours, depending on the paint used. Patience at this stage ensures the base for a beautiful finish.
Dry Brushing Technique for a Faded Effect
To achieve a naturally faded appearance, employ the dry brushing technique. Dip your paintbrush lightly into the paint, then remove most of it with a rag—this ensures only a minimal amount of paint is left on the brush. Using a gentle, sweeping motion, lightly brush paint across the surface, concentrating on edges, corners, and raised areas that would naturally fade over time. This technique results in uneven paint coverage that allows the base coat to subtly show through, capturing the essence of timeworn, faded elegance.
Sanding for Distress
With the white paint dry, take medium-grit sandpaper to gently distress edges, corners, and highlights. Focus on areas subject to frequent use or contact—such as chair arms, table corners, and drawer handles—to create a realistic distressed effect. For those preferring a more pronounced distressed style, switch to coarse sandpaper, but proceed with caution to avoid excessive wear. The underlying base coat or bare wood will gradually reveal itself with each sanding stroke, enhancing the piece’s authentically aged character.
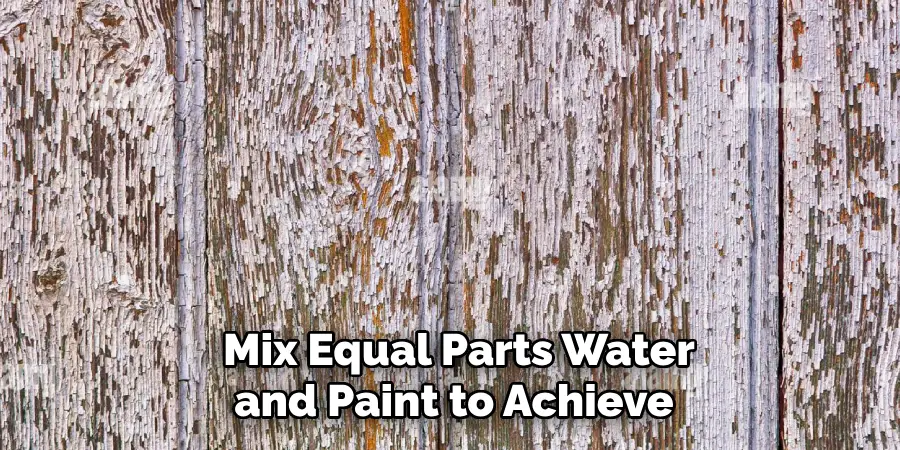
Diluting the Paint for a Faded Wash
If a subtle fade is more your style, consider diluting the white paint with water to create a wash. Mix equal parts water and paint to achieve a more translucent consistency. Lightly brush this wash over the surface, then immediately wipe off the excess with a rag, leaving behind a delicately faded layer of white. This approach imparts a gentle, aged aesthetic without requiring extensive distressing, offering yet another method to achieve that timeless charm.
Adding a Vintage Finish
Using Wax for an Antique Look
Apply clear or dark wax over the white paint to achieve a matte, vintage finish. Wax serves not only to enhance the antique aesthetic but also to seal and protect the paint from daily wear. For a distinct antique patina, especially when using dark wax, focus on working it into the edges and crevices of the furniture piece. This method accentuates natural variations, mimicking the look of age-induced shadows and depth.
Employ a cloth to buff off excess wax, ensuring that the substance remains in the nooks and crannies where natural aging typically occurs. For a subtler effect, start with a layer of clear wax and then sparingly brush on dark wax. This two-step approach allows for better control over the depth of aging, offering a nuanced finish. Use steel wool or cloth to buff the wax, delivering a more polished finish and highlighting the texture of the piece.
Glaze or Stain for Depth
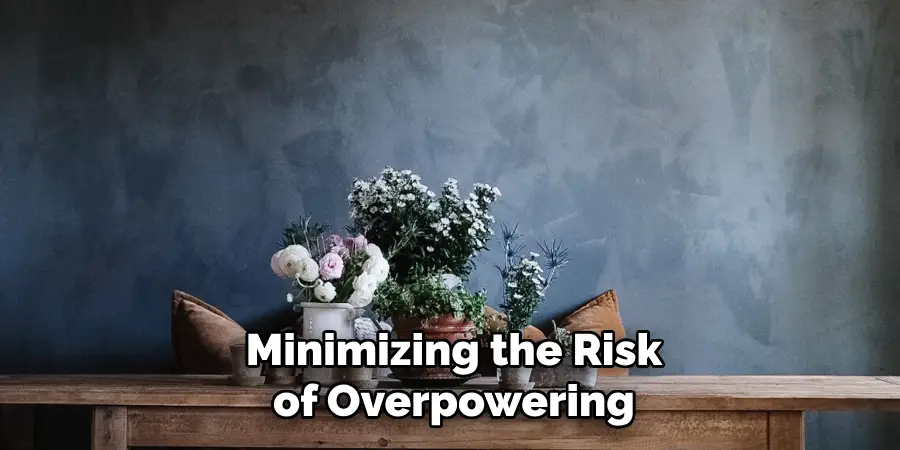
Incorporating glaze or wood stain can further enhance the aged quality of your project. A thin application of glaze or stain in hues like grey, brown, or black creates additional depth, especially when concentrated on corners and edges. Use a rag to wipe off the excess, ensuring more residue remains in areas where dirt and time typically accumulate. This technique imbues the white paint with a richer, more dramatic, aged appearance. For those preferring precise control, dilute the glaze with water. This dilution ensures an even and controlled application, minimizing the risk of overpowering the existing paintwork’s subtlety.
Layering Paint for a Weathered Effect
Consider introducing a second paint layer with a color variation for a more weathered, layered look. Using a light grey or cream paint over the white, use the dry brush technique to focus on areas that naturally exhibit more wear over time. Lightly sanding between coats contributes to a layered, worn texture that convincingly replicates the passage of time and use. This method results in a captivating visual narrative of age and history, transforming your piece into a timeless artifact with layers of craftsmanship evident in its character.
Final Touches and Sealing the Paint
Finishing the Surface
Once you are content with the level of distressing and fading, it’s time to protect your work with a finishing sealant. A clear wax or matte polyurethane is ideal for safeguarding the paint while maintaining the desired rustic aesthetic without too much gloss. These sealants will help preserve the texture and look you’ve achieved, ensuring longevity and durability. However, if you favor a more rugged, natural patina, you can bypass this step. Remember that forgoing a sealant may result in the paint chipping or wearing away more quickly over time due to exposure and use.
Optional Embellishments
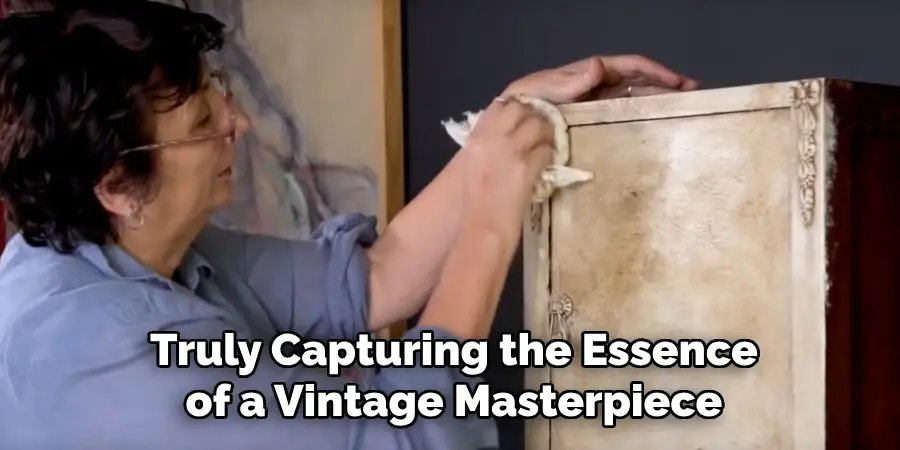
To further enhance the vintage charm, consider adding decorative elements such as hardware, knobs, or decals. Swapping out modern fittings for antique brass handles, for instance, can seamlessly complete the aged look you are aiming for. Incorporating stencils or stamped designs with faded paint can add more detail and character. These embellishments can subtly nod to nostalgia, weaving intricate patterns or motifs into the overall design. With these final touches, your piece will exude timeless elegance, truly capturing the essence of a vintage masterpiece.
Conclusion
In summary, mastering a vintage aesthetic is achievable through sanding, dry brushing, wax or glaze, and layering paints. These methods artfully transform surfaces with an aged, faded look, allowing the base coat to subtly emerge. Understanding how to make white paint look old and faded gives you the ability to bring timeless elegance to any piece. Whether applied to furniture, frames, cabinets, or other décor items, these techniques offer flexible options to suit various tastes and styles. You can craft a distinctive, personalized vibe for your home by exploring different levels of distressing and aging. Embrace these approaches to breathe new life into your belongings, enjoy the creative process, and create a unique, nostalgic charm that resonates within your space.
About
Angela is the chief editor of Indoorense. She began her career as an interior designer before applying her strategic and creative passion to lifestyle and home.
She has close to 15 years of experience in creative writing and online content strategy for housekeeping and cleaning,home decorations as well as other efforts.
She loves her job and has the privilege of working with an extraordinary team. She lives with her husband, two sons, and daughter in Petersburg. When she’s not busy working she spent time with her family.