
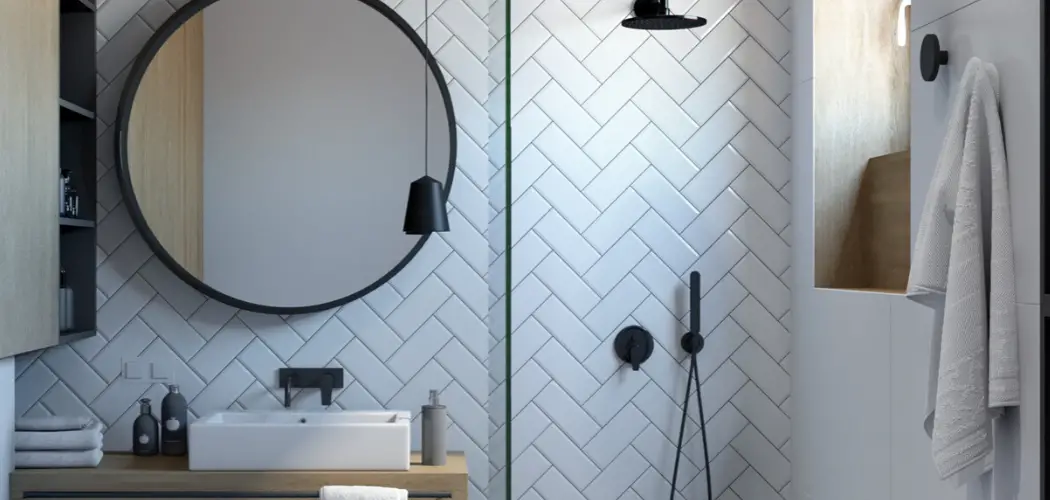
A clean and well-maintained shower is pivotal in uplifting a bathroom’s overall aesthetic and ambiance. The shower is one of the most frequently used areas, and over time, it naturally accumulates dirt, grime, soap scum, and hard water stains, which contribute to its dull and worn-out appearance. Constant moisture exposure also promotes mold and mildew growth, further detracting from the shower’s appeal.
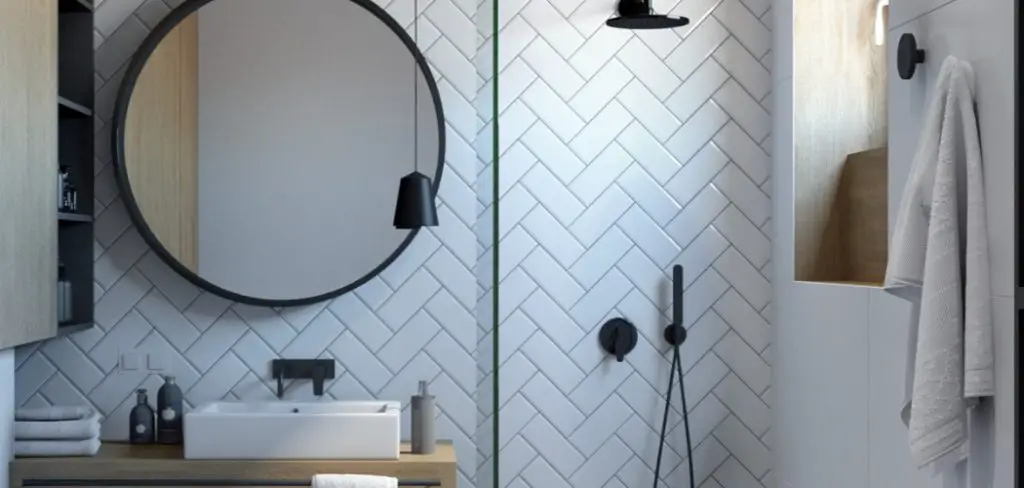
Understanding how to make shower look new is essential to preserving its visual charm and ensuring a healthier, more inviting space. This article aims to guide you through practical tips and steps designed to rejuvenate your shower’s look, transforming it into a sparkling, inviting haven without the need for extensive renovations or costly replacements. Whether you’re preparing your home for guests or simply seeking to enhance your daily environment, these strategies will help you achieve a fresh and revitalized shower.
Deep Cleaning the Shower
A crucial step in rejuvenating your shower is thorough cleansing, addressing the buildup that common cleanings miss. Here, we focus on overcoming soap scum, water stains, dirty grout, and mold, ensuring your shower gleams like new.
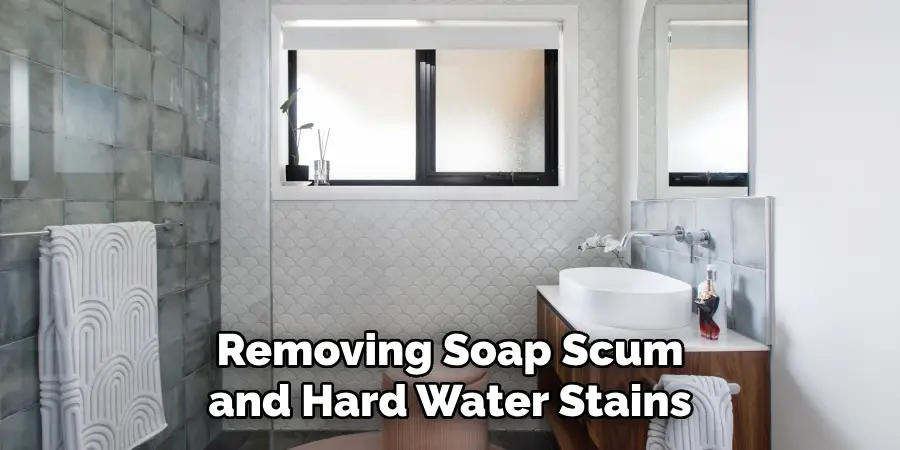
Removing Soap Scum and Hard Water Stains
Soap scum and hard water stains are prime culprits for dulling your shower’s appearance. Soap scum, an unattractive residue formed from the reaction between soap and water minerals, clings to tiles, glass doors, and fixtures. Similarly, hard water leaves behind mineral deposits, particularly calcium and magnesium, further marring your shower’s surface.
To tackle these issues, use natural agents like vinegar and baking soda or commercial cleaners designed for such purposes. Begin by spraying vinegar on affected areas, allowing it to sit for 10-15 minutes to break down the mineral buildup. Afterward, sprinkle baking soda on a damp sponge and gently scrub the surfaces. For particularly stubborn spots, a commercial cleaner specifically targeting soap scum and hard water stains can be employed. Rinse thoroughly and wipe the surfaces dry to reveal a refreshed shine.
Cleaning Grout and Tiles
Grout, the porous material filling the spaces between tiles, is prone to accumulating grime, making the entire shower appear old and worn out. A dirty grout can detract significantly from the aesthetic of your shower space.
Start by applying a grout cleaner or a homemade baking soda and hydrogen peroxide mixture directly onto the grout lines. Let the solution sit for 5-10 minutes, allowing it to penetrate and loosen grime. Use a stiff-bristled brush to scrub the grout lines, ensuring they reach into corners and crevices. Once clean, rinse with water and use a cloth to dry. For tiles, a mild detergent or a specialty tile cleaner can help restore their original shine. Scrub with a non-abrasive pad for sparkling results.

Dealing with Mold and Mildew
Mold and mildew thrive in damp shower environments due to constant humidity. They not only tarnish the shower’s appearance but can also pose health concerns.
To eradicate mold, apply a bleach solution or a commercial mold remover to tiles, grout, and caulking where mold is present. Allow the solution to penetrate for several minutes before scrubbing with a brush. Rinse the area thoroughly and ensure it is completely dry. To stave off future mold growth, enhance your bathroom’s ventilation by using exhaust fans or keeping windows open to reduce moisture levels, maintaining a healthier shower environment.
How to Make Shower Look New: Replacing or Restoring Caulking and Seals
The caulking and seals in your shower are crucial in maintaining its pristine look and functionality. Over time, old, discolored, or cracked caulk can make your shower appear dated and unclean, potentially leading to moisture buildup and mold growth. Addressing these areas not only improves aesthetics but also helps in protecting the shower structure.

Removing Old Caulk
Start by assessing the current state of the caulk; if it appears yellowed or cracked, it’s time for a replacement. Begin by using a caulk removal tool or a utility knife to cut carefully along the edges of the old caulk. Gently pry it away, ensuring it does not damage surrounding tiles or fixtures. For stubborn sections, apply a caulk removal gel to soften the adhesive, making it easier to scrape off. Once the old caulk is completely removed, thoroughly clean the area with water and vinegar to eliminate any residue and mold.
Applying New Caulk
With the old caulk removed, the next step is to apply a fresh, waterproof seal. Choose a caulk that specifically withstands moisture and mold resistance and is available in different colors to match your shower’s tiles or fixtures. Cut the caulk tube’s tip at a 45-degree angle, ensuring a precise application size. Apply a steady bead of caulk along the seams and joints, smoothing it with a damp finger or a caulking tool for an even finish. Allow the caulk to dry completely, adhering to the manufacturer’s instructions for drying time and ensuring a water-tight seal.
Replacing Seals on Shower Doors
Worn-out seals on shower doors detract from appearance and can result in leaks and water damage. Begin by inspecting the door seals for wear and damage. Remove the old seals by sliding or prying them off, ensuring the area is clean and debris-free. Purchase new seals or weather strips compatible with your shower model and cut them to the appropriate length. Attach the new seals, making sure they fit snugly against the door and frame to prevent leaks. This prevents water damage and contributes to a clean, polished shower appearance. Restoring caulking and seals can significantly enhance your shower’s look while maintaining its functionality and integrity.
Polishing Fixtures and Hardware
Cleaning and Polishing Shower Fixtures
Regular cleaning is essential to maintain the shining allure of your shower’s fixtures. Begin by addressing common culprits like limescale, soap scum, and grime that dull showerheads, faucets, and handles. Create a simple yet effective cleaning solution using equal parts of vinegar and water. Soak a cloth in this solution and wrap it around the fixtures, allowing it to sit for 15-20 minutes. This will break down mineral deposits naturally. For more stubborn buildups, consider using a commercial metal polish specifically designed for bathroom fixtures. Gently scrub the surfaces with a soft cloth to avoid scratching them, and then rinse thoroughly with warm water to reveal a brilliant shine.
Replacing Old Fixtures
Outdated or corroded fixtures can significantly detract from the aesthetic appeal of your shower space. Not only do they mar the overall visual appeal, but they can also lead to inefficiencies in water flow and usage. To modernize your shower, consider upgrading key elements such as the showerhead, handles, or faucet. Selecting sleek, modern chrome or brushed nickel designs can provide an instant refresh and make your shower look contemporary. Moreover, these newer models often come with water-saving features, enhancing your bathroom’s environmental impact and functionality. Investing in new fixtures elevates style and improves the performance and longevity of your shower space.
Refreshing the Shower Glass
Cleaning Glass Shower Doors
To achieve crystal-clear glass shower doors, mix equal vinegar and water in a spray bottle or use a commercial glass cleaner designed for bathroom use. Spray the solution generously over the glass surfaces, focusing on areas with visible soap scum, water spots, or streaks. Allow the solution to sit for a few minutes to penetrate and break down the grime. Then, gently scrub the glass in circular motions using a non-abrasive sponge or cloth. For stubborn spots, a baking soda paste can be used to enhance the cleaning power. After scrubbing, rinse thoroughly with warm water. To maintain clarity, use a squeegee to wipe down the glass after each shower, preventing new spots from forming.
Applying a Water Repellent
Consider applying a water-repellent treatment to your shower glass to minimize future cleaning efforts. Such treatments create an invisible barrier that repels water, thus preventing the accumulation of water spots and streaks. Begin by thoroughly cleaning and drying the glass. Then, evenly apply a commercial glass sealant or water-repellent spray according to the manufacturer’s instructions. A microfiber cloth buffs the treatment into the glass, ensuring complete coverage. This proactive approach enhances clarity and prolongs the pristine look of the glass, reducing maintenance time.
Frosted or Tinted Glass Options
For those seeking a functional yet stylish update, consider transforming your plain glass shower doors with frosted or tinted film. These decorative finishes add privacy and elegance, allowing you to customize the space to match your bathroom decor. Frosted films diffuse light, providing a soft aesthetic, while tinted options offer a sleek, modern look. Application is straightforward: trim the film to size, apply it to the clean, damp glass, and use a squeegee to remove air bubbles. This easy enhancement provides a dramatic visual upgrade without replacing the entire door.
Updating Shower Accessories
Replacing Shower Curtains or Liners
Switching out old, stained, or moldy shower curtains is a simple yet effective way to rejuvenate your shower area. Opt for mildew-resistant liners which are specifically designed to prevent mold and mildew buildup, ensuring long-lasting freshness. Choose easy-to-clean shower curtains made from durable materials such as polyester or nylon that can be tossed directly into the washing machine. In terms of design, consider selecting patterns or colors that complement your bathroom décor, adding a touch of personality and style to your space. By keeping your shower curtain in pristine condition, you not only enhance the bathroom’s aesthetic but also maintain a healthier environment.
Upgrading Shower Storage
Introducing new shower storage solutions can dramatically improve the organization and appearance of your shower. Consider installing adjustable shower shelves, caddies, or corner organizers to efficiently utilize space and keep toiletries neatly arranged. Opt for rust-resistant materials and sleek designs seamlessly blending with the bathroom’s existing fixtures. Properly organized shower essentials reduce clutter and allow for easy access, improving functionality. Additionally, utilizing vertical space can prevent accidents by keeping toiletries off the floor and out of the way. By upgrading your shower’s storage, you create a more pleasant and streamlined bathing experience, contributing to the overall appeal and efficiency of the bathroom.
Adding Decorative Touches
Updating Tiles with Stickers or Paint
Revitalize outdated shower tiles without breaking the bank using tile stickers or specialized paint. Tile stickers offer a quick and affordable way to transform your shower space. Choose waterproof and durable options designed specifically for bathroom use to ensure longevity. When selecting stickers, consider designs and textures that complement your existing decor, achieving a cohesive look. Alternatively, specialized tile paint can provide a more permanent solution—opt for paints in moisture-resistant formulations, ensuring durability and resistance to steam. When applying paint, thoroughly clean and prep the tiles for optimal adhesion and coverage. These simple upgrades can breathe new life into your bathroom, offering a modern aesthetic without the need for expensive replacements.
Incorporating Plants or Greenery
Introduce elements of nature into your shower area by incorporating moisture-loving plants, such as ferns, peace lilies, or bamboo. These plants thrive in the humid environment of a bathroom and exude a calming, spa-like ambiance. Arrange them in stylish pots or planters that harmonize with your bathroom decor. Hanging plants or wall-mounted planters can maximize space while adding a vertical environmental dimension. Beyond their visual appeal, plants improve air quality and infuse a fresh, natural scent into the room, enhancing your overall shower experience. Integrating greenery brings vitality and a serene atmosphere to your bathroom oasis.
Conclusion
By following these key steps on how to make shower look new, you can transform your bathroom into an inviting oasis. Start with a thorough deep cleaning to remove grime and restore clarity to glass surfaces. Consider applying water repellents for maintenance ease, and explore frosted or tinted films for style. Refresh the area by updating shower curtains and storage solutions, and embellish with decorative touches such as plant life. Regular upkeep ensures your shower remains fresh and modern for years to come. Enjoy the satisfaction of a clean, new-look shower that enhances your daily routine.
About
Angela is the chief editor of Indoorense. She began her career as an interior designer before applying her strategic and creative passion to lifestyle and home.
She has close to 15 years of experience in creative writing and online content strategy for housekeeping and cleaning,home decorations as well as other efforts.
She loves her job and has the privilege of working with an extraordinary team. She lives with her husband, two sons, and daughter in Petersburg. When she’s not busy working she spent time with her family.